


4-105
FACSIMILE
Contents
4
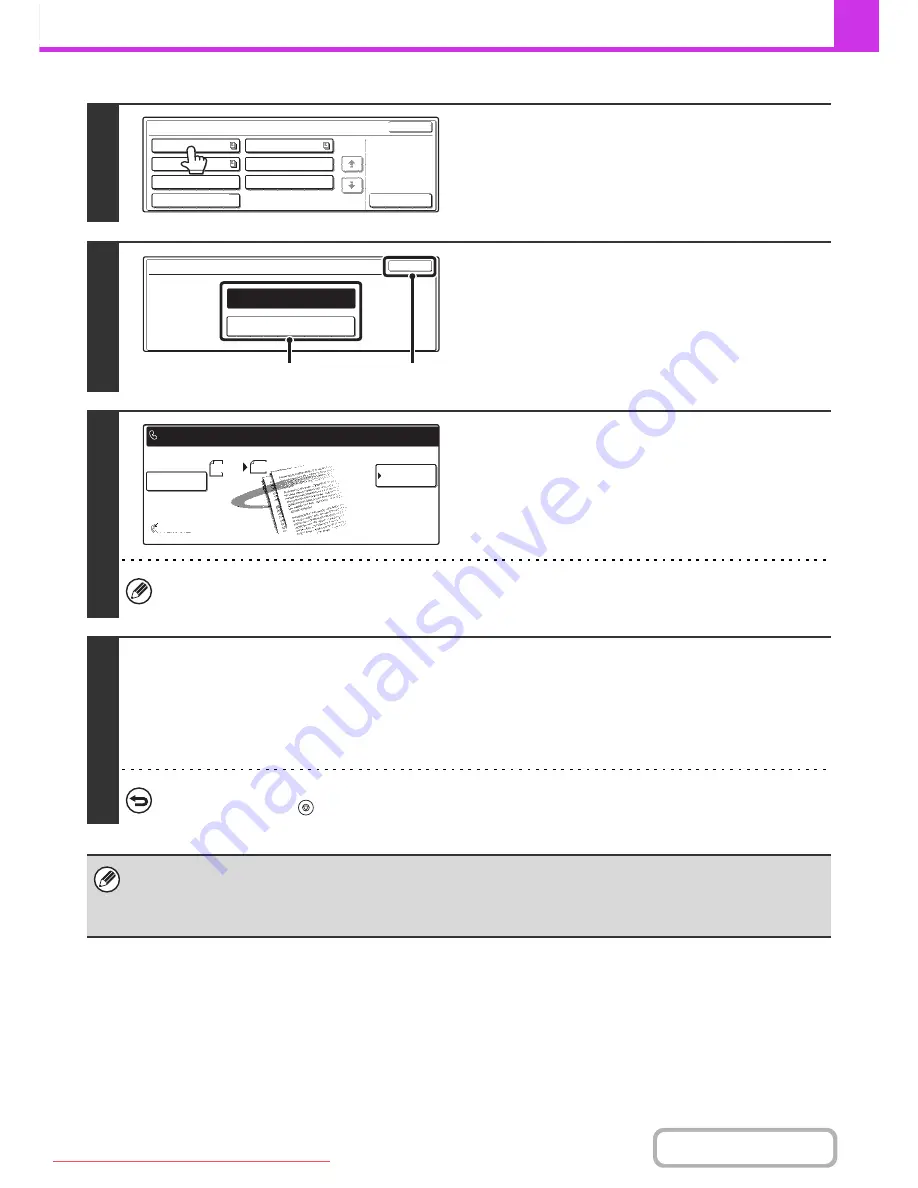
Touch the key of the F-code memory
polling box.
5
Specify the number of polling times.
(1) Touch the key for the desired number of times.
Touch the [Once] key if you want the document cleared
from memory after it is transmitted. Touch the [Unlimited]
key to allow polling an unlimited number of times.
(2) Touch the [OK] key.
6
Select job detail settings and special
modes.
To select scan settings (image quality, exposure, original size,
two-sided original) or a special mode setting, touch the [Job Detail
Settings] key.
• A program, timer setting, transaction report, polling, verif. stamp and document filing cannot be selected.
• To return to the screen of step 4, touch the [Memory Box List] key.
7
Press the [BLACK & WHITE START] key.
Scanning begins.
• If you inserted the original pages in the document feeder tray, all pages are scanned.
• If you are scanning the original on the document glass, scan each page one page at a time.
When scanning finishes, place the next original and press the [BLACK & WHITE START] key. Repeat until all pages have
been scanned and then touch the [Read-End] key.
To cancel scanning...
Press the [STOP] key (
) while the original is being scanned.
• If other documents have already been stored in the memory box, the document is added to the previously stored
documents.
• The factory default setting for the number of polling times is "Once" (after the document is transmitted to the receiving
machine, it is automatically cleared).
Memory Box - Data Store
Cancel
Box 1
Box 3
Box 5
Box 2
Box 4
Box 6
Box 7
Public Box
1/1
Memory Box - Data Store
OK
Unlimited
Once
(1)
(2)
Memory Box
List
Job Detail
Settings
Auto Reception
Fax Memory:100%
Box 1
Press [Start] to scan original.
Scan
Send
Auto
A4
Downloaded From ManualsPrinter.com Manuals