10. Reattach the rear cabinet panel.
Reattach the rear cabinet panel in its document position with the
mounting screws.
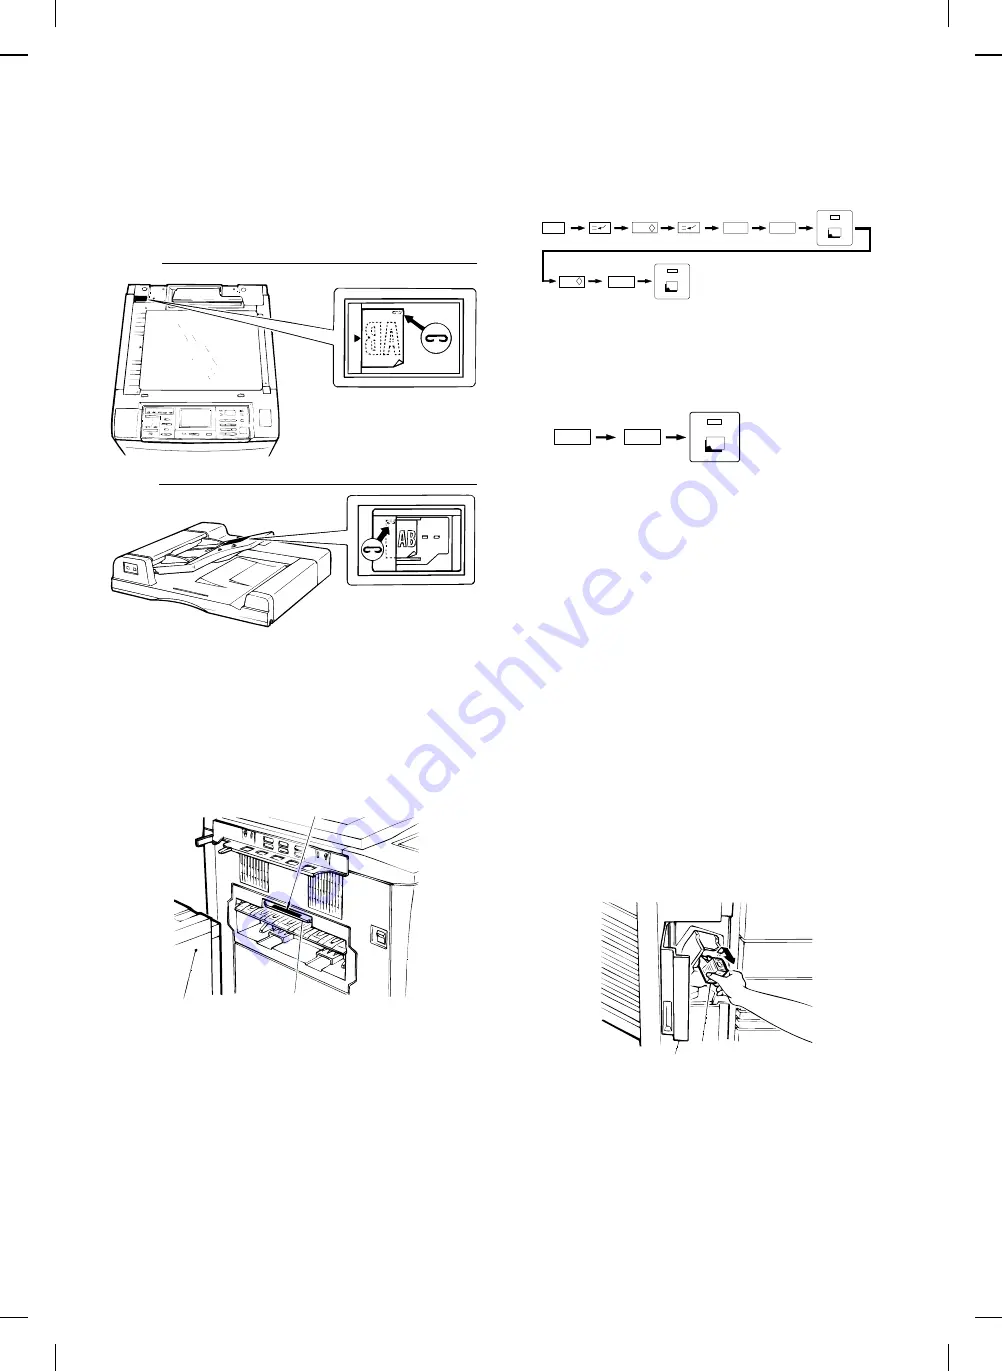
11. Affix the stapling location labels.
Affix the stapling location labels to the copier and RADF as shown in
the figure.
★
Copier
★
RADF
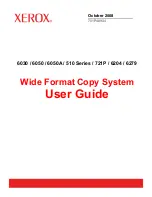
12. Affix the green label.
Lifting up on the staple sorter’s release lever, separate the sorter from
the copier.
Next, affix the green label to the paper output section handle as
shown in the figure.
Holding the staple sorter’s release lever, return the sorter to its docu-
ment position. At this time, confirm that the staple sorter locks secure-
ly into place beside the copier.
Plug the copier’s power cord into an electric outlet,
switch on the power, and then perform the
following procedure.
13. Set the mode.
•
Perform the following key operations on the copier to set the
mode.
Performing the above operation will cause the current setting to
be displayed.
•
The copier is equipped with the desk and RADF as standard. If an
optional sorter is installed, set to "15".
B. Staple sorter operation check
1. Check the sort mode.
Make 20 copies in the sort mode and confirm that the copies are
distributed to the sort bins with no abnormal noises from the sorter.
2. Check the non-sort mode.
Make copies in the non-sort mode and confirm that they are sent to
the non-sort bin.
3. Use the RADF and check the staple sort mode.
Place 2 or more sheets in the ADF and make copies in the staple sort
mode. Confirm that the copies are distributed to the sort bins, that the
staple guide bar arranges the copies and that the stapler functions
properly.
If at this time the copies have not been stapled or the stapler is
jammed, adjust the staples by performing one of the following proce-
dures.
If copies have not been stapled
1. Remove the staple cartridge.
Open the stapler cover, lift up on the staple cartridge and remove it
by pulling in the direction of the arrow.
Green label
Paper output section handle
Staple sorter
C
0 /
6
2
1
0 /
5
1
Staple cartridge
Stapler cover
5 – 19


