Image Management: Restoring Images
American Science and Engineering, Inc.
9-14
MINI
Z
Operator Manual 342-9000-1 Rev. B ECCN EAR99
The restore process allows the user to locate images and image groups in the archive by using the tab-
let search engine (
Section 9.4.2, Using Search Criteria
). All matching images and groups appear in the
Restore Screen
Content pane, which displays the header for each matching group. Tap a header to
expand it to display all of the matching images in that group in gallery mode.
From this set of matching images, the user can select the individual images and groups to be restored
(see
Section 9.10, Restoring Images
). For Multiple Images groups, restoring applies only at the group
level.
To restore images, perform the following steps:
1. Ensure that a removable storage device is mounted (see
Section 9.9, Backup of Images
).
2. In the tablet ASEInspection Software
Home Screen
, tap the
Restore
button. The Restore screen
opens (see
Figure 5-7
).
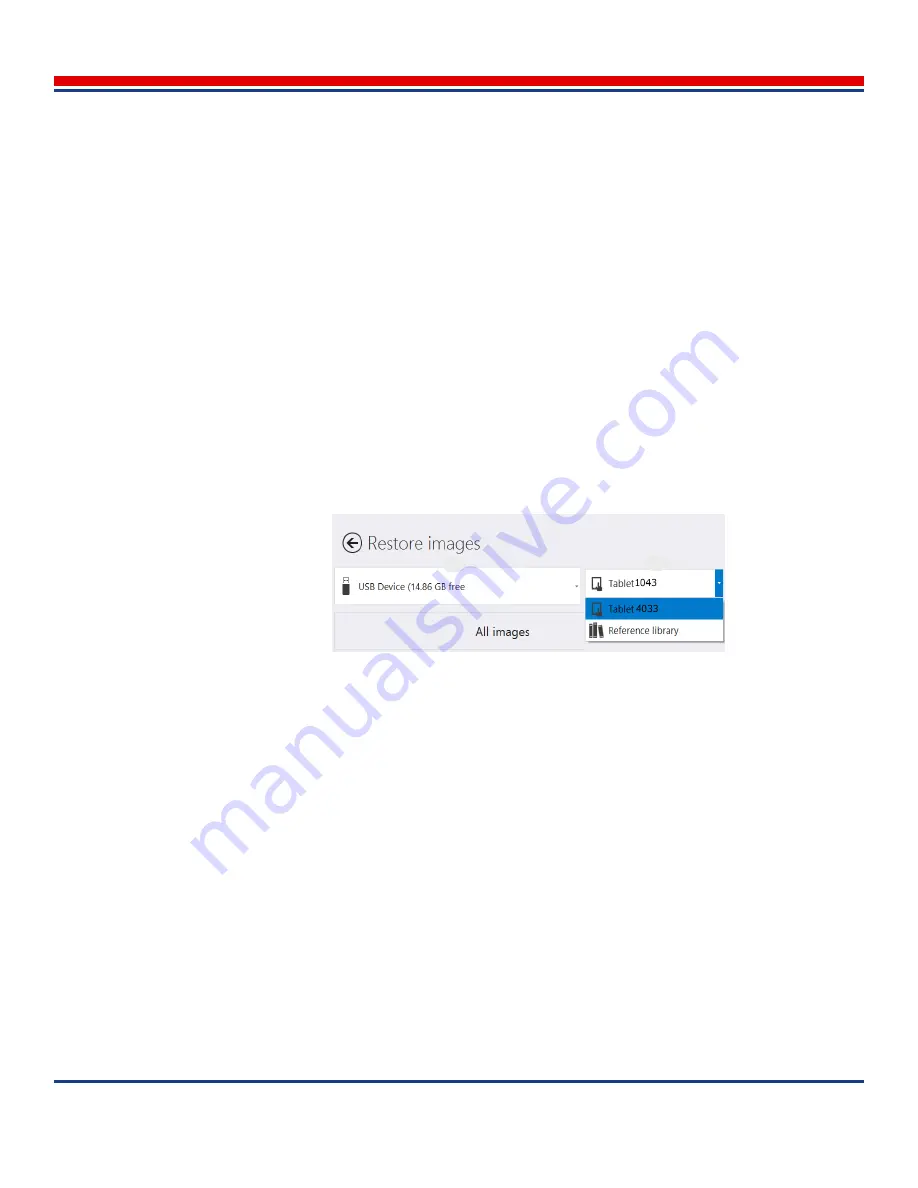
3. At the top of the Content pane, tap the Source Storage Device button (see
Figure 9-8
). A list of
available storage devices displays.Tap the storage device to use.
The tablet searches the selected storage device, and updates the Library list with the names of all
libraries on the external storage device.
4. If no
MINI Z archives are found on the device, a
t the top of the screen
the Library button displays:
No
Libraries Found
. In this case, locate an external storage device with an
AS&E
archive.
5.
Otherwise, if MINI Z archives are found on the device
, tap the Library button. A list of libraries by
image type displays:
•
If the libraries contain normal scanned images or image groups, the libraries are listed
individually by the serial number of the tablet used to create the library.
•
Images backed up as Reference images are all included in a single library labeled
Reference
Library
.
6. Search for images or image groups using the search criteria functions. For details of image
searching, see
Section 9.4.2, Using Search Criteria
.
7. Use the
Select All
button or the controls in the Content pane to choose which images or image
groups to include in the restore.
8. Tap the
Restore
button. The images are restored to the tablet from the archive.
9. Perform additional searches and uploads as required. To do so, return to step
1
in this procedure.
Figure 9-8: (1) Source Storage Device button, and (2) Library button.
1
2


