


164
5.
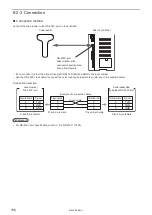
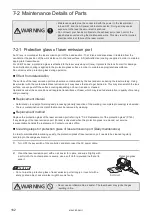
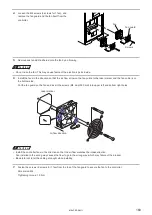
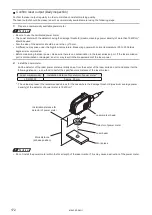
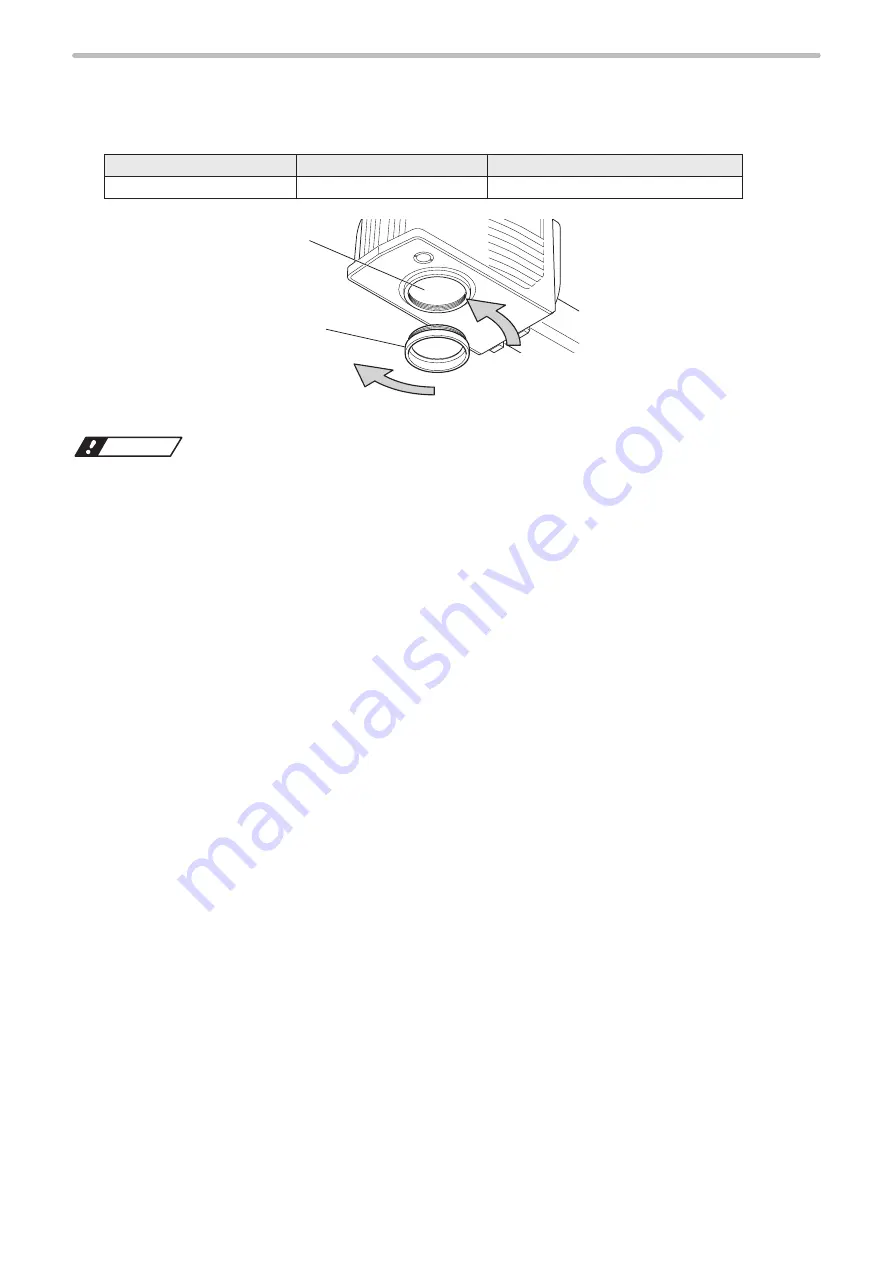
Install the protection glass to the laser emission port.
Tighten the protection glass until a resistance is felt. From that point, tighten the following length (circumference).
Be sure to tighten the glass properly and without looseness. If the cover is not tightened enough, the ingress protection
(IP64) of the head may not be ensured.
Laser marker model
Protection glass model
Tightening length (Circumference)
LP-RF200P
LP-ACV60
10 mm to 20 mm
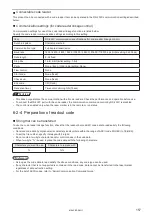
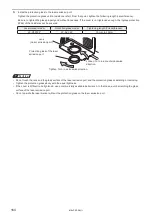
Protection glass of the laser
emission port
Loosen: Turn in a counterclockwise
direction.
Tighten: Turn in a clockwise direction.
Lens
(Laser emission port)
ワㄐㄕㄊㄆ
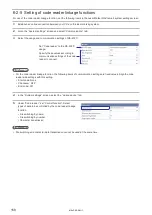
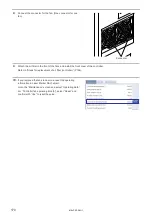
• Do not touch the lens and the glass surface of the laser emission port and the protection glass at installing or removing.
• Tighten the protection glass slowly with the equal tightness.
• If the cover is difficult to be tightened, use a commercially available belt wrench. In that case, avoid scratching the glass
surface of the laser emission port.
• Do not operate the laser marker without the protection glass on the laser emission port.
ME-LPRF-SM-11
Summary of Contents for LP-RF Series
Page 17: ...1 Product Overview ME LPRF SM 11...
Page 34: ...2 Laser Marker Installation ME LPRF SM 11...
Page 57: ...3 Operation Method ME LPRF SM 11...
Page 81: ...4 External Control Using I O ME LPRF SM 11...
Page 126: ...5 External Control by Communication Commands ME LPRF SM 11...
Page 135: ...6 Link Control with External Devices ME LPRF SM 11...
Page 160: ...7 Maintenance ME LPRF SM 11...
Page 186: ...Troubleshooting ME LPRF SM 11...
Page 214: ...Index ME LPRF SM 11...
Page 216: ...216 USB 32 55 W Warning 205 ME LPRF SM 11...
Page 217: ......


