GTWIN Reference Manual
5.7 Clock Parts
201
5.7 Clock Parts
Clock parts display the year, month, day, and time. The values are either read from the GT's
internal clock (see p. 59) or PLC's internal clock, which you define in the GT Configuration's
Setup 1 tab (see p. 32) for most GT models.
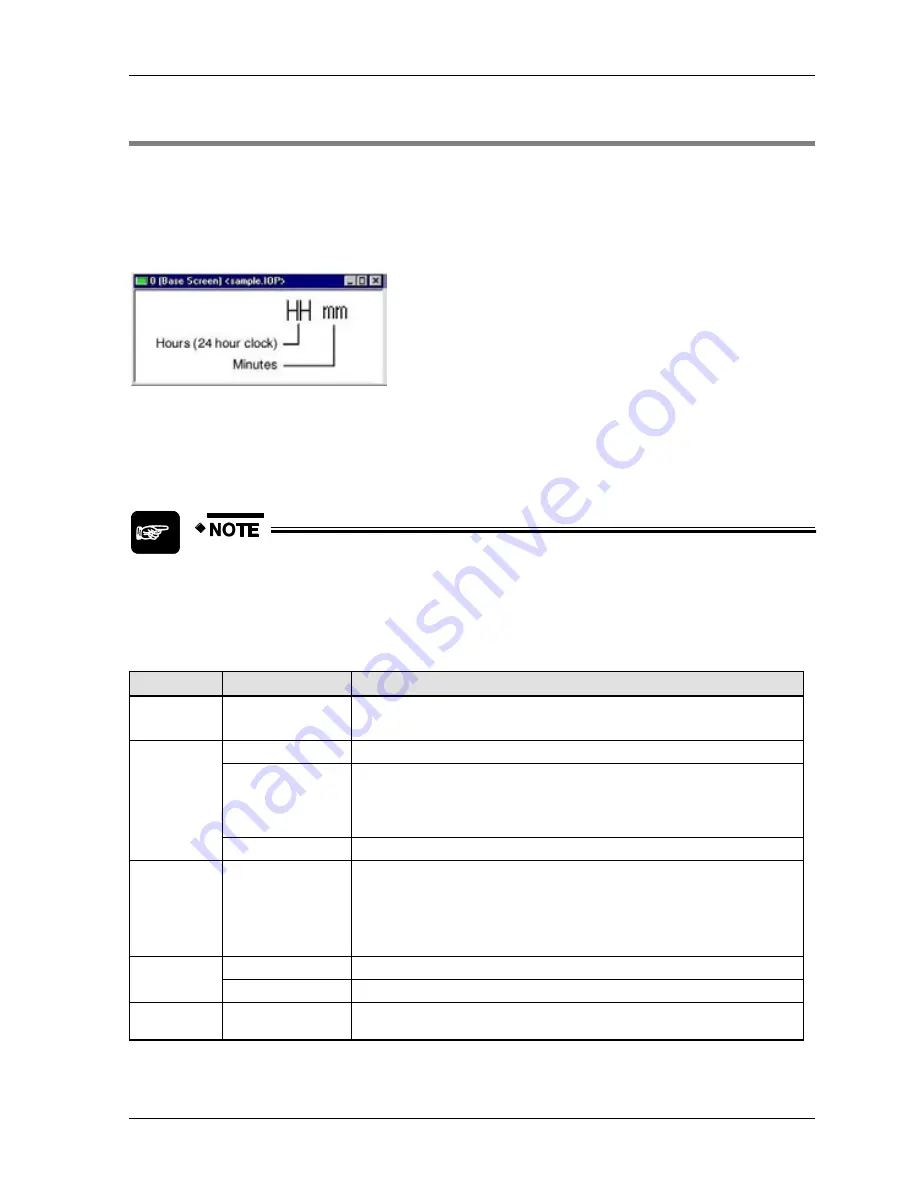
There is only one type of clock part registered in the standard parts library. Use a separate
clock part for each date and time element you wish to display.
Base screen with a clock part for hours and a 2nd clock part for minutes
Configuration parameters
Which tabs and what appears on them may differ depending on which GT
model you have selected.
Tab
Field
Description
List
Name
You can assign the configuration settings a name.
Below this field, a list displays the current configuration settings.
Basic Setup
Clock
Time format of the clock: year, month, day, hour, minute, second, etc.
Zero Suppression
Off
: Leading zeros will be displayed. For example, a time of 7am will be
displayed as 07.
On
: Leading zeros will be omitted. For example, the month of July will be
displayed as 7, not 07.
Size
Sets the relative font size.
Reverse/
Blink
Normal, When
Condition is True
You can specify how the part appears, e.g. if it blinks, etc., under normal
conditions or when a certain condition is true.
Press [Setup] to choose from among an extensive range of conditions.
The setting for "When Condition is True" takes priority over the setting for
"Normal".
Color and
Form
Color
Sets the color for the characters and the background.
Display Frame
Sets a frame and its color, if desired.
Operation
Security
Set the security level to restrict the display and/or operation of the part.
Summary of Contents for GTWIN
Page 1: ...TOUCH TERMINALS GTWIN Reference Manual ...
Page 11: ...Chapter 1 Introducing GTWIN ...
Page 59: ...Chapter 2 GT Panel System Menu ...
Page 94: ...Chapter 3 The GTWIN User Interface ...
Page 108: ...Chapter 4 Menus ...
Page 182: ...Chapter 5 Parts and Their Functions ...
Page 234: ...Chapter 6 Troubleshooting ...
Page 248: ...Chapter 7 Connecting the GT to a PLC ...
Page 288: ...Chapter 8 SD Card Data Upload from GT to PC ...
Page 293: ......


