GTWIN Reference Manual
4.7 Start Editor Menu
133
3.
Option
Bitmap Title...
Before you save the bitmap file, we recommend assigning a title. The title may be
up to 64 characters long and will later appear in the list of bitmap files when you
open the "Read BMP File" or the "Edit BMP File" dialog box.
4. Enter a meaningful title [OK]
Note that the title only appears in the list of bitmap files. The title bar of the bitmap
window still displays the bitmap file number.
5.
Option
Change Size
The default bitmap size is 200x200 pixels. However, depending on the GT model
you have connected, this may be too big. Before starting to edit, make sure the
bitmap has the right size, because changing the size later may cause part of the
bitmap contents to be lost.
6. Enter values for the width and the height [OK]
If the values you enter exceed the limits for the GT model you are using, an error
message appears.
7. Save the file
8. Edit the bitmap
Use
View
Zoom
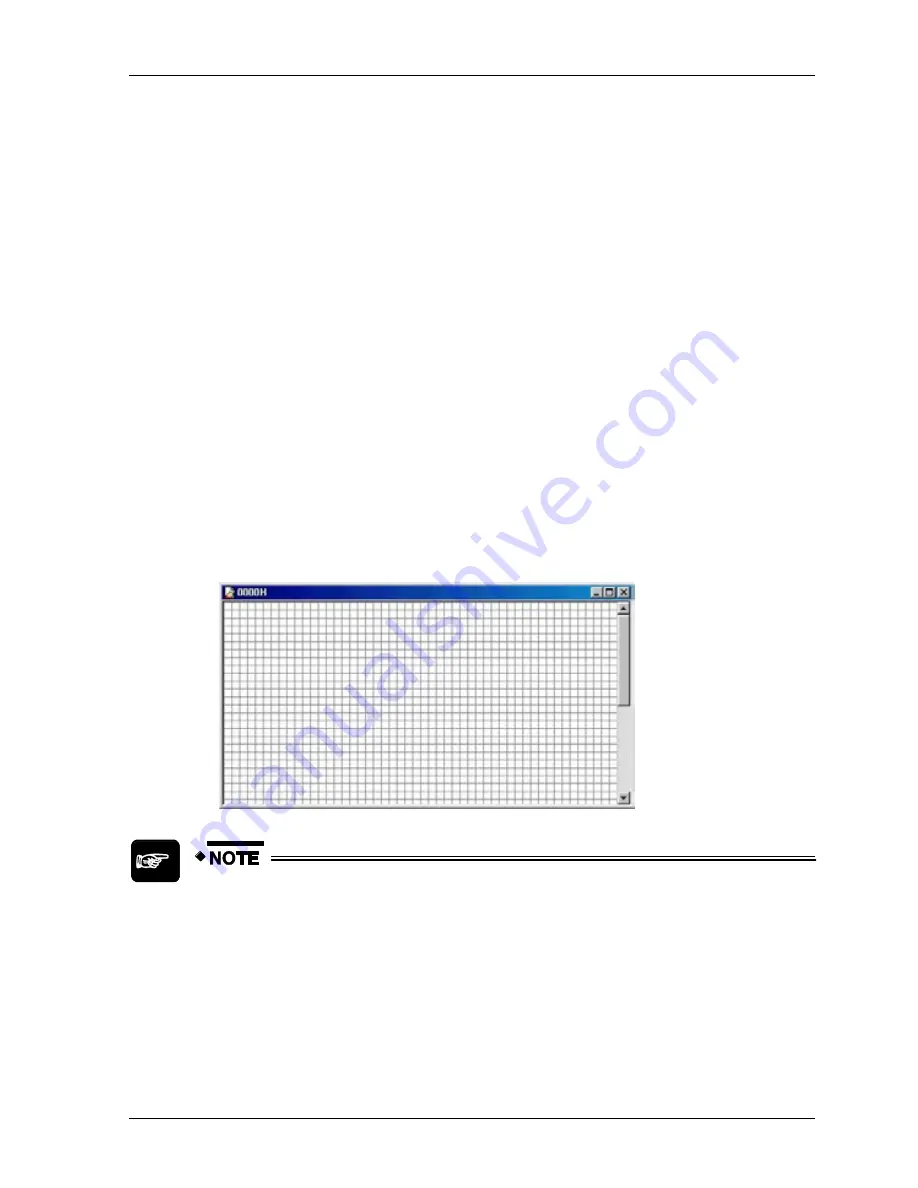
In to enlarge the bitmap. Every square represents a pixel.
When you have used the zoom function to enlarge the bitmap, you cannot
add a character string. This function is only available in the normal bitmap
view.
Be careful when changing the bitmap size AFTER editing a bitmap. If the
specified size is smaller than the size of the figure you have drawn,
changing the size will cause part of the bitmap contents to be lost.
When drawing graphics for custom parts, pay careful attention to the size.
The height is set to 24 bits in the default size setting for custom parts.
Summary of Contents for GTWIN
Page 1: ...TOUCH TERMINALS GTWIN Reference Manual ...
Page 11: ...Chapter 1 Introducing GTWIN ...
Page 59: ...Chapter 2 GT Panel System Menu ...
Page 94: ...Chapter 3 The GTWIN User Interface ...
Page 108: ...Chapter 4 Menus ...
Page 182: ...Chapter 5 Parts and Their Functions ...
Page 234: ...Chapter 6 Troubleshooting ...
Page 248: ...Chapter 7 Connecting the GT to a PLC ...
Page 288: ...Chapter 8 SD Card Data Upload from GT to PC ...
Page 293: ......


