


57
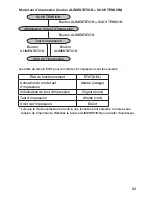
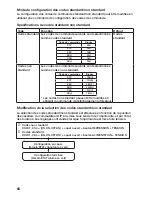
Utilisation avec les options Bluetooth ou réseau
sans fil
Pour imprimer en utilisant l’interface Bluetooth ou l’interface de réseau sans
fil, procédez comme suit.
➊
Retirez le capot du connecteur
USB/commutateur DIP, et réglez les
quatre cavaliers du commutateur
DIP DSW-1 comme suit : 1, 2, 3, 4 =
OFF, ON, OFF, OFF.
Oper
ation via Infr
ared Comm
unication
9
26
9. Operation via Infrared Communication
To print using infrared communication, perform the following operations.
30°
30°
2
3
4
1
ON
2
Place the printer within 20 cm of
the PC or handheld terminal for
infrared communication.
1
Remove the USB/DIP switch
cover, and set the DIP switch
(DSW) to DSW-1, 2, 3, 4 = (ON,
OFF, OFF, OFF).
3
Adjust the printer position so that the PC or handheld terminal is within a
30° area vertically and horizontally (cone shape) from the center of the
infrared communication sensor.
The maximum usage distance for infrared communication is 15 to 20 cm.
* However, this differs with the usage environment and the communicating
equipment. Communication may not be possible in direct sunlight or
under powerful illumination. In such cases, either shield the infrared
communication sensor from harsh light, or place the infrared
communication sensor in contact with the communicating equipment.
Oper
ation with Bluetooth or
Wireless LAN Options
10
27
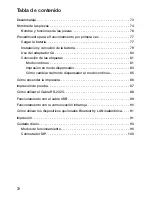
10. Operation with Bluetooth or Wireless LAN Options
To print using a Bluetooth interface or a wireless LAN interface, perform the
following operations.
2
3
4
1
ON
1
Remove the USB/DIP switch
cover, and set the DIP switch
(DSW) to DSW-1, 2, 3, 4 = (OFF,
ON, OFF, OFF).
* Note that the effective distance varies with the usage environment,
computer, or handheld terminal in use.
* La portée de communication varie en fonction de l’environnement
d’utilisation, de l’ordinateur et/ou du terminal utilisés.
Impression
➊
Les données sont transmises par
un ordinateur .
Oper
ation with an RS-232C Cab
le
7
24
4
Connect the other end of the
RS-232C cable to the connector
on the PC or the handheld
terminal.
For the connector on the PC or the
handheld terminal, see the manuals
provided with that equipment.
3
Insert the RS-232C cable into
the connector.
Match the arrow on the RS-232C cable
connector with the arrow beside the
printer connector, and insert it firmly.
2
Remove the RS-232C connector
cover.
7. Operation with an RS-232C Cable
To print with an optional RS-232C cable connected to a PC or a handheld
terminal, perform the following operations.
1
Remove the USB/DIP switch
cover, and set the DIP switch
(DSW) to DSW-1, 2, 3, 4 = (OFF,
OFF, OFF, OFF).
2
3
4
1
ON
RS-232C cable
RS-232C cover
Printing
11
29
■
When the next label is not printed
12345
67
ABCDEF
G
abcdefg
1
ABC
abcd
1234567
ABCDEFG
abcdefg
1234567
ABCDEFG
abcdefg
1
With the printer online, press the
PRINT button to take the printer
offline (STATUS LED turns off).
2
Press the FEED button to feed
the labels.
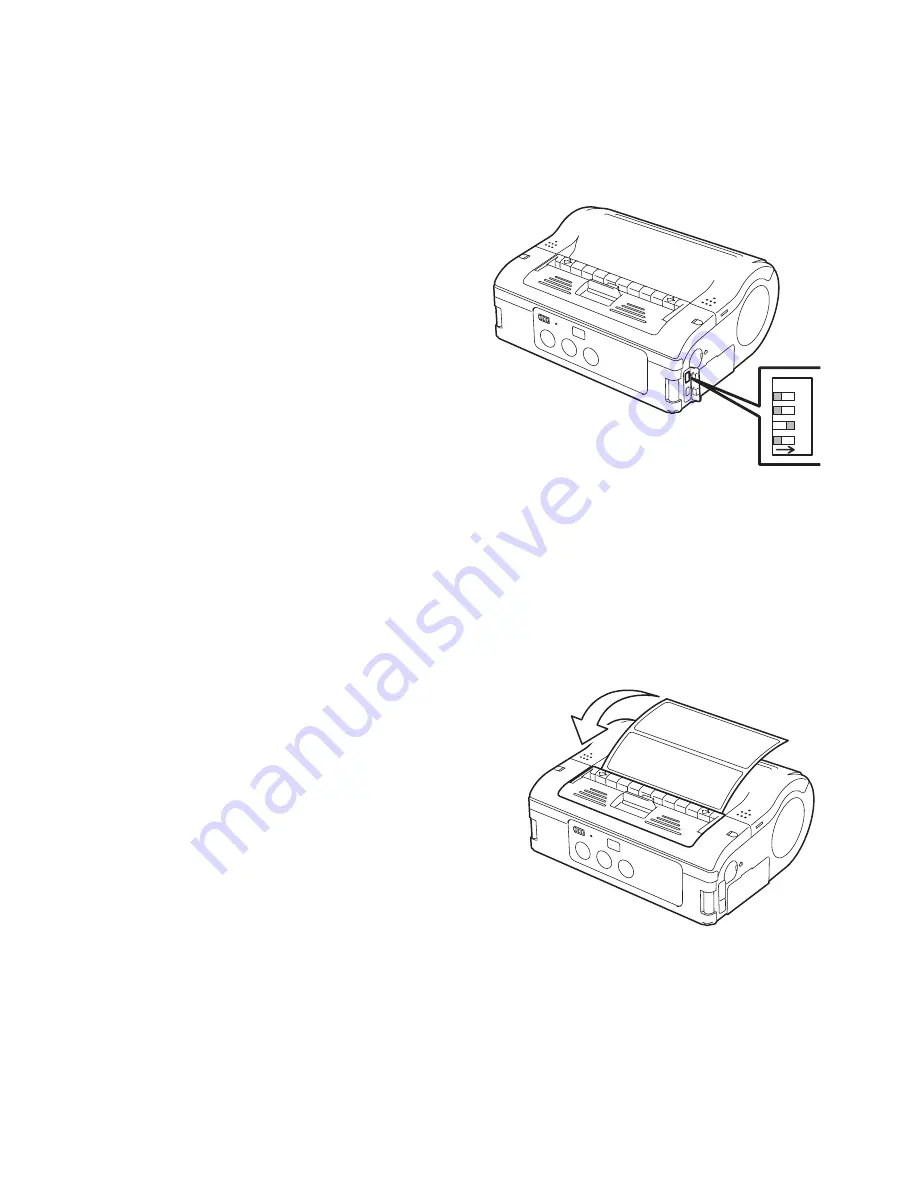
3
When the paper stops, pull it in
the direction of the arrow to cut
the label.
4
Press the PRINT button to put
the printer online (STATUS LED
lights green).
➊
Une fois l’impression terminée,
saisissez le coin droit ou le coin
gauche de l’étiquette, tirez-la dans
le sens indiqué par la flèche et
décollez l’étiquette.
* Le nombre d’étiquettes pouvant être imprimé avec une seule charge de bloc-pile
varie en fonction du mode d’impression utilisé .
* Lorsque des étiquettes sans interstices sont utilisées, qu’une étiquette n’est pas
coupée aux perforations et que l’étiquette suivante n’est pas imprimée, effectuez les
étapes de la page suivante .


