1-62
Color Creation
4.
Select the color.
There are four methods for selecting a color.
N
Select a color from the color palette.
(Color Palette Selection) (See p. 1-65.)
N
Select a color from the original.
(Designated Color Selection) (See p. 1-67.)
N
Select a color that was previously registered.
(Registered Color Selection) (See p. 1-69.)
N
Select a color from the color wheel.
(Color Wheel Selection) (See p. 1-70.)
P
The numeric key that registered the color is
highlighted.
P
When the highlighted numeric key is pressed,
you can change or cancel the colors that have been
registered. Repeat all the steps to change the
registered color. Press the C key to cancel the
registered color.
The Color Registration process is now complete and the screen returns to
the display in step 2.
N
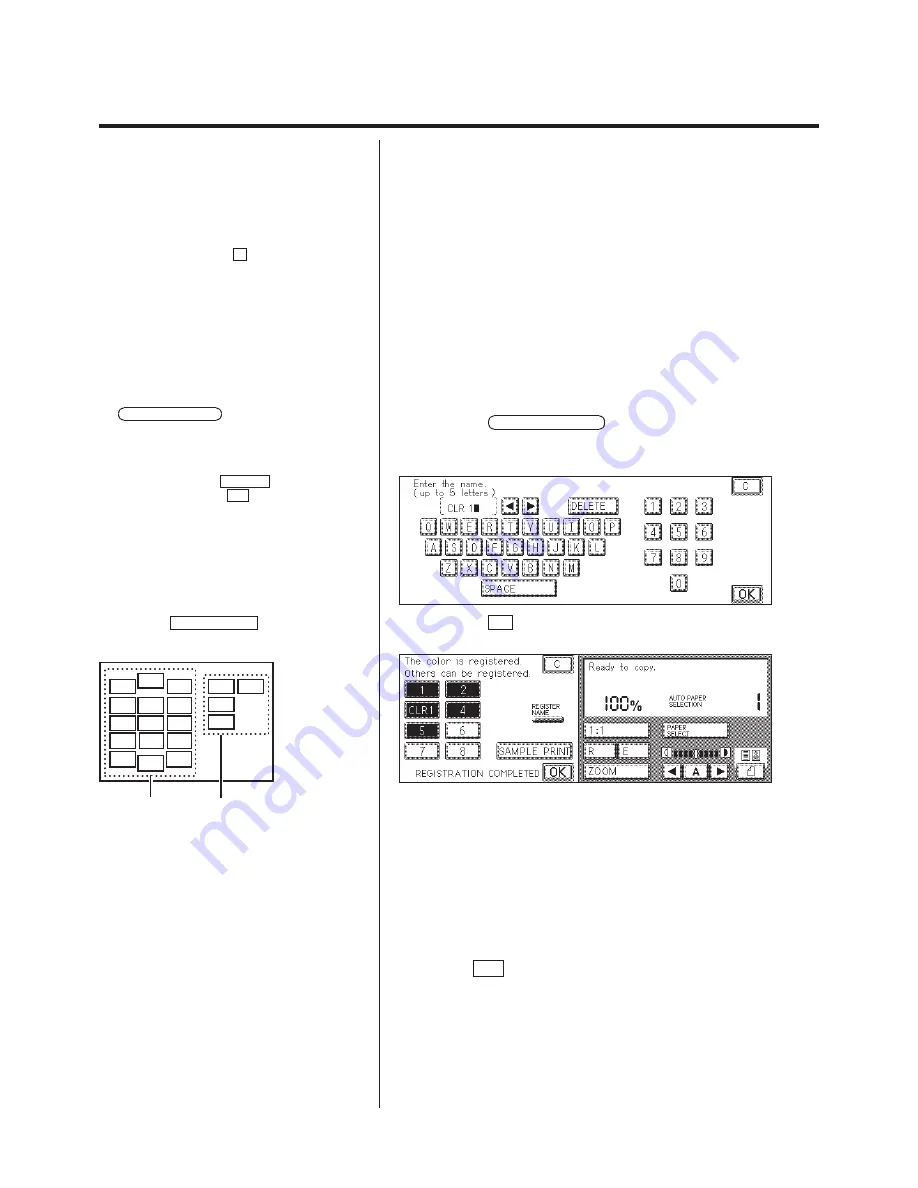
Assigning a name to the color to be registered
1. Press the REGISTER NAME key and then the numeric key to be
named.
2. Enter a name of no more than five alphanumeric characters.
P
When the named numeric key is pressed after
the REGISTER NAME key is pressed, you can
change or cancel the names that have been
registered. When re-registering, overwrite the
previously registered name. To cancel the
registered name, put the cursor on the beginning
character and press the DELETE key to delete all
the characters. Press the OK key after all deleted.
P
A copy of the registered colors can not be
output without the optional ED board.
3. Press the OK key.
The name is registered.
P
When the SAMPLE PRINT key is pressed, a
copy of the registered colors is output. Press this
key to check that you registered the correct color.
Color Sample
The color registered is
displayed here.
P
Sample prints are counted in the number of
copies made.
P
You can continue to register other colors, if
necessary.
5.
Press the OK key.
Summary of Contents for Color System 200
Page 2: ...ic...
Page 84: ...1 72...
Page 190: ...4 48...
Page 191: ...I 1 Offset Plate Original Creating Color Separations of a Color Original Index Index I 2...


