3-16
Area Designation (Using the Edit Pen)
6.
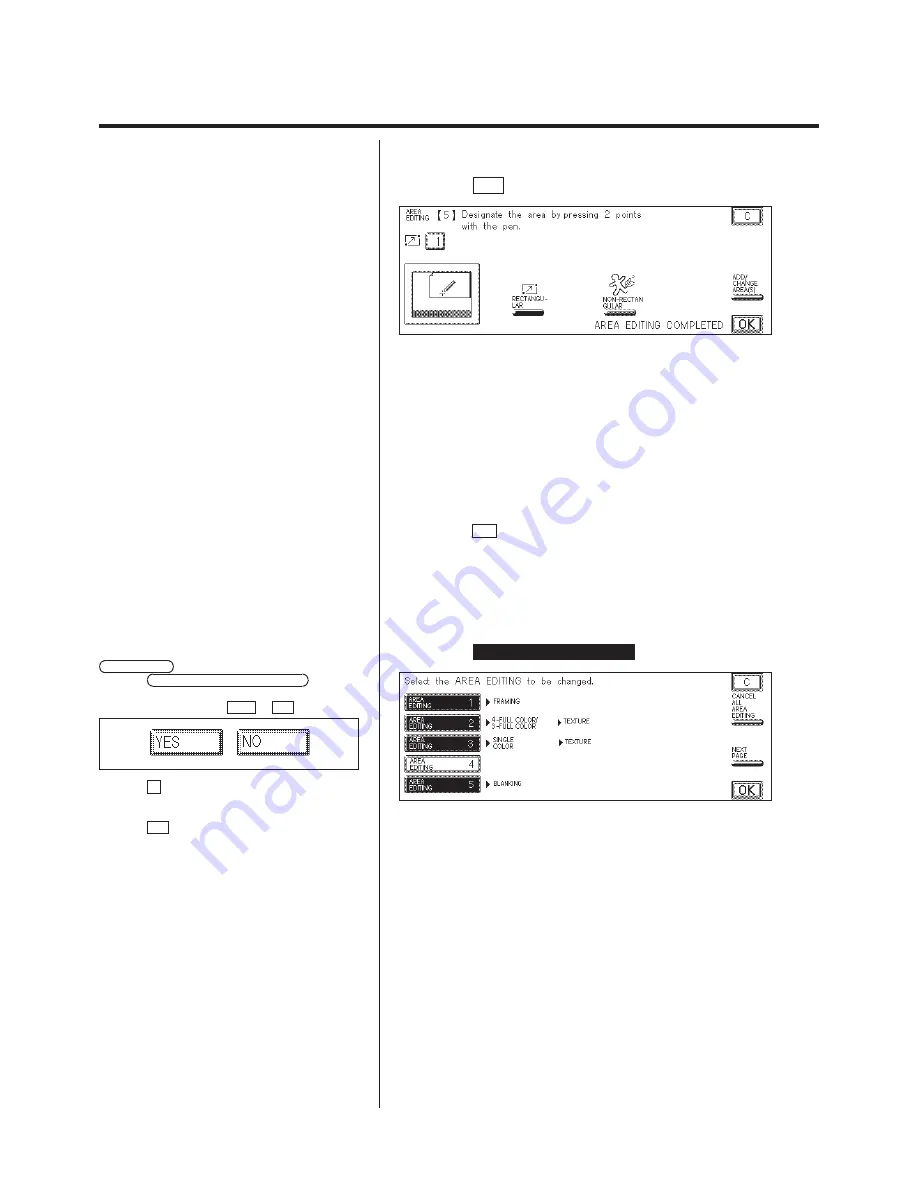
Press the OK key.
7.
Continue the Area Editing, or end the Area Editing as
necessary.
N
To continue specifying other Area editing:
1. Designate an area.
To designate an area, see “Designating Areas,” on p. 3-8.
2. Select the editing functions for the area(s).
N
To end the Area editing:
Press the OK key.
L
Changing an Area Editing Settings
1.
Press the
AREA DESIGNATION
key.
P
If there is no Area Editing required, press the
NEXT PAGE
key to display the next screen.
P
If the CANCEL ALL AREA EDITING key is
pressed, all area editing designated up to that point
is canceled. Select either YES or NO .
P
If the C key is pressed, the Area Designation
settings are canceled and the display returns to the
standard display.
P
If the OK key is pressed, the settings for Area
Designation are not changed and the screen returns
to the standard display.
P
Color Setting is also shown, but can not be
selected.
Summary of Contents for Color System 200
Page 2: ...ic...
Page 84: ...1 72...
Page 190: ...4 48...
Page 191: ...I 1 Offset Plate Original Creating Color Separations of a Color Original Index Index I 2...


