3-10
Area Designation (Using the Edit Pen)
N
Multiple Editing
Press the key for the desired editing functions.
If a copy setting key is pressed, the selected function is displayed on
the setting screen. The methods for setting each of the functions are
explained below.
SINGLE COLOR
see p. 1-31
TEXT EDITING
see p. 2-10
4-FULL COLOR/3-FULL COLOR see p. 1-59
TEXTURE
see p. 2-22
COLOR CONVERSION
see p. 1-56
NEGA/POSI
see p.2-7
COLOR GRADATION
see p. 1-33
ORIGINAL TYPE
see p. 2-25
(Basic Operations Manual)
BASE COLOR
see p.1-42
COLOR BALANCE
see p. 1-22
COLOR FILTER
see p. 1-38
SATURATION ADJ.
see p. 1-22
PAINT
see p. 1-44
HUE ADJUST
see p. 1-22
P
There are several restrictions concerning area
editing. See “Area Designations Restrictions,” on
p. 3-21.
P
The Paint function adds color in a designated
area.
P
When an editing function is set, those keys for
editing functions that can not be set together are
dimmed in the display.
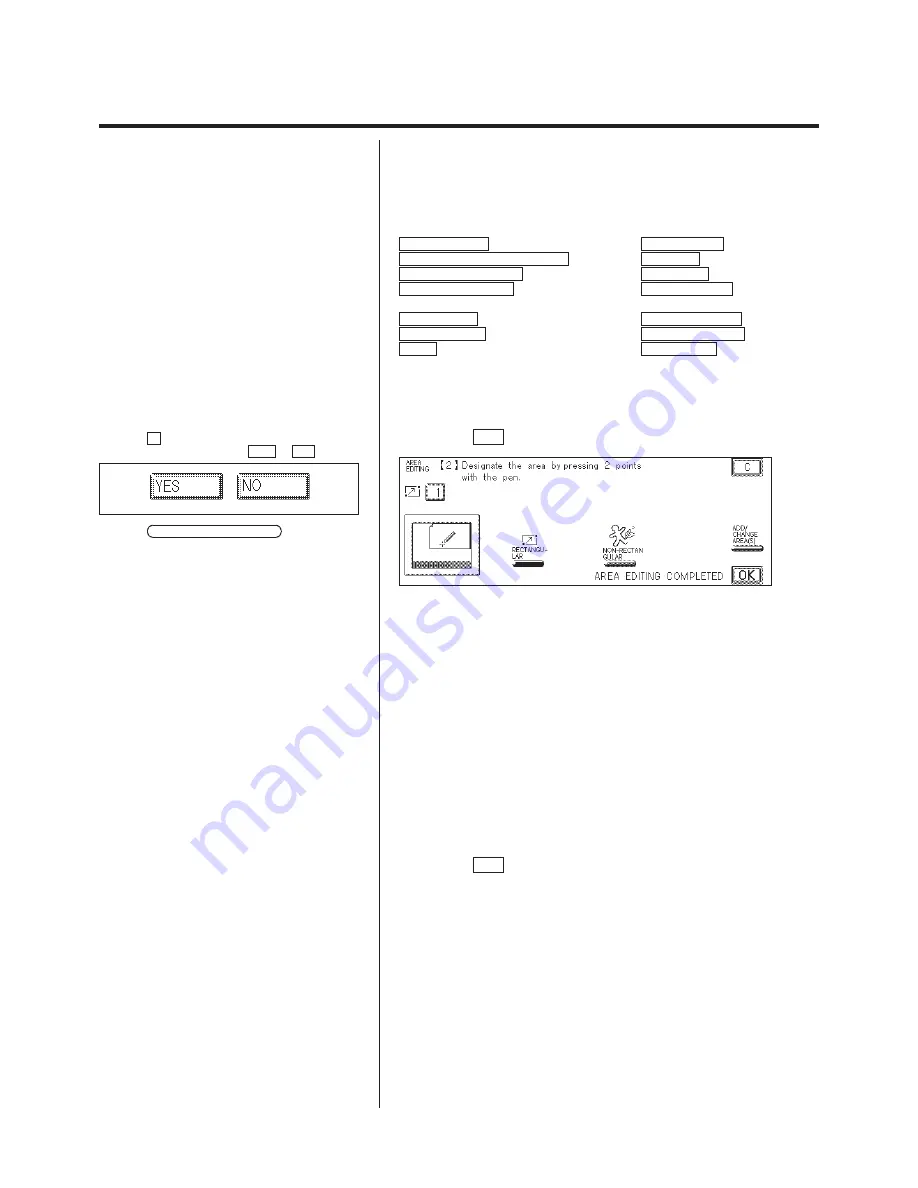
6.
Press the OK key.
P
If the C key is pressed, the area that was set
last is canceled. Select either YES or NO .
P
If the ADD/CHANGE AREA(S) key is
pressed, previously set areas and editing functions
can be changed or added. (See p. 3-14.)
7.
Continue making settings for Area Editing 2.
When the area editing settings are complete, proceed to step 8.
N
To continue specifying other area editing:
1. Designate an area.
To desigate an area, see “Designating Areas,” on p. 3-8.
2. Select the editing functions for the area(s).
P
Up to 30 area editing can be specified.
P
For details on what happens when areas
overlap, see “When Designated Areas Overlap,” on
p. 3-21.
8.
Press the OK key.
The Area Designation is set.
Summary of Contents for Color System 200
Page 2: ...ic...
Page 84: ...1 72...
Page 190: ...4 48...
Page 191: ...I 1 Offset Plate Original Creating Color Separations of a Color Original Index Index I 2...


