3-18
Area Designation (Using the Edit Pen)
3. Use the eight-direction keys to shift. Objects are shifted in 1 mm
steps.
X:
Shifted in the horizontal direction.
P
key to shift right,
O
key to shift left.
Y:
Shifted in the vertical direction.
M
key to shift up,
N
key to shift down.
N
Changing the area size
1. Press the key corresponding to the number of the area to be
changed.
2. Press the ADJUST AREA key.
P
Size corrections are only made when the
designated area size is not copied correctly.
Corrections only to the area can be made without
moving the original on the platen glass.
P
Changes can not be made to sizes of Polgon,
Free, Tracing, or Enclosed area.
P
For the horizontal direction, movement to the
left is displayed by “+”, and movement to the right is
“–”.
P
For the vertical direction, movement up is
displayed by “–”, and movement down is “+”.
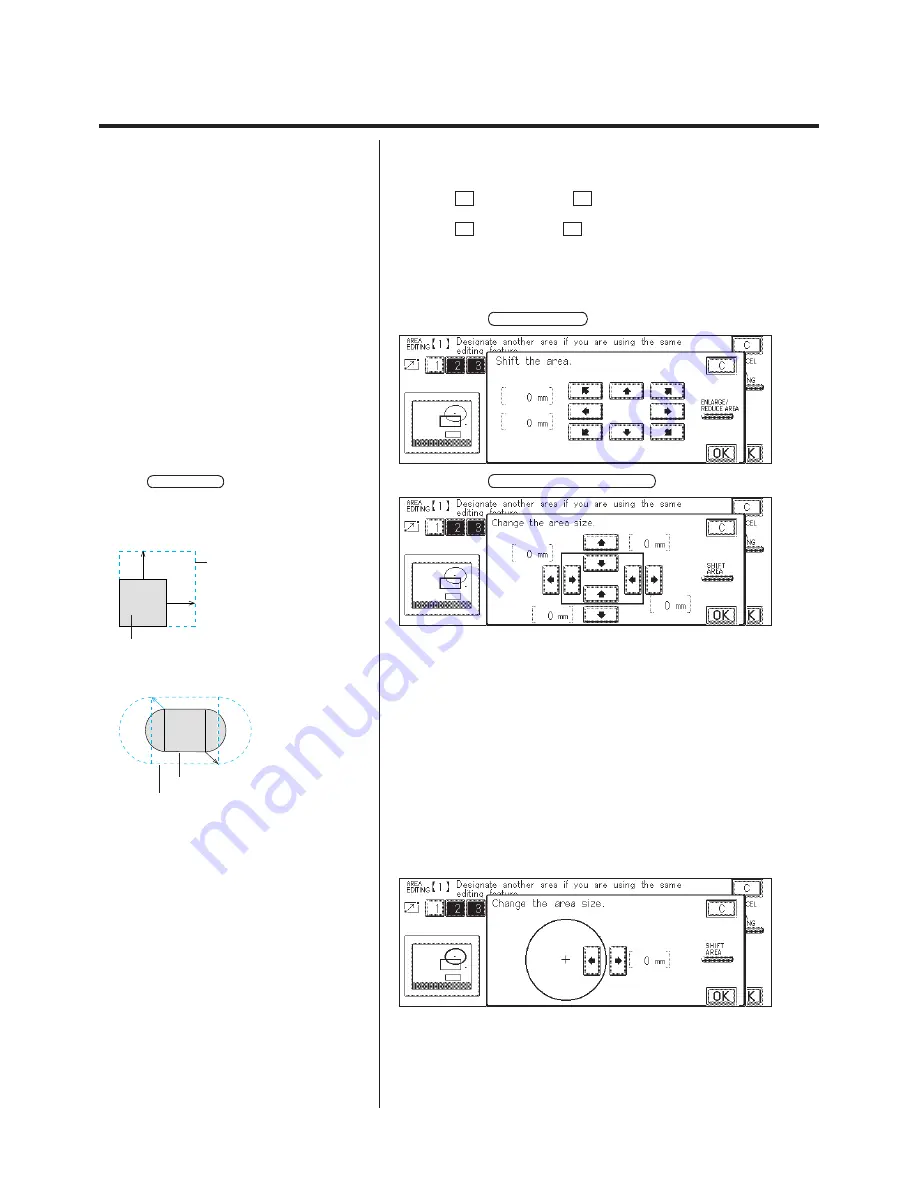
3. Press the ENLARGE/REDUCE AREA key.
Correct the two points of designated area.
P
If the SHIFT AREA key is pressed, the screen
returns to the Area Shift display.
P
The correction value for the size is calculated as
follows.
e.g.) Rectangler
5mm
Designated area
5mm
Edited area
In this case, enlarge the original –5 mm to the right
and –5 mm up.
e.g.) Ellips
Edited area
Designated area
The whole size can be adjusted by changing the
standard rectangle size.
If the designated area is circle, the following display
appears.
Correct the length of the radius.
4. Use the eight-direction keys to change the area size.
Summary of Contents for Color System 200
Page 2: ...ic...
Page 84: ...1 72...
Page 190: ...4 48...
Page 191: ...I 1 Offset Plate Original Creating Color Separations of a Color Original Index Index I 2...


