The File Menu
Commands and Settings 91
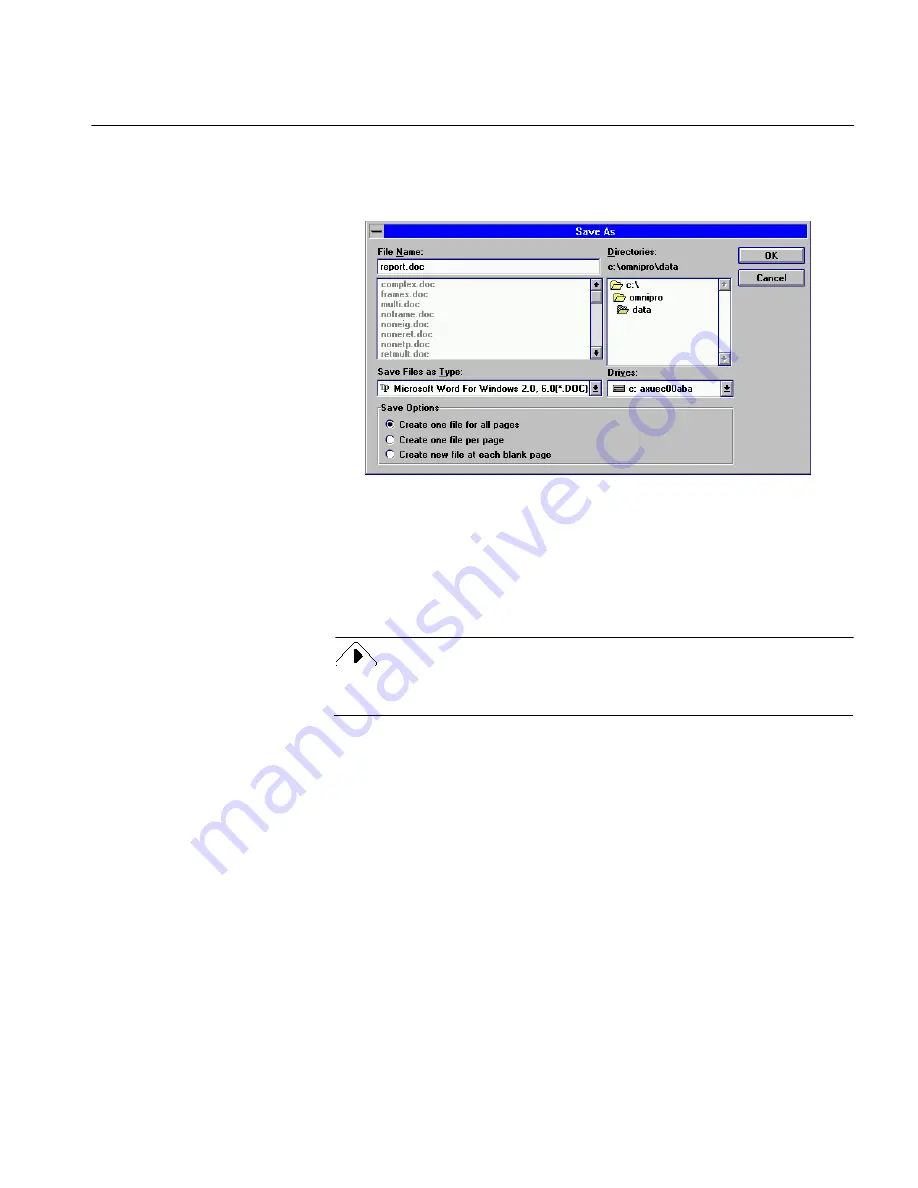
Saving a File
1
Choose
Save As...
in the File menu.
The Save As dialog box appears.
2
Select a file type in the
Save Files as Type
drop-down list.
See “Supported Output File Formats” on page 238 for a list of
supported file formats.
Remember, if you save your image as a Caere Document first,
you can reopen and re-edit it, and save it in other file formats as
well.
You must perform OCR on any document before you can save it to a
text format.
3
Type a name for your file in the
File Name
text box.
See the next section for information on how the save option you
choose affects the length of the file name.
4
Select a location for your file.
The default location is
omnipro\data
.
5
Select the appropriate option under
Save Options
as described in
“Save Options” on page 92.
6
Click
OK
.
OmniPage automatically adds the appropriate file extension to
the file name and the current working file returns to the screen.
Click
Cancel
at any time to exit without saving.


