The Process Menu
Commands and Settings 141
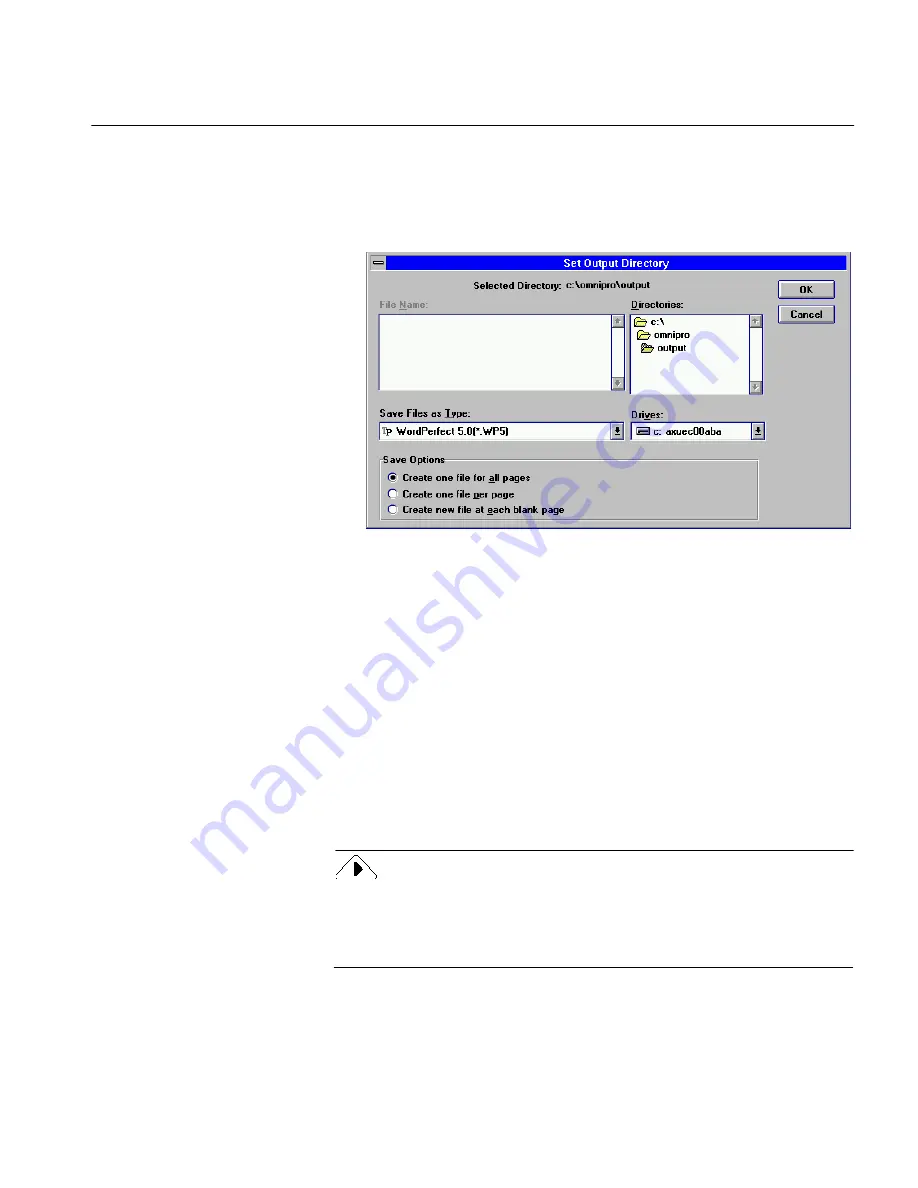
Set Output Directory
You can choose the default location for finished files.
1
Click
Set Output Directory...
.
The Set Output Directory dialog box appears.
The dialog box opens to the
omnipro\output
directory by
default. You can select another directory to which OmniPage will
save your finished documents after OCR if desired.
2
Select a file type in the
Save Files as Type
drop-down list.
The format you choose affects
all
the files in the
Files To Finish
list
box.
You can select a file and click
Save As...
to change the file type or
location to which the file will be saved after recognition as
described previously in this section.
3
Select one of the
Save Options.
The option you choose affects
all
the files in the
Files to Finish
list
box.
See “Save Options” on page 92 for information.
OmniPage automatically truncates file names that are too long for the
selected save option. If your file name can only have five characters (as
with the
Create one file per page
option) but its name is
longer.doc
,
for example, OmniPage would shorten it to
longe.doc
.
4
Click
OK
when you are done.


