The Toolbar
Commands and Settings 84
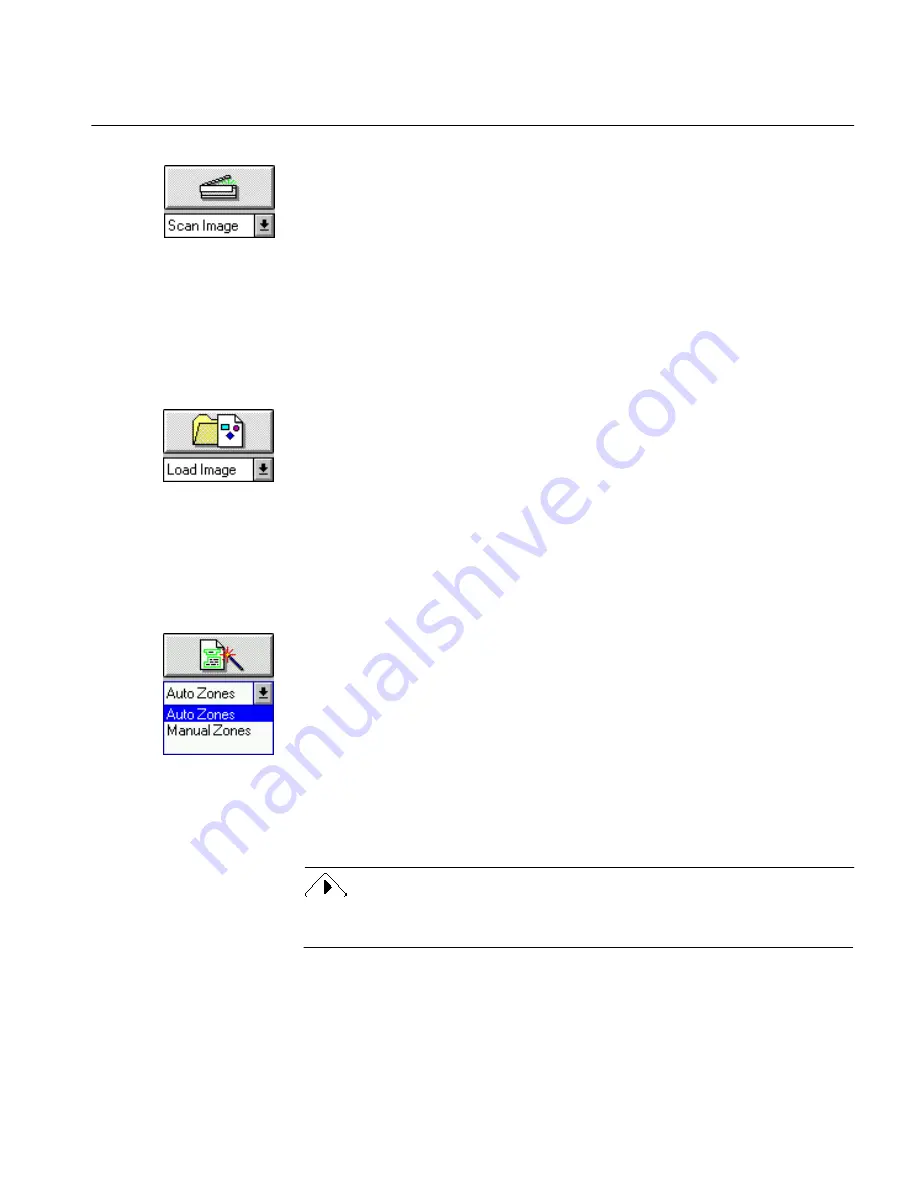
Scan Image
Select
Scan Image
to scan a page in your scanner. This command only
appears in the drop-down list if you have installed the Scan Manager.
Select your default scanner in the Scan Manager before scanning (see
“Scan Manager Installation” on page 8). Select the appropriate Scanner
options in the Settings Panel as well.
A progress meter appears and the status bar reports progress during
scanning. The page image appears in the zone window when scanning is
complete.
Click the
STOP
button in the toolbar to cancel scanning at any time.
Load Image
Select
Load Image
to load a previously saved image file as a new document
or to add it as a new page to an open document.
An image file is a picture of text and/or graphics that is saved in an image
file format such as TIFF or PCX. When you load an image file in
OmniPage, it appears in the zone window. See “Supported Input File
Formats” on page 239 for a list of files OmniPage can load.
Click the
STOP
button in the toolbar to cancel processing at any time. See
“Load Image” on page 119 for detailed information on this command.
Zone Button
The Zone button is the third button in the toolbar. This button contains the
two commands,
Auto Zones
and
Manual Zones,
that are in the cascading
menu under the
Process Settings
command in the Process menu. (The Zone
button drop-down list contains the names of available zone templates
rather than the Process menu command
Use Template...
.)
Click the Zone button to create zones that determine what will be
recognized in the page image. The available commands are described
further in this section.
OmniPage uses the selected Zone button command when it performs
automatic processing.
Use your right mouse button to click the Zone button when it is active and
automatically open the Settings Panel to Zones options.


