Settings Panel Overview
Tutorials 19
You can retype the highlighted word if necessary while the
Verification window is still open. This is a quick way to edit text
without using the spell checker.
5
Click anywhere in the text window to close the Verification
window.
6
Choose
Close Document...
in the File menu to close the Quick Scan
Page sample.
7
Click
No
in the dialog box that asks if you want to save changes.
You will edit documents and save them in later tutorials.
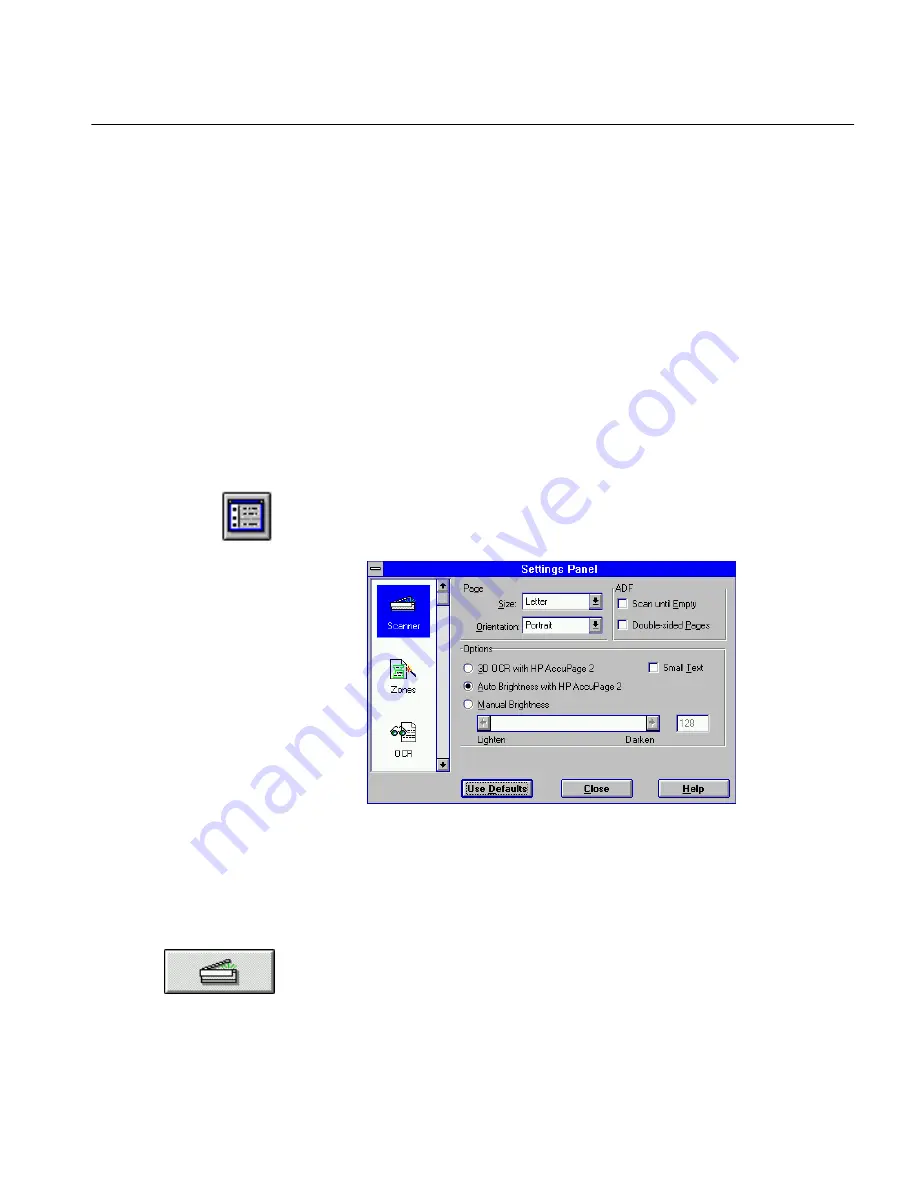
Settings Panel Overview
Use the Settings Panel to customize the OCR process for particular pages.
The page you just scanned had a simple page layout with crisp black text
on a clean white background. Most settings work well with this type of
page. You will customize the Settings Panel options in later tutorials.
1
Click the Settings Panel button in the toolbar or choose
Settings
Panel...
in the Settings menu.
The Settings Panel appears.
There are seven panels in the Settings Panel dialog box: Scanner,
Zones, OCR, Fonts, Spelling, Direct Input, and Preferences
.
2
Click each icon in turn to view its options.
Use the scroll box to access and select icons below the OCR icon.
3
After you click the Preferences icon, click
Close
.
4
Position the mouse pointer over the Image button in the toolbar
and click the
right
mouse button.
5
The Settings Panel opens to the Scanner options.


