The Process Menu
Commands and Settings 126
Moving Zones
1
Click the Draw Zones tool.
2
Click a zone to select it.
3
Handles appear on the zone.
4
Place your cursor inside a zone so that it changes to a four-way
arrow.
5
Hold down the mouse button, and drag the zone wherever you
want it.
Only the zone borders can be moved; the contents of the page
image remain in the same place.
Erasing Zones
Your page must already have zones on it to erase.
1
Click the Erase Zones tool.
2
Click each zone you want to erase.
The zone border disappears but the text within in it does not.
This portion of text will not be recognized.
Assigning Zone Contents Files
You can assign zone contents files to manually drawn zones for better
recognition accuracy. For example, if your image has a text paragraph
followed by a table or numbers, you can draw separate zones around each
and assign an alphanumeric zone contents file to the paragraph and a
numeric zone contents file to the table.
The graphic zone contents file is especially useful for identifying graphics.
See for a tutorial exercise that illustrates this.
To assign zone contents files to zones:
1
After drawing zones manually, click within a zone to select it.
2
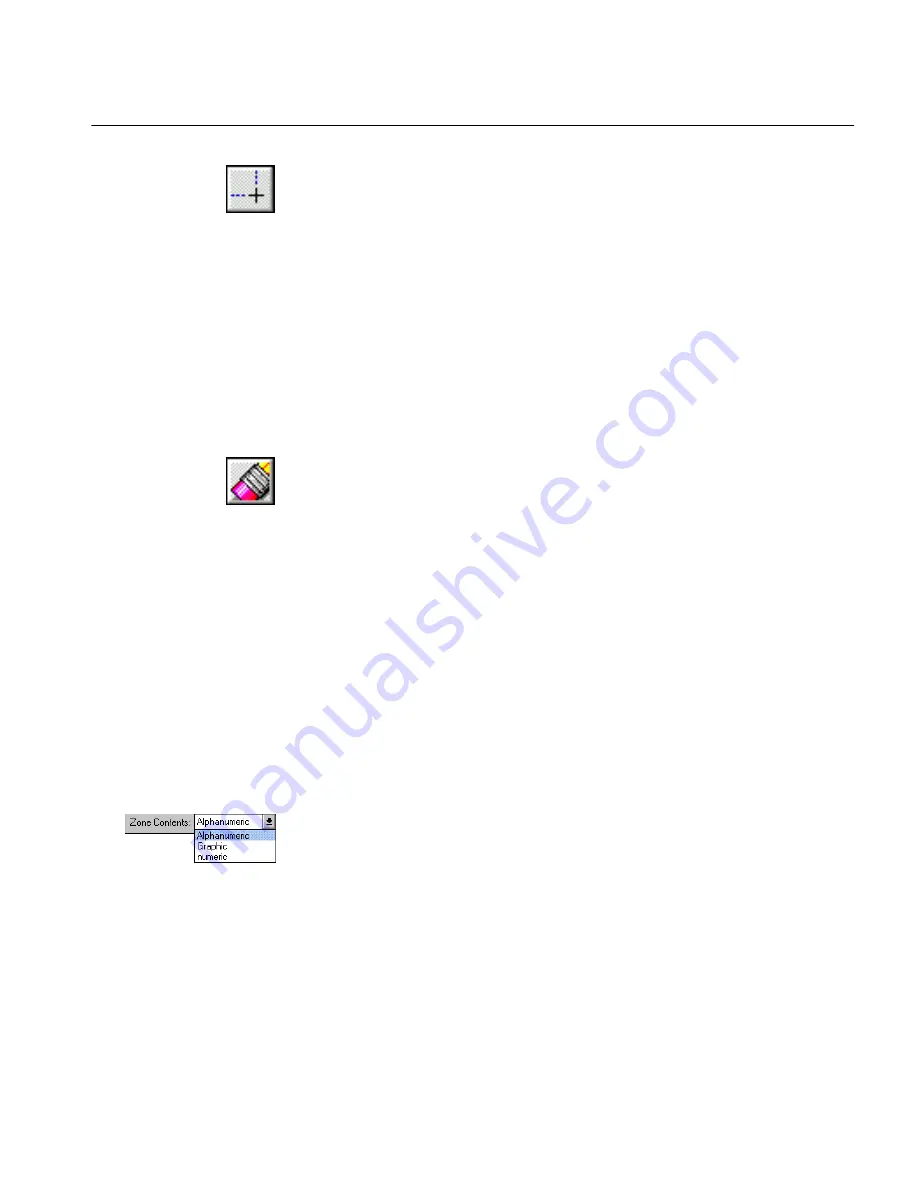
Select the appropriate zone contents file from the
Zone Contents
drop-down list.
3
Repeat steps one and two for any other zones you wish.
You can change a zone contents assignment at any time before
recognition.
You can also create your own zone contents file for specific characters. See
“Edit Zone Contents File” on page 146 for information.


