9 12
Section 9: Administering Custom Call Routing (CCR)
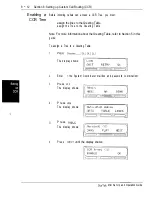
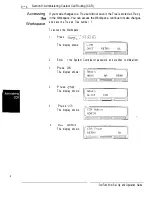
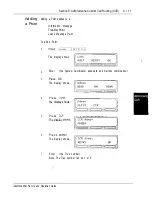
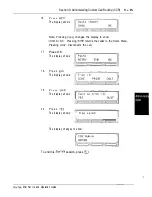
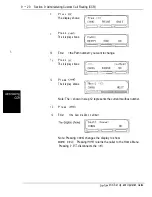
8.
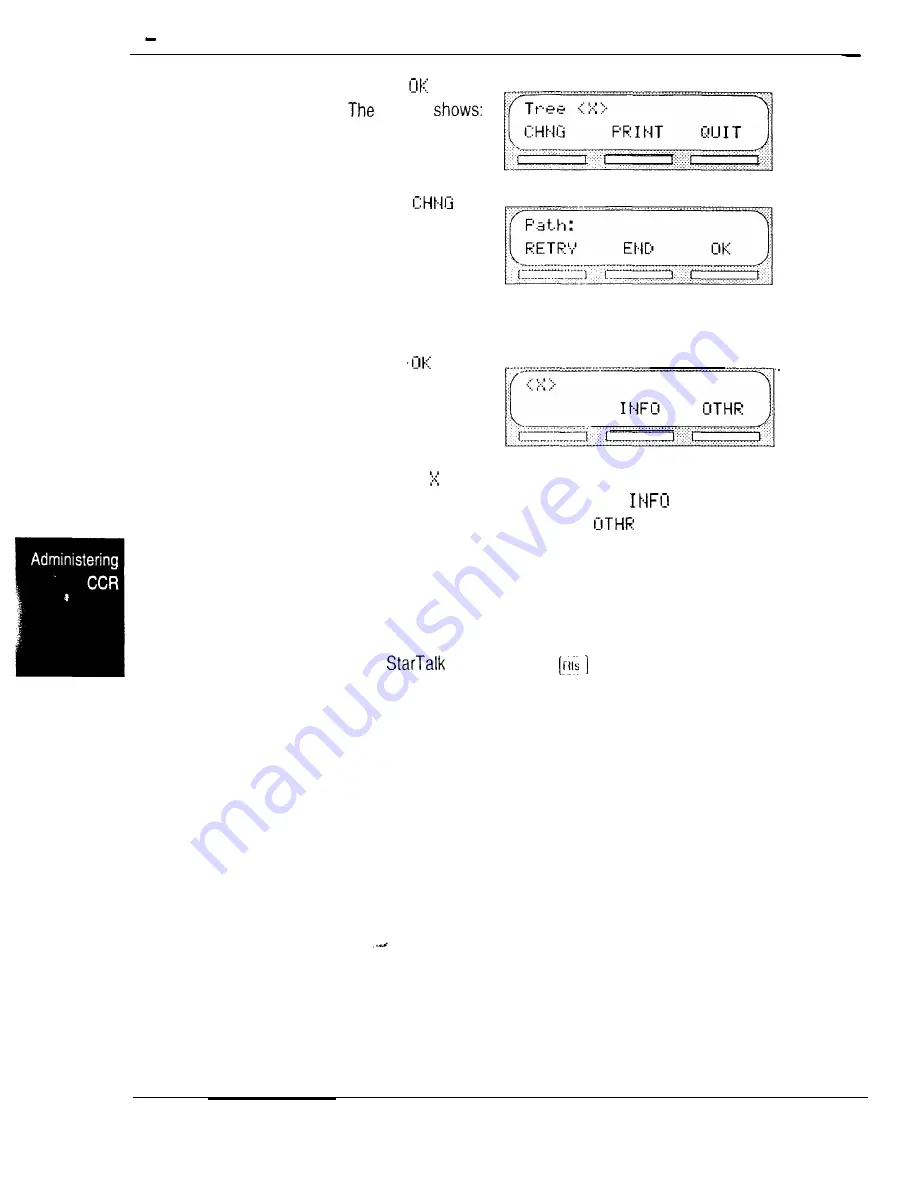
Press
display
9.
P r e s s
The display shows:
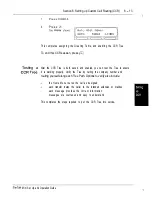
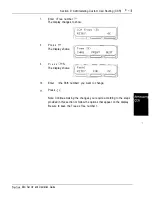
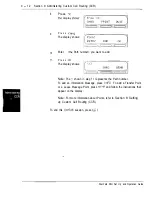
10.
Enter
<the Path number> you want to add.
11.
P r e s s
The display shows:
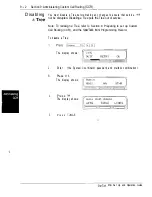
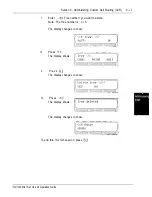
Note:
The shown in step 11 represents the Path number.
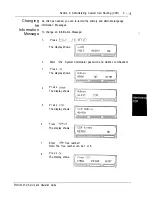
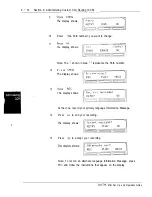
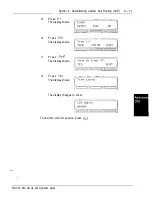
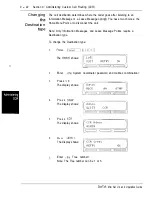
To add an Information Message, press
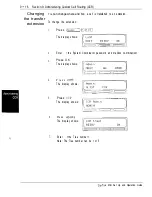
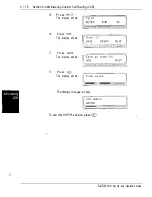
To add a Transfer Point,
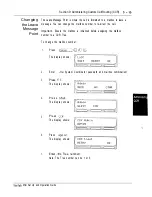
or a Leave Message Point, press
and follow the instructions that
appear on the display.
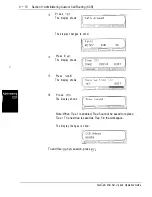
Note:
For more information about Points, refer to
Section 8: Setting
up Custom Call Routing (CCR).
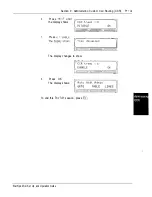
To end this
session, press
Star-Talk Mini Set Up and Operation Guide
Summary of Contents for StarTalk Mini
Page 1: ...StarTalk Mini Installation Guide _ I _ c ...
Page 3: ......
Page 34: ...StarTalk Mini Reference Guide _ I _ c ...
Page 38: ...4 Table of contents Mini Reference Guide ...
Page 58: ...2 16 Section 2 Learning about Mini Reference Guide ...
Page 94: ...4 32 Section 4 Your Personal Mailbox Mini Reference Guide ...
Page 106: ...6 4 Section 6 Telephone etiquette Mini Reference Guide ...
Page 110: ...7 4 Section 7 Troubleshooting Mini Reference Guide ...
Page 120: ...Index 4 Mini Reference Guide ...
Page 121: ...StarTalk Mini Setup and Operation Guide _ I _ c ...
Page 133: ...1 6 Section 1 How to use this guide Mini Set Up and Operation Guide ...
Page 149: ...2 16 Section 2 Learning about Mini Set Up and Operation Guide ...
Page 163: ...3 14 Section 3 Preparing to set up Mini Set Up and Operation Guide ...
Page 173: ...4 10 Section 4 Preparing to set up Custom Call Routing CCR Mini Set Up and Operation Guide ...
Page 219: ...6 28 Section 6 Setting up mailboxes Mini Set Up and Operation Guide ...
Page 249: ...8 14 Section 8 Setting up Custom Call Routing CCR Mini Set Up and Operation Guide ...
Page 293: ...1 0 20 Section 10 Administering the mailboxes Mini Set Up and Operation Guide ...
Page 325: ...13 8 Section 13 Troubleshooting Mini Set Up and Operation Guide ...
Page 343: ...D 4 Appendix configuration tips Mini Set Up and Operation Guide ...
Page 360: ......

