


Clearing Paper Jams
Maintenance & Supplies
7 - 6
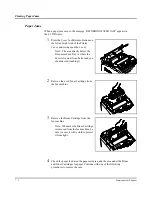
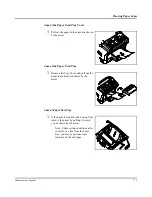
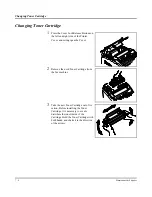
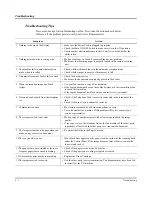
Jam at the Paper Feed Tray Cover
1
Pull out the paper in the direction shown
by the arrow.
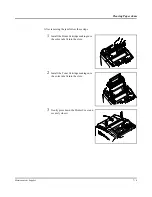
Jam at the Paper Feed Tray
1
Remove the Tray Cover and pull out the
paper in the direction shown by the
arrow.
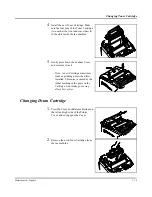
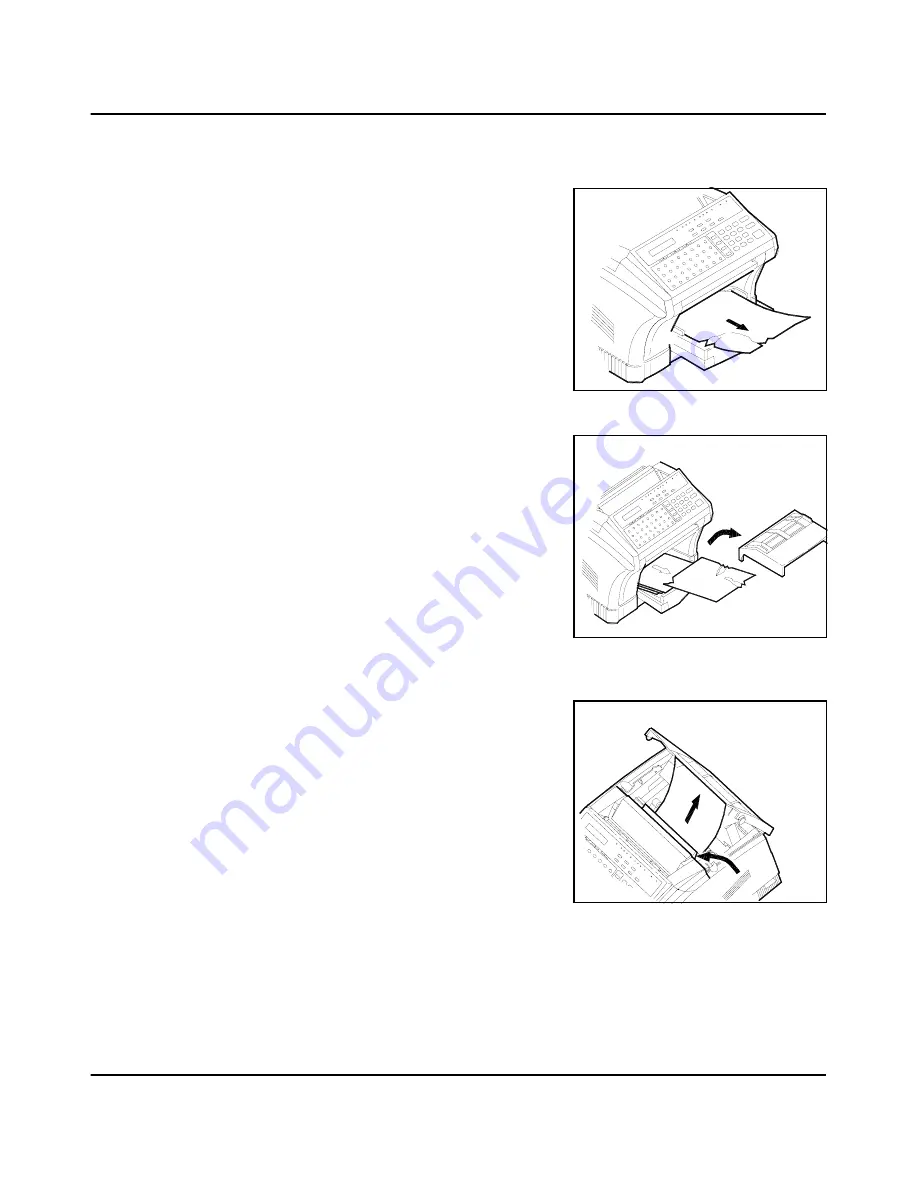
Jam at Paper Exit Tray
1
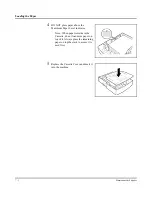
If the paper is caught by the Fusing Unit,
remove the paper by pulling it toward
you as shown by the arrow.
Note: Under certain conditions, after
you remove a jam from the Fuser
area, you may experience toner
smudges on the next page.
Summary of Contents for NEFAX655e
Page 1: ...Safety Information ...
Page 10: ...IX Safety Information LABELS ...
Page 13: ...Chapter 1 Introduction ...
Page 26: ...Machine Components 1 13 Introduction ...
Page 27: ...Chapter 2 Basic Operations ...
Page 39: ...Chapter 3 Advanced Facsimile ...
Page 59: ...Chapter 4 Facsimile Programming ...
Page 105: ...Chapter 5 Internet Fax Option ...
Page 124: ...Error Messages 5 19 Internet Fax Option ...
Page 125: ...Chapter 6 PC Printing Scanning ...
Page 146: ...Class 1 Fax Modem 6 21 PC Printing Scanning ...
Page 147: ...Chapter 7 Maintenance Supplies ...
Page 161: ...Maintenance Maintenance Supplies 7 14 Notes ...
Page 162: ...Maintenance 7 15 Maintenance Supplies ...
Page 163: ...Chapter 8 Troubleshooting ...
Page 170: ...Troubleshooting 8 7 Troubleshooting ...
Page 171: ...Chapter 9 Specifications ...
Page 181: ...Appendix A Unpacking Installation ...
Page 198: ...Setting Up the Optional 2nd Paper Cassette A 17 Unpacking Installation ...


