


Audio Editing
Audio editing allows you to process your Samples. Press Button 5 to enter audio editing:
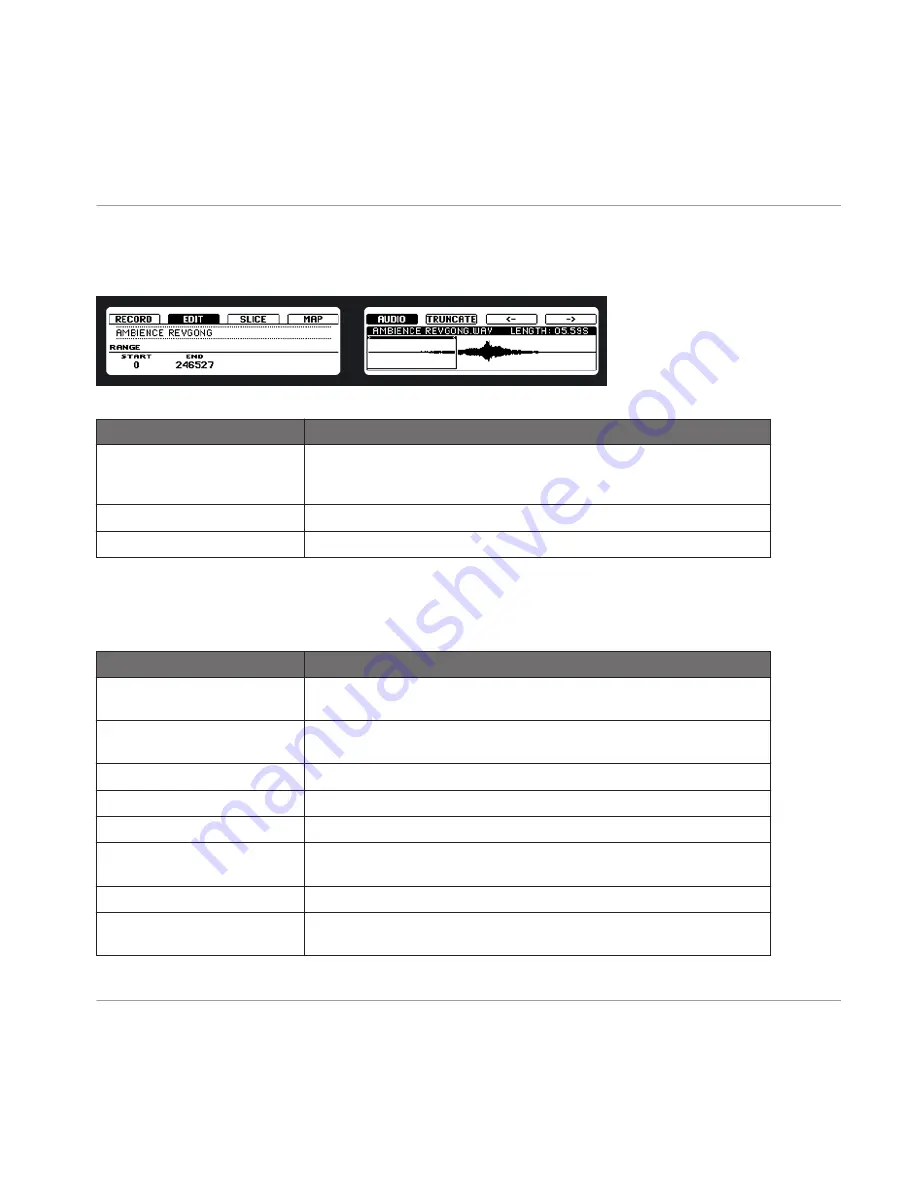
Editing on the hardware.
Display Element
Description
RANGE
Using Knob 1 and Knob 2, you can select the part of the Sample that will
be processed. To process the whole Sample, make sure you set the start
and end point on page 1 accordingly.
START
Use Knob 1 to define the start point of the Sample to be processed.
END
Use Knob 2 to define the end point of the Sample to be processed.
Selecting Audio Processes
Use Button 7 and 8 to access the audio function you want to use. To perform the audio func-
tion on the Sample, press Button 6 after selecting it. Available functions are:
Display Element
Description
TRUNCATE
This causes the part of the Sample that is outside of the range to be delet-
ed.
NORMALIZE
This increases the volume of the selected Sample to the maximum possi-
ble value without inducing distortion.
REVERSE
This reverses the Sample.
FADE IN
This creates a Fade In to the Sample.
FADE OUT
This creates a Fade Out of the Sample.
DC FIX
This removes the DC offset which may cause audible clicks in the begin-
ning or the end of the Sample.
SILENCE
This silences the selected part of the Sample.
CUT
This causes the part of the Sample that is inside of the range to be delet-
ed.
Sampling and Sample Mapping
Controlling Sampling from the Hardware
MASCHINE - Manual - 208


