


Page 2
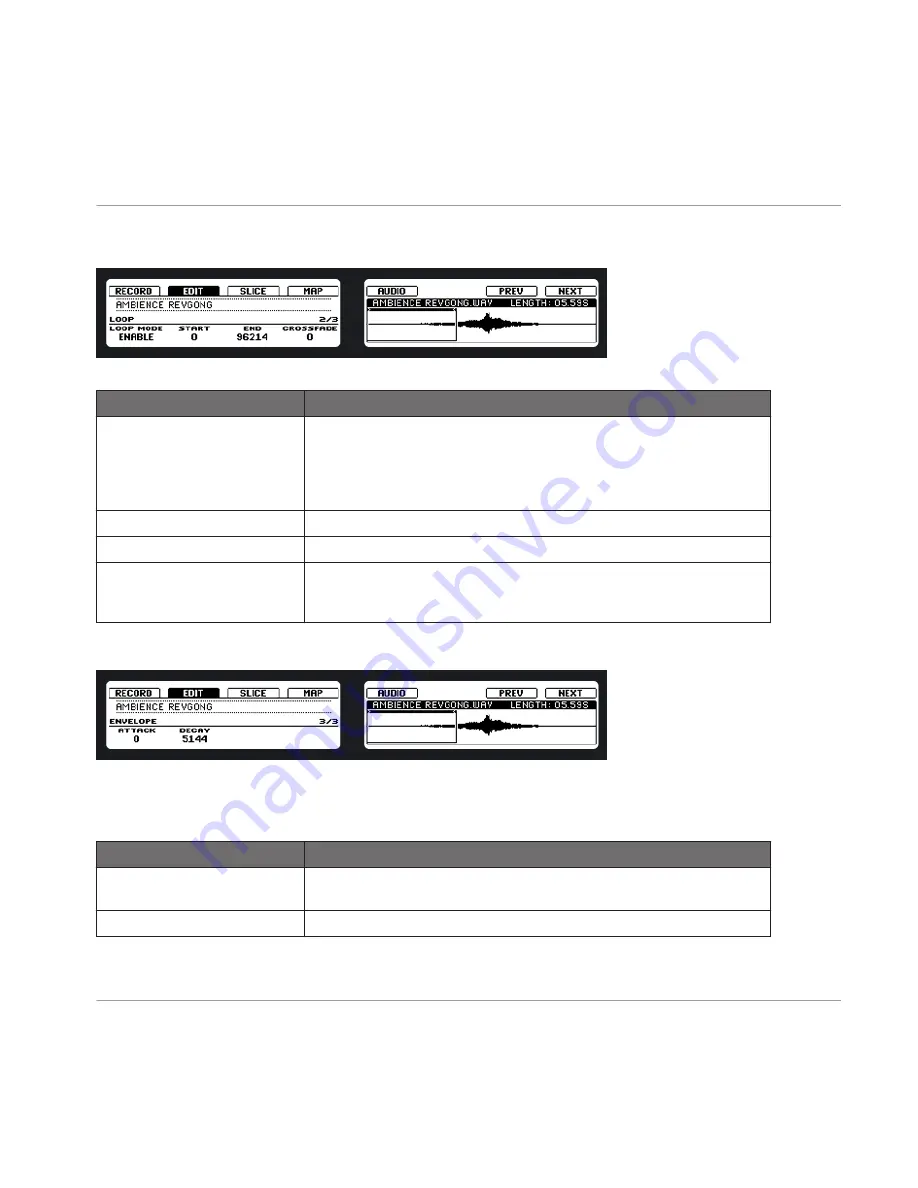
Setting a Loop within a Sample on the hardware.
Display Element
Description
LOOP MODE
Here you can choose to either disable or enable Loop mode by dialing
Knob 1. If enabled, you can see the Loop highlighted on the right display
(as pictured above). The Loop will be repeated as long as the note is trig-
gered, which can be useful to loop either a whole Sample or part of it to
simulate a longer tone.
START
Define the start point of the Loop with Knob 2.
END
Defines the end point of the Loop with Knob 3.
CROSSFADE
CROSSFADE
(Knob 4) allows you to blend a little of the material near the
loop start and end points in order to get a smoother, less abrupt loop. This
is particularly helpful if the loop is inducing any clicks.
Page 3
Setting the amplitude envelope of a Sample on the hardware.
This particular amplitude envelope is mainly meant to allow you to get rid of clicks after slic-
ing; you can either apply it to the whole Sample or to individual selected Slices.
Display Element
Description
ATTACK
The
ATTACK
parameter determines how quickly the Sample / Slice reaches
full volume after being triggered.
DECAY
DECAY
is used to adjust how fast the Sample / Slice dies down.
Sampling and Sample Mapping
Controlling Sampling from the Hardware
MASCHINE - Manual - 207


