


System Configuration
4-39
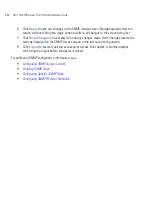
4.
Click
Apply
to save any changes to the SNMP Trap Configuration screen. Navigating away
from the screen without clicking the Apply button results in all changes being lost.
5.
Click
Undo Changes
(if necessary) to undo any changes made. Undo Changes reverts the
settings displayed on SNMP Trap Configuration screen to the last saved configuration.
6.
Click
Logout
to securely exit the access point Access Point applet. A prompt displays
confirming the logout before the applet is closed.
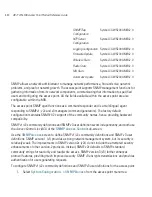
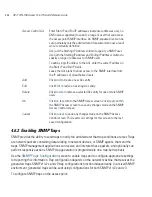
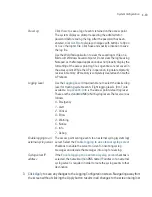
4.6.3 Configuring Specific SNMP Traps
Use the
SNMP Traps
screen to enable specific traps on the access point. Motorola recommends
defining traps to capture unauthorized devices operating within the access point coverage area. Trap
configuration depends on the network machine that receives the generated traps. SNMP v1/v2c and
v3 trap configurations function independently. In a mixed SNMP environment, traps can be sent using
configurations for both SNMP v1/v2c and v3. To configure specific SNMP traps on the access point:
1.
Select
System Configuration
- >
SNMP Access
- >
SNMP Traps
from the menu tree.
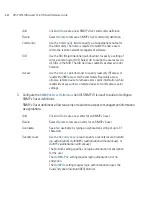
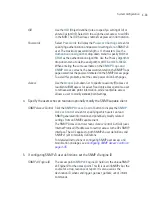
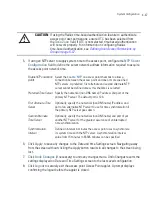
Passwords
Select
Passwords
to display the
Password Settings
screen for
specifying authentication and password settings for an SNMP v3
user. The maximum password length is 11 characters. Use the
Authentication Algorithm
drop-down menu to specify
MD5
or
SHA1
as the authentication algorithm. Use the Privacy Algorithm
drop-down menu to define an algorithm of
DES
or
AES-128bit
.
If entering the same username on the SNMP Traps and SNMP
Access screens, the password entered on the SNMP Traps page
overwrites the password entered on the SNMP Access page. To
avoid this problem, enter the same password on both pages.
CAUTION
Ensure IPSec has been properly configured to protect communications
with the external SNMP server. Changes will not be applied
otherwise.
!
Summary of Contents for AP-7131N-FGR
Page 1: ...AP 7131N FGR Access Point Product Reference Guide ...
Page 3: ...AP 7131N FGR Access Point Product Reference Guide 72E 126727 01 Revision A September 2009 ...
Page 4: ......
Page 55: ...Hardware Installation 2 11 ...
Page 68: ...AP 7131N FGR Access Point Product Reference Guide 2 24 ...
Page 90: ...AP 7131N FGR Access Point Product Reference Guide 3 22 ...
Page 148: ...AP 7131N FGR Access Point Product Reference Guide 4 58 ...
Page 300: ...AP 7131N FGR Access Point Product Reference Guide 6 72 ...
Page 338: ...AP 7131N FGR Access Point Product Reference Guide 7 38 ...
Page 635: ...Configuring Mesh Networking 9 23 5 Define a channel of operation for the 802 11a n radio ...
Page 648: ...AP 7131N FGR Access Point Product Reference Guide 9 36 ...
Page 672: ...AP 7131N FGR Access Point Product Reference Guide 10 24 line con 0 line vty 0 24 end ...
Page 692: ...AP 7131N FGR Access Point Product Reference Guide B 14 ...
Page 698: ...AP 7131N FGR Access Point Product Reference Guide B 20 ...
Page 702: ...AP 7131N FGR Access Point Product Reference Guide C 4 ...
Page 707: ......