


Specifying Management Settings
13
Scanner Mode
13-13
4
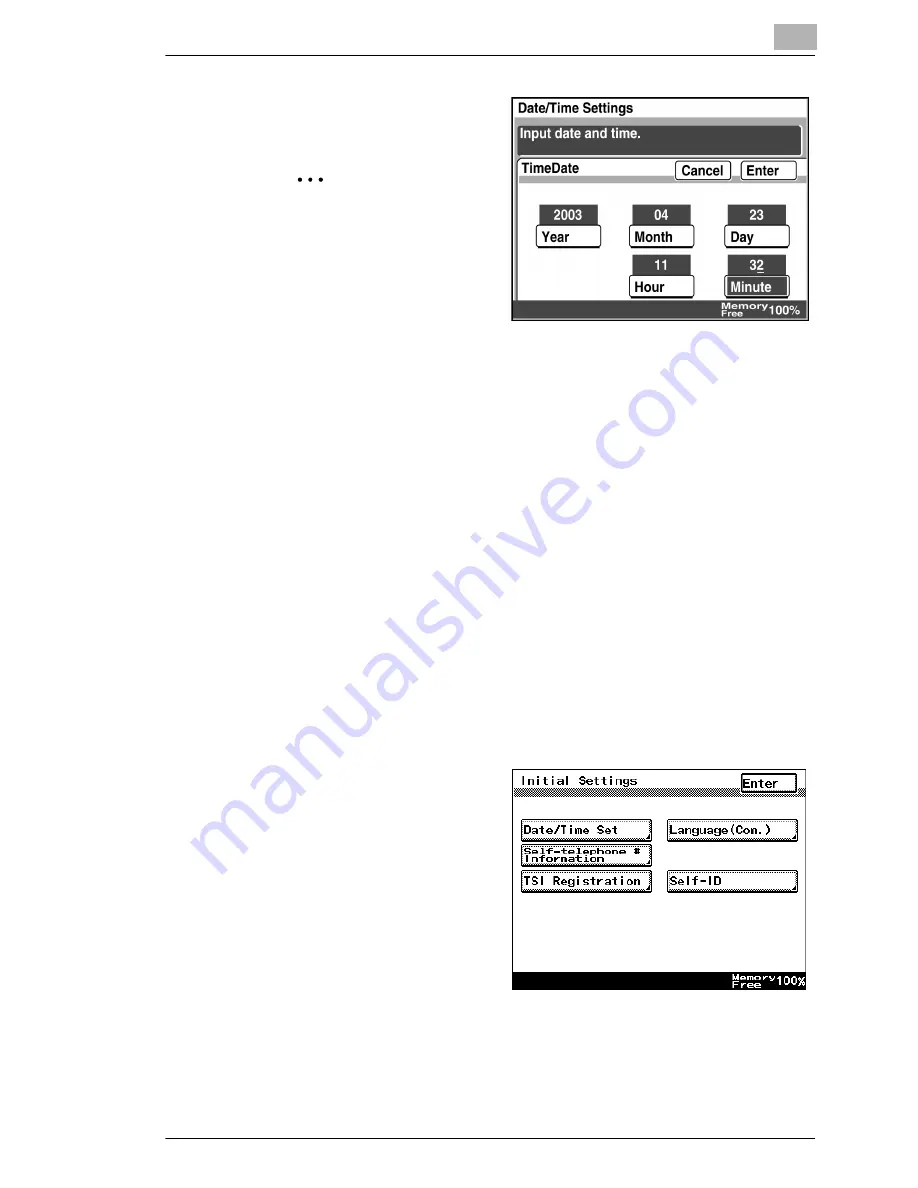
Type in the date and time,
and then touch [Enter].
✎
Tip
To specify the settings:
Touch [Year], [Month],
[Day], [Hour] or [Min.].
Specify the time in the
24-hour format.
To change the date or
time, touch the button for the value that you wish to change ([Year],
[Month], [Day], [Hour] or [Min.]), and then correct the value.
To change the entered value:
Press the [C] (clear) key, and then type in the new value.
5
Continue touching [Enter] to return to the Utility screen, and then touch
[Exit] to return to the standby screen (initial screen).
Setting the time zone
Specify the time difference from Greenwich Mean Time, which is added to
the header of mails that are sent. (The time difference can be adjusted in
30-minute intervals.)
1
Touch [Admin. 1], and then touch [Initial Settings].
❍
Refer to
“Displaying the Administrator Management screen” on
page 13-11
.
2
Touch [Date/Time Set].
Summary of Contents for Scanner Mode
Page 1: ...User Manual 4514 7706 01 Scanner Mode ...
Page 19: ...1 Introduction 1 8 Scanner Mode ...
Page 33: ...2 Overview 2 14 Scanner Mode ...
Page 103: ...5 Performing a Scan to Server FTP Operation 5 12 Scanner Mode ...
Page 113: ...6 Performing a Scan to PC FTP Operation 6 10 Scanner Mode ...
Page 127: ...7 Performing a Scan to HDD Operation 7 14 Scanner Mode ...
Page 183: ...9 Performing a Scan to PC SMTP Operation 9 8 Scanner Mode Scan Area Select the scanning size ...
Page 185: ...9 Performing a Scan to PC SMTP Operation 9 10 Scanner Mode ...
Page 211: ...10 Using IP Scanner 10 26 Scanner Mode ...
Page 217: ...11 Distribution of Fax Documents 11 6 Scanner Mode ...
Page 219: ...12 Network Fax Transmission 12 2 Scanner Mode ...