


13
Specifying Management Settings
13-4
Scanner Mode
6
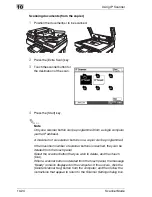
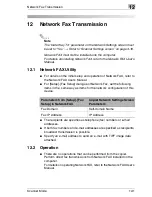
Select the screen that you
wish to have priority, and
then touch [Enter].
7
Continue touching [Enter] to return to the Utility screen, and then touch
[Exit] to return to the standby screen (initial screen).
13.2
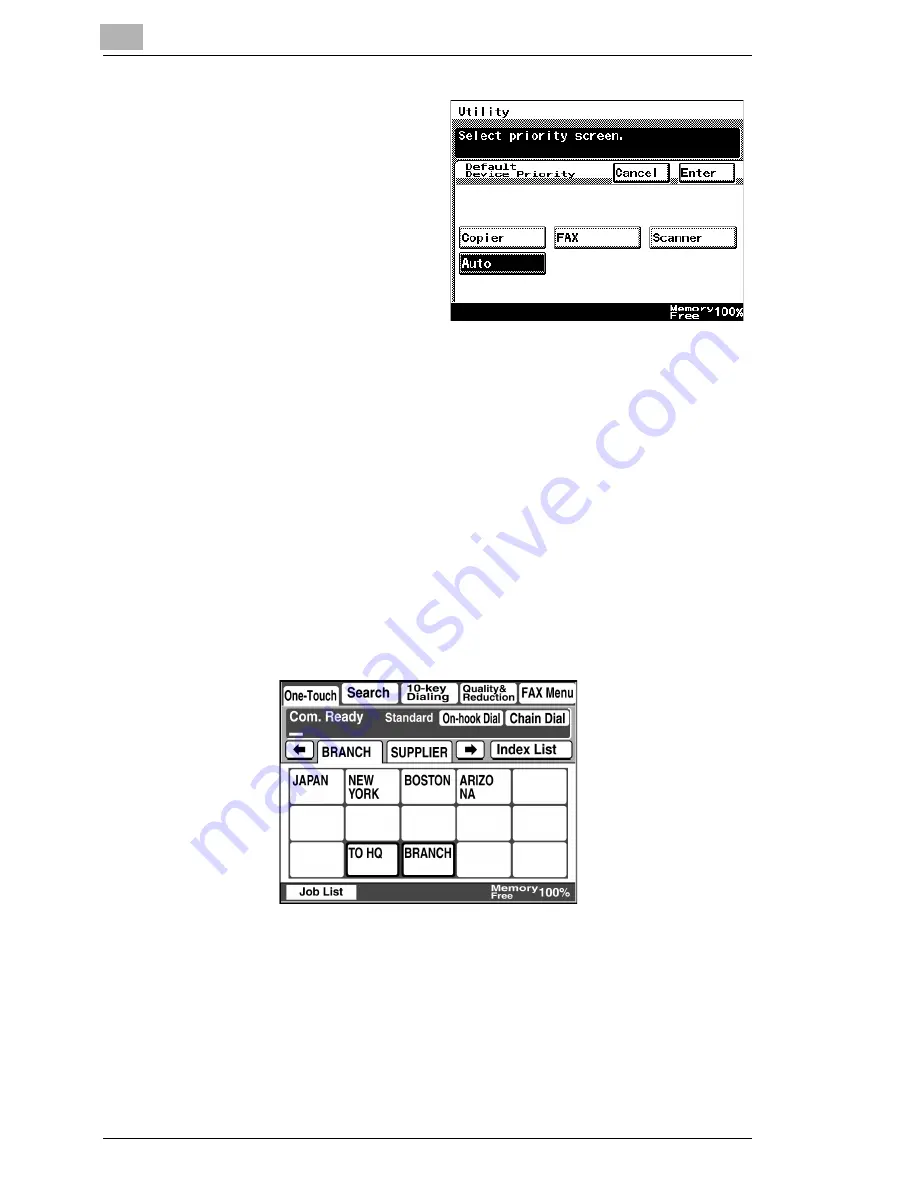
Specifying the Initial Recipient Selection Screen
The initial screen that is displayed when the [Fax/Scan] key is pressed can
be set to the One-Touch screen, the Search screen, the 10-Key Dialing
screen or the Index screen, according to the operation that is being
performed.
One-Touch:
The One-Touch screen is displayed when the
[Fax/Scan] key is pressed.
• For a copier, press the [Scan] key.
Summary of Contents for Scanner Mode
Page 1: ...User Manual 4514 7706 01 Scanner Mode ...
Page 19: ...1 Introduction 1 8 Scanner Mode ...
Page 33: ...2 Overview 2 14 Scanner Mode ...
Page 103: ...5 Performing a Scan to Server FTP Operation 5 12 Scanner Mode ...
Page 113: ...6 Performing a Scan to PC FTP Operation 6 10 Scanner Mode ...
Page 127: ...7 Performing a Scan to HDD Operation 7 14 Scanner Mode ...
Page 183: ...9 Performing a Scan to PC SMTP Operation 9 8 Scanner Mode Scan Area Select the scanning size ...
Page 185: ...9 Performing a Scan to PC SMTP Operation 9 10 Scanner Mode ...
Page 211: ...10 Using IP Scanner 10 26 Scanner Mode ...
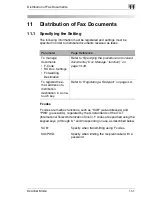
Page 217: ...11 Distribution of Fax Documents 11 6 Scanner Mode ...
Page 219: ...12 Network Fax Transmission 12 2 Scanner Mode ...