


9. CINELITE Display
9-8
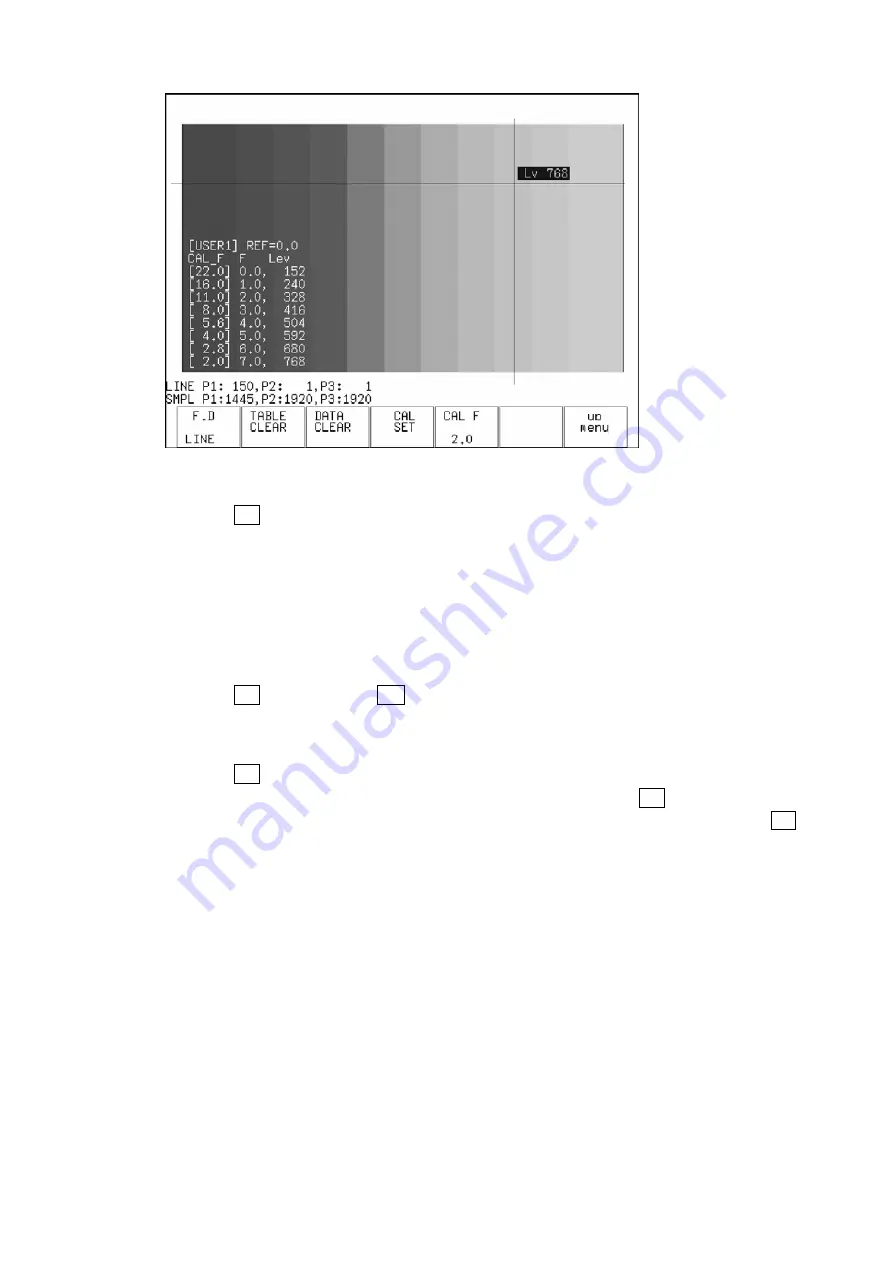
Figure 9-9 User-defined correction table creation display
4. Press F•2 TABLE CLEAR.
All of the values in the user-defined correction table that is currently being edited are
initialized. Be sure to initialize the values first when you create a new user-defined
correction table.
5. Move the X and Y cursors to the darkest part of the grayscale chart.
As you repeat this step and the ones that follow, move the X and Y cursors up
step-by-step.
6. Press F•5 CAL F, and turn F•D to select 22.0.
As you repeat this step, change the value that you select from 22.0 to 16.0 to 11.0 to
8.0 to 5.6 to 4.0 to 2.8 to 2.0, in that order.
7. Press F•4 CAL SET.
The location in the user-defined correction table specified using F•5 CAL F is set to the
luminance at the intersection of the X and Y cursors. To delete a line of data, press F•3
DATA CLEAR.
8. Repeat steps 5 through 7 to input Lev values into the user-defined correction table.
Make sure that the Lev value increases for each new step. Do not leave any Lev
settings in the table blank.


