


6-18
Using Various Functions > Functions Available on the Machine
Global Navigation
Function key
Description
Reference
page
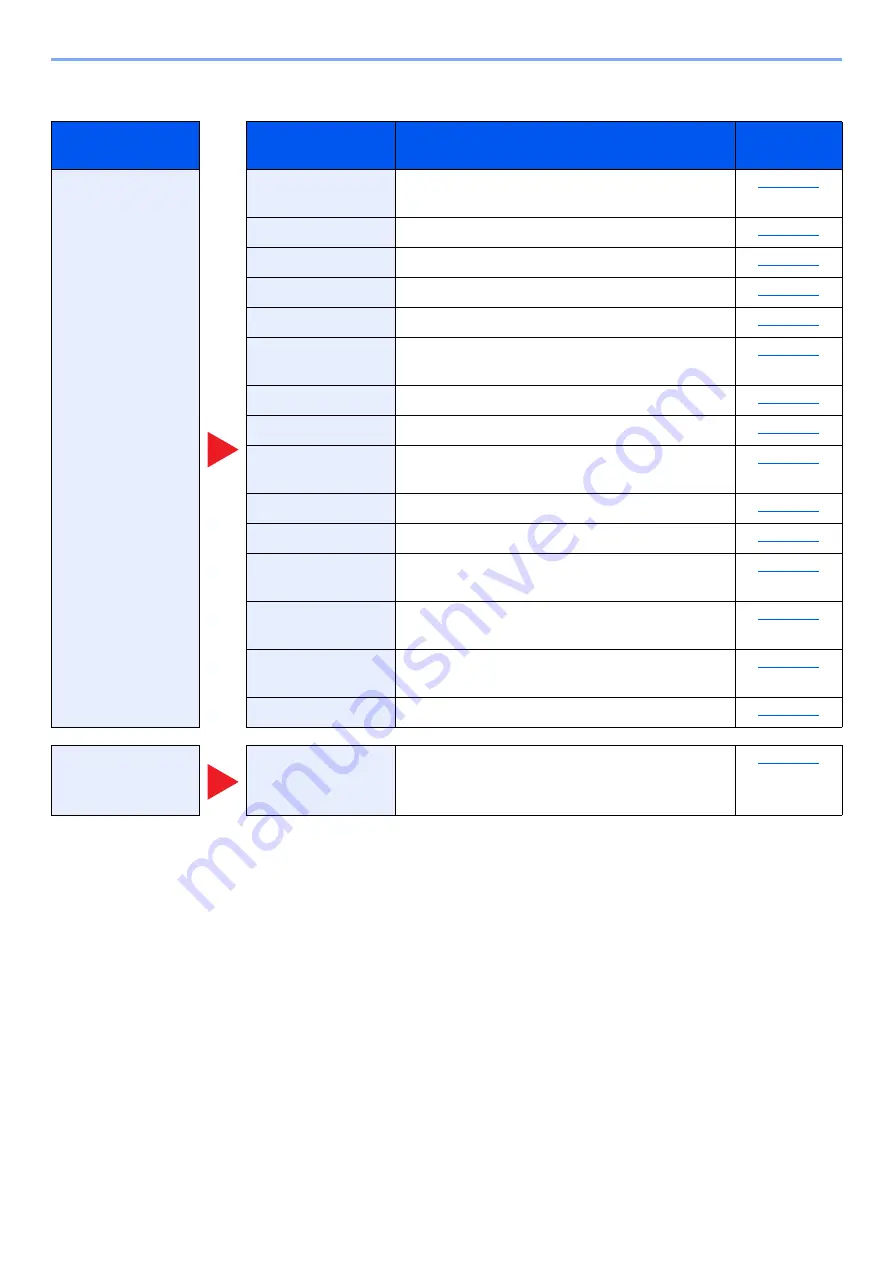
Functions
Configure the
settings for paper
selection and
duplex printing
when printing from
the USB drive.
Select the cassette or multipurpose tray that
contains the required paper size.
Offsets the output by page or set.
Staples or punches printed documents.
Duplex
Print a document to 1-sided or 2-sided sheets.
Margin
Add margins (white space). In addition, you can
set the margin width and the back page margin.
Sends E-mail notice when a job is complete.
EcoPrint saves toner when printing.
Suspends the current job and gives a new job top
priority.
You can add a text stamp on the documents.
You can add a bates stamp on the documents.
Enter the preassigned password to print the PDF
data.
Select the image size when printing JPEG or
TIFF files.
Reduces or enlarges the image size to fit to the
selected paper size when printing XPS file.
Lower print and scan speed for quiet processing.
Color
Configure the color
mode settings.
Summary of Contents for 358ci
Page 1: ...kyoceradocumentsolutions com Operation Guide 508ci 408ci 358ci...
Page 233: ...5 23 Operation on the Machine Sending Document via E mail 6 Press the Start key Sending starts...
Page 541: ...10 22 Troubleshooting Regular Maintenance 4 Install the Punch Waste Box 5 Close the cover...
Page 592: ...10 73 Troubleshooting Clearing Paper Jams 8 Remove any jammed paper 9 Push Right Cover 1...
Page 657: ...Index 10 X XPS Fit to Page 6 85 Default 8 34 Z Zoom 6 42 Default 8 32...
Page 658: ......
Page 661: ...is a trademark of KYOCERA Corporation 2019 KYOCERA Document Solutions Inc 2019 7 2WHKDEN200...


