©2009 IC Realtime, Inc.
98
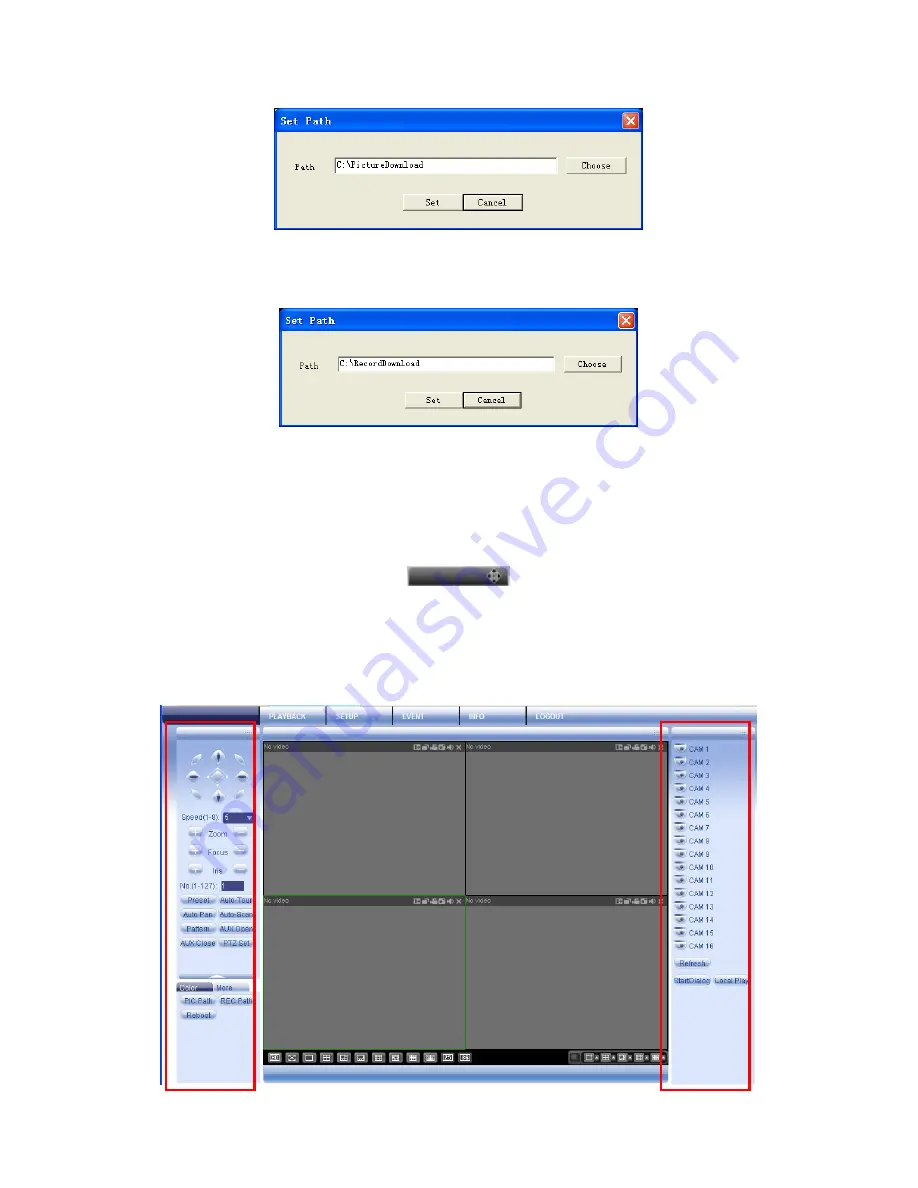
Click picture path to choose a directory for snapshots, as in Figure 7-16.
Figure 7-16
Click record path to choose a directory for locally recorded video, as in Figure 7-17.
Figure 7-17
Clicking reboot will prompt you to reboot the system. Click OK to continue.
7.2.5 Menu Interface Switch
Put your mouse on the PTZ control bar until you see the following icon. See Figure
7-18.
Figure 7-18
Left click your mouse and then drag it to the channel control status bar. You will
notice the two menus interface switched positions. See Figure 7-19. You can
compare the following interface with Figure 7-6.
Summary of Contents for Max 16
Page 1: ... 2009 IC Realtime Inc 1 Standalone DVR User s Manual Max 8 16 ...
Page 29: ... 2009 IC Realtime Inc 29 Figure 3 11 ...
Page 47: ... 2009 IC Realtime Inc 47 Figure 4 21 Figure 4 22 Figure 4 23 Figure 4 24 ...
Page 55: ... 2009 IC Realtime Inc 55 Figure 4 39 ...
Page 111: ... 2009 IC Realtime Inc 111 Figure 7 38 Figure 7 39 ...
Page 112: ... 2009 IC Realtime Inc 112 Figure 7 40 Figure 7 41 Figure 7 42 ...
Page 128: ... 2009 IC Realtime Inc 128 ...
Page 140: ... 2009 IC Realtime Inc 140 ...


