6-31
●
Excitation V adjustment
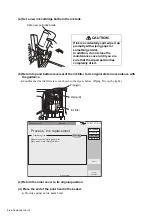
Perform nozzle property test printing.
●
When “Print trigger source” is , press Start printings .
When “Print trigger source” is , input the sensor signal.
4
Update the Excitation V-ref. value.
(a) At the end of test printing, press [Abort] of the “Nozzle property test”
screen and return to the “Excitation V update” screen.
(b) Change “Excitation V-ref.” to the optimum value confirmed at step .
6
O: Good
×
: Bad Space: Not checked
Check date
Ambient
temperature
Excitation V value
optimum
value
0
1
2
3
4
5
6
7
8
9
10 11 12 13 14 15 16 17 18 19
2018.07.07
25 C
×
×
×
×
×
×
×
10
Sensor
Button input
Abort
Start
printing
Abort
Excitation V-ref.
:
Nozzle2
Excitation V-ref.
:
Nozzle1
Ref. ambient temperature
(0〜19)
(0〜19)
23 (℃)
09
−
+
09
−
+
Changes to current ambient temperature.
Change to optimum value.
Back
●
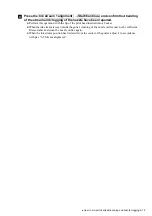
During the nozzle property test, the state of creation of the ink drops may become
poor and an “Ink Drop Charge Too High” or other fault may be generated and the ink
may stop, depending on the Excitation V value.
In this case, after cleaning the print head, eject the ink again. (Refer to par. “3.1.2
When an error occurred at the start of operation” of the instruction manual and
perform the same work.)
The possibility of fault is high when Excitation V is set less than 5. When performing
test printing again, start from setting 10 and test print while decrementing.
CAUTION
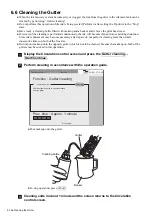
Check the printed result.
●
Check the Excitation V range at which printing is good. The center of that range is the optimum
value.
(Example) Printing good range 5 to 15
→
Optimum value 10
5
When the screen is returned to the “Maintenance menu” by Back ,
set value change is complete.
7
●
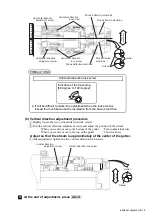
Repeat print setting is disabled during the nozzle property test.
Only one printing is performed by one input signal.
●
Product speed matching setting is disabled during the nozzle property test.
The character width may be different from the actual character width.
CAUTION
5


