


2 Reformat
Reformatting allows you to define and display cross-sections of a 2D stack or 3D volume of
image data that are oriented differently from the original acquisition images.
A baseline view is a basic axial, coronal or sagittal view. Of these, the acquisition view displays
the images in the acquisition plane of the original image set, the other two are the
corresponding orthogonally reformatted views. They can be moved to show any location in the
3D volume, but remain aligned parallel to the three main axes of the Right Anterior Superior
(RAS) coordinate system. An oblique view is a plane reformatted view that can be both moved
and rotated to any location and orientation within the 3D volume.
If a feature of interest extends beyond a single plane, standard baseline or oblique view
reformatting cannot show the entire feature no matter how you position the oblique plane. To
create a single view that includes the entire feature, use curved reformatting to create a curved
cross-section.
2.1 Open Reformat
1. From the File Manager, select the desired exam / series / images to reformat.
○
To select a subset of images, press <Shift> and simultaneously click the first and last
image.
○
To select specific images, press <Ctrl> and simultaneously click individual items.
2. Right-click on the desired exam / series / image and click
Reformat
.
○
An oblique, axial, sagittal, and coronal are displayed in the four viewports.
○
My Tools
tab can be customized to display any display icons. Therefore, the instructions
in this chapter are for accessing a particular icon from the tab on which it originated. On
your system, the icon may be on your
My Tools
tab.
3. Change the view type by selecting a view type from the red annotation.
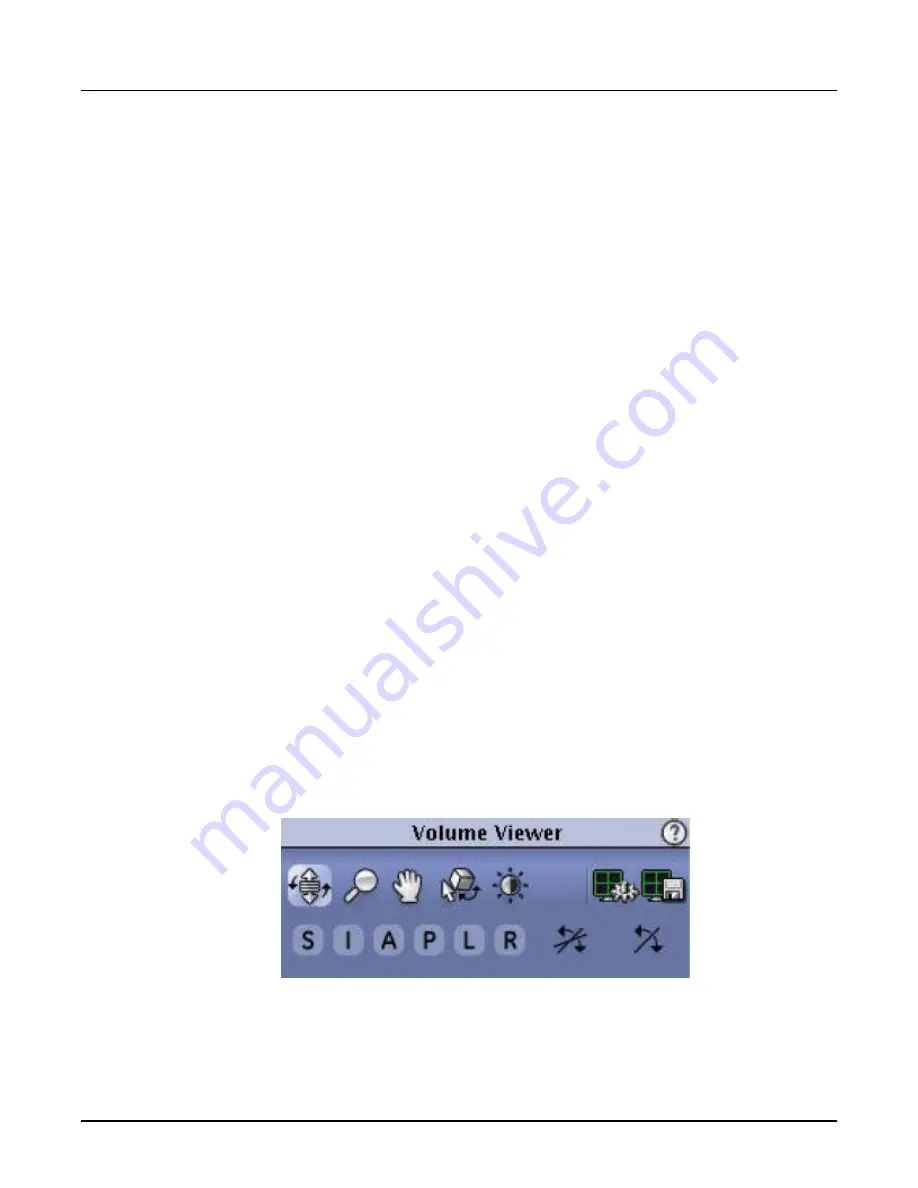
2.2 Use the Reformat Image Controls
The Image Controls display when you start
Reformat
.
Illustration 1: Image Control area
Click an icon on the top row to set the action of the left mouse button when placed over the
image. Changing the selection in the
Image Control
area updates the on-view Mouse Modes
menu selection.
The icons can be in one of three states:
Revolution CT User Manual
Direction 5480385-1EN, Revision 1
Chapter 16 Reformat
443


