


anatomy. For example, when scanning a head, the landmark or zero location is typically
the orbital meatal (OM) line.
○
A landmark or zero reference point is required before you scan a patient. It can be set
before or after you start a new patient exam.
○
When using the external laser alignment light to position the patient, be aware that the
patient’s elevation may be slightly lower with the cradle extended than with the cradle
fully retracted. The cradle may bend slightly under the patient’s weight. Take this
difference into consideration for applications where patient position is critical, such as
treatment planning. To minimize these effects, after positioning the patient using the
external laser alignment, advance the patient to the CT scan plane. Turn on the CT
alignment lights to determine if they line up with the markers on the patient. Compensate
for the bend in the cradle by elevating the table. When the CT alignment lights line up
with the markers, reset the landmark for the scan using the Internal laser alignment light.
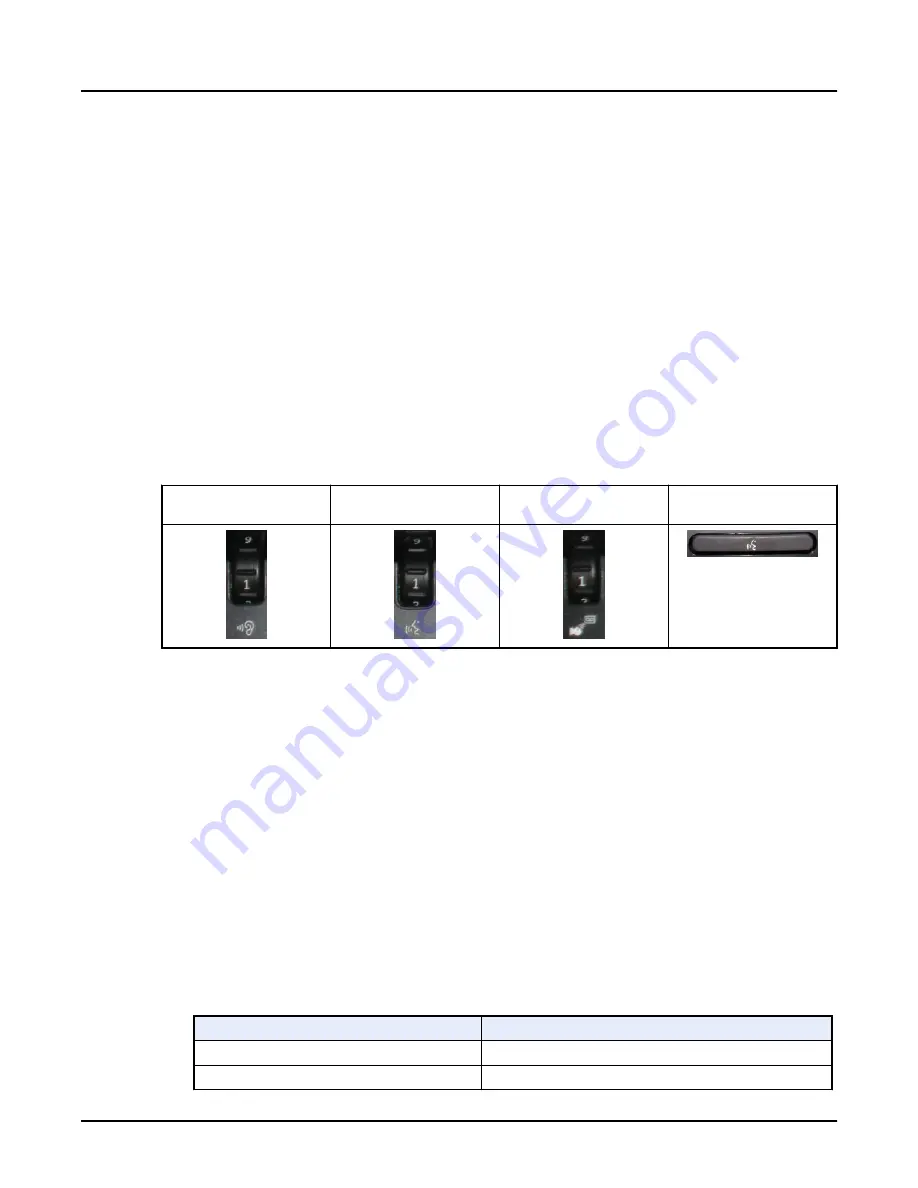
10. From the Scan Control Interface, set volumes with the <Patient-to-Operator> and
<Operator-to-Patient >, or <AutoVoice> communication controls. Press the <Talk> control to
test the <Operator-to-Patient > volume level.
Patient-to-Operator communi‐
cation volume control
Operator-to-Patient communi‐
cation volume control
Auto Voice communication
volume control
Talk control
3.3.2 Set up the patient's information
Use this procedure from the CT operator console, each time you start a new patient exam. Set
up the patient information before you get the patient on the table. This reduces the amount of
time the patient has to be in a potentially difficult position. When entering patient information, the
only required field for scanning is the
Patient ID
. This procedure describes how to manually
input the data. The data can also be input by using Patient Scheduler or a bar code reader.
1. From the scan monitor, click [+].
○
The
Patient Information
window displays the new
Exam Number
after a protocol is
selected and transitions to the
Scan Settings
window.
○
The maximum
Exam Number
is 49,999, which will be reset by your Field Engineer.
○
If patient information is entered from a HIS/RIS system, these data fields support up to
64 characters. If patient information is edited or manually entered, character limits are
those noted in the table below.
Table 8: Patient Information fields
Field
Parameters
Accession Number
Up to 16 characters
Patient ID*
Up to 64 characters
Revolution CT User Manual
Direction 5480385-1EN, Revision 1
252
3 Exam Workflow


