iSCSI Essentials
p. 231
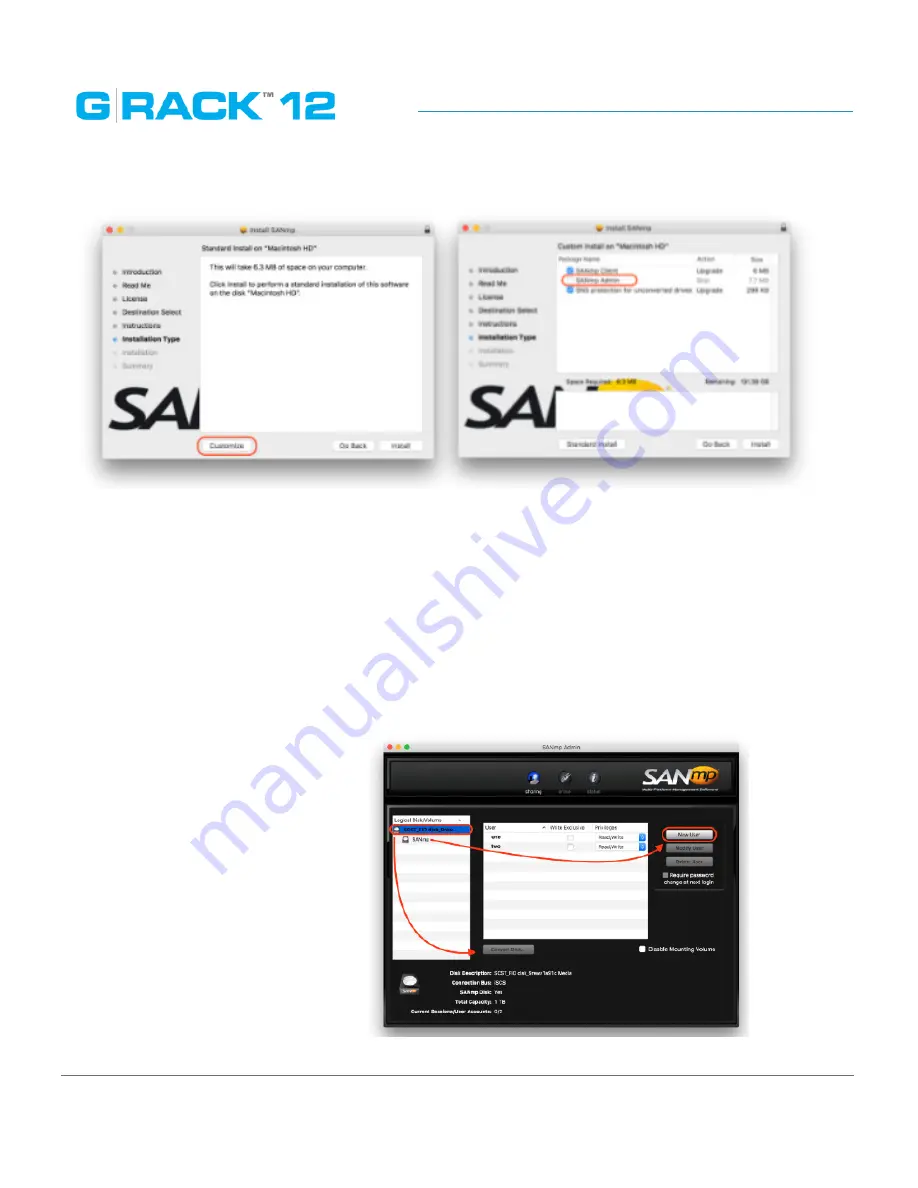
In order for SANmp Administrator tool to manage an iSCSI target you must first initialize one
via GlobalSAN iSCSI initiator tool (view the PDF guide in Applications > GlobalSAN folder after
installation.) Once you have initialized and then formatted your disk you can launch and login.
When prompted to enter a password, use the default password: adminpw111 (which can be
changed later on if you wish).
From the SANmp admin tool, highlight your initialized disk and press the “Convert Disk” button. This
process will dismount the volume from your desktop. Now highlight the volume underneath the
disk and press the “Add User” button. Add at least two users (User password is created here too) and
give both users Read/Write privileges.
Summary of Contents for G-RACK 12
Page 1: ......
Page 2: ...Copyrights...
Page 4: ...Introduction...
Page 9: ...Getting Started...
Page 12: ...Getting Started p 12 Front View Rear View...
Page 32: ...Administrative Tool...
Page 48: ...Administrative Tool p 48 Extended information from smartctl utility...
Page 92: ...Administrative Tool p 92 Comment Optional comment text box...
Page 109: ...Administrative Tool p 109 Example error message...
Page 124: ...Administrative Tool p 124 Memory usage Network interfaces...
Page 130: ...Hardware Description...
Page 159: ...Use Cases Tutorials...
Page 180: ...Use Cases Tutorials p 180...
Page 184: ...Use Cases Tutorials p 184 You need to click the enable slider to activate this option...
Page 191: ...Use Cases Tutorials p 191 Lastly a review is presented before the shares are created...
Page 192: ...Use Cases Tutorials p 192 Once you confirm the process starts...
Page 215: ...Use Cases Tutorials p 215 6 The RAID is ready...
Page 221: ...iSCSI Essentials...
Page 228: ...iSCSI Essentials p 228 Links and references https en wikipedia org wiki ISCSI...
Page 234: ...Troubleshooting...
Page 247: ...F A Q...
Page 272: ...Technical Support Warranty...
Page 283: ...Glossary...
Page 289: ...Appendices...


