Administrative Tool
p. 105
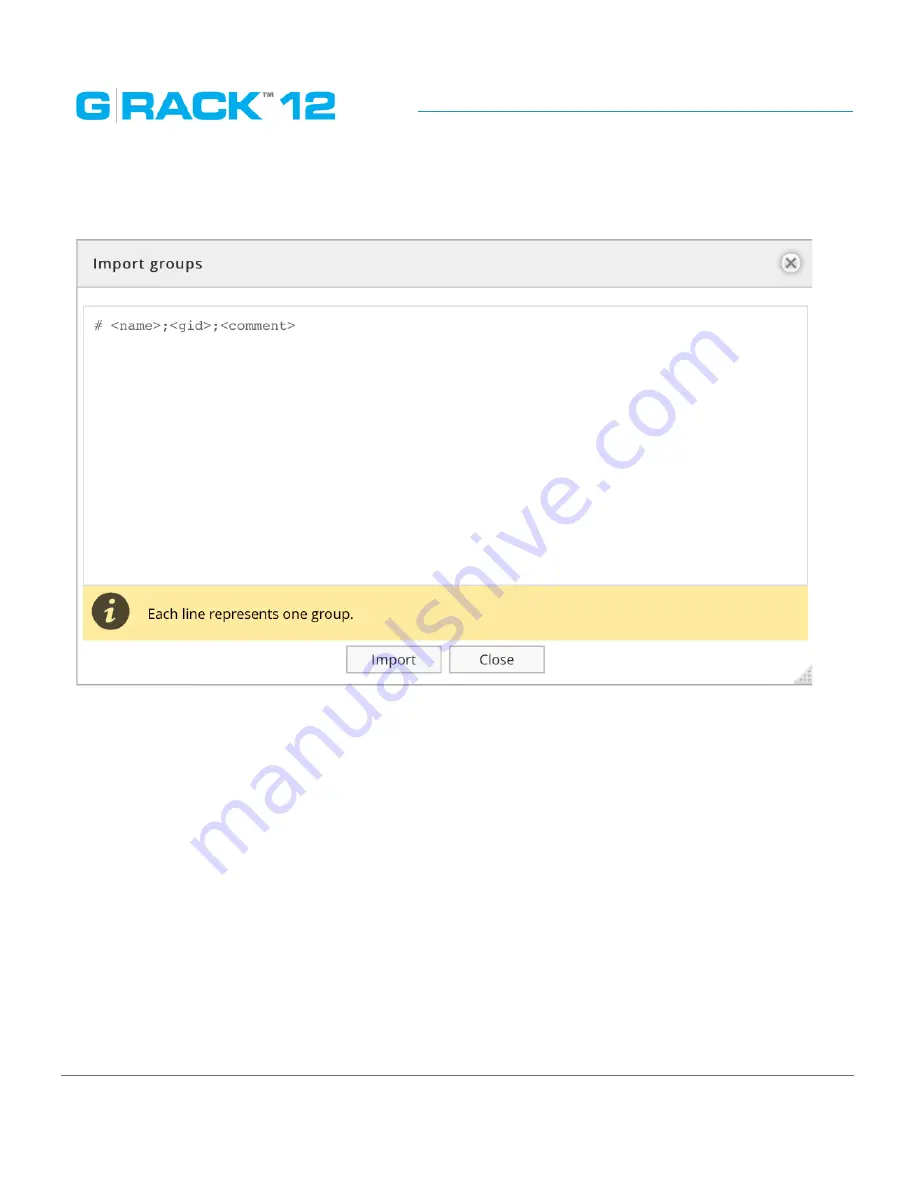
Import groups
To create multiple groups , use “Import” option.
NOTE:
The manually assigned uid’s must start off at 1000 or higher, otherwise they will not appear in
the list.
Delete
Hightlight the desired group and press the Delete button. Confirm in the dialogue window.
NOTE:
Deleting a group will not affect user data.
Refresh
The Refresh button will reload the screen and display any new or updated information about groups.
NOTE:
Newly created groups will appear automatically. Refresh button will display any new or
updated information about the already existing groups. It may take a few minutes to update the
information.
Summary of Contents for G-RACK 12
Page 1: ......
Page 2: ...Copyrights...
Page 4: ...Introduction...
Page 9: ...Getting Started...
Page 12: ...Getting Started p 12 Front View Rear View...
Page 32: ...Administrative Tool...
Page 48: ...Administrative Tool p 48 Extended information from smartctl utility...
Page 92: ...Administrative Tool p 92 Comment Optional comment text box...
Page 109: ...Administrative Tool p 109 Example error message...
Page 124: ...Administrative Tool p 124 Memory usage Network interfaces...
Page 130: ...Hardware Description...
Page 159: ...Use Cases Tutorials...
Page 180: ...Use Cases Tutorials p 180...
Page 184: ...Use Cases Tutorials p 184 You need to click the enable slider to activate this option...
Page 191: ...Use Cases Tutorials p 191 Lastly a review is presented before the shares are created...
Page 192: ...Use Cases Tutorials p 192 Once you confirm the process starts...
Page 215: ...Use Cases Tutorials p 215 6 The RAID is ready...
Page 221: ...iSCSI Essentials...
Page 228: ...iSCSI Essentials p 228 Links and references https en wikipedia org wiki ISCSI...
Page 234: ...Troubleshooting...
Page 247: ...F A Q...
Page 272: ...Technical Support Warranty...
Page 283: ...Glossary...
Page 289: ...Appendices...


