2. HORIZONTAL MODE
2-38
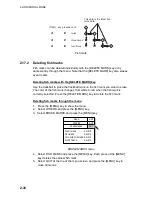
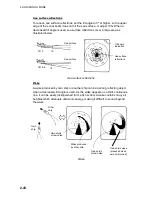
(35)
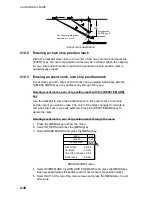
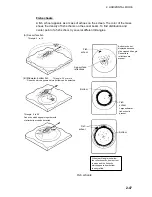
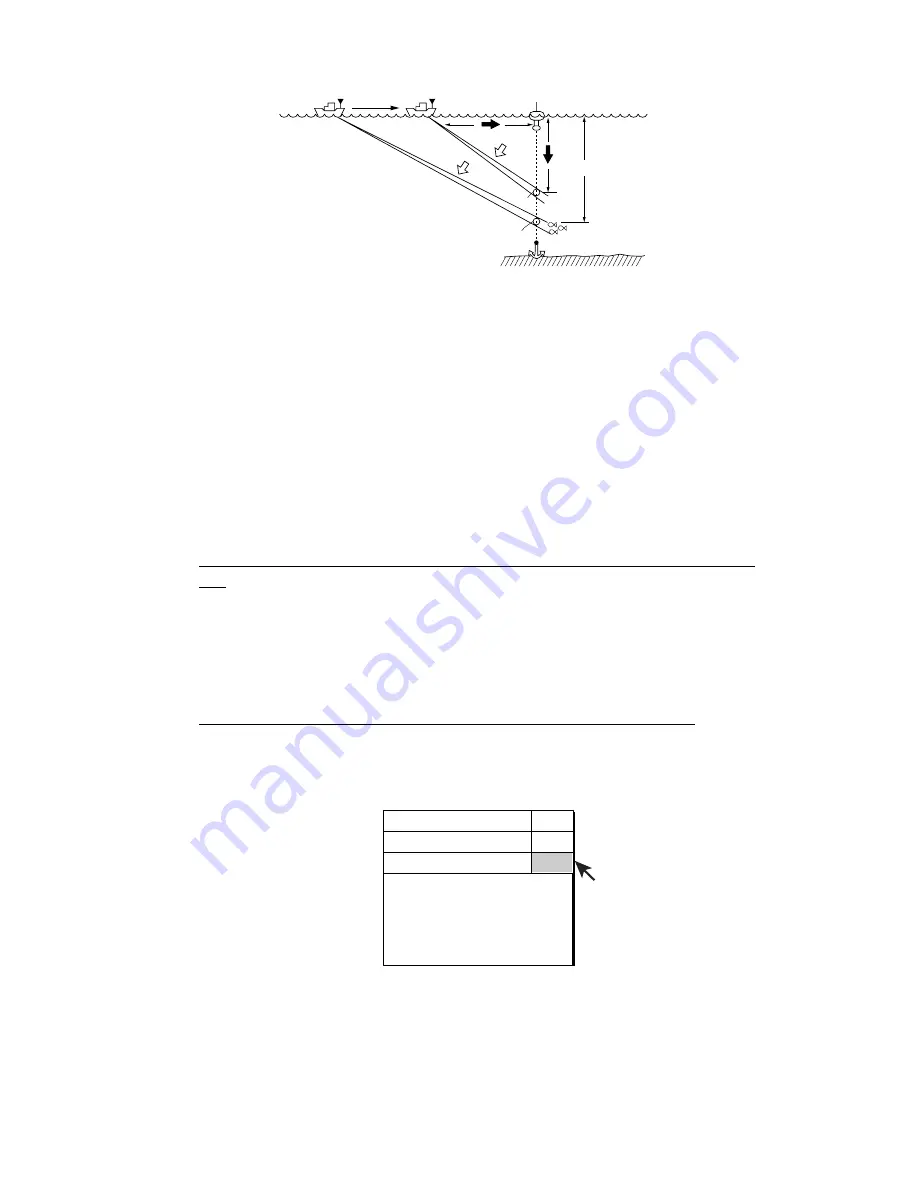
Stored when
EVENT key is
pressed.
A
B
You observe picture from
direction of
Ø
mark.
Event mark description
2.18.2
Entering an own ship position mark
Place the trackball mark close to the center of the own ship mark and press the
[EVENT] key. Ten own ship position marks may be inscribed. When the capacity
for own ship position marks is reached the earliest own ship position mark is
automatically erased.
2.18.3 Erasing
an
event
mark,
own ship position mark
Event marks and own ship position marks can be deleted individually with the
[DELETE MARK] key or by earliest entry through the menu.
Deleting event marks, own ship position mark with the [DELETE MARK]
key
Use the trackball to place the trackball mark on the event mark or own ship
position mark you want to erase. The color of the mark changes from white to
red when the mark is correctly selected. Press the [DELETE MARK] key to
delete the mark.
Deleting event marks, own ship position mark through the menu
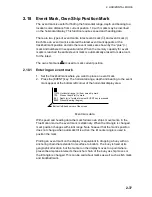
1. Press the [MENU] key to show the menu.
2. Select OTHERS and press the [MENU] key.
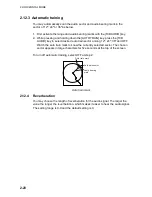
3. Select ERASE MARKS and press the [MENU] key.
ERASE MARKS
MENU
QUIT
QUIT
OTHERS
EVENT MARK
: DELETE
FISH MARK
: DELETE
OWN SHIP POS MARK : DELETE
SHIP'S TRACK
: DELETE
QUIT
ERASE MARKS menu
4. Select EVENT MARK (or OWN SHIP POS MARK) and press the [MENU] key.
Each pressing deletes the earliest event mark (or own ship position mark).
5. Select QUIT at the top of the menu screen and press the [MENU] key to quit
all menus.
Summary of Contents for FSV-30
Page 1: ...COLOR SCANNING SONAR FSV 30 ...
Page 14: ...This page is intentionally left blank ...
Page 30: ...1 OPERATIONAL OVERVIEW 1 16 This page is intentionally left blank ...
Page 80: ...2 HORIZONTAL MODE 2 50 The page is intentionally left blank ...
Page 100: ...3 VERTICAL MODE 3 20 The page is intentionally left blank ...
Page 122: ...5 6 This page is intentionally left blank ...
Page 136: ...7 10 This page is intentionally left blank ...
Page 152: ...8 OTHERS MENU 8 16 This page is intentionally left blank ...
Page 170: ...10 MAINTENANCE TROUBLESHOOTING 10 14 This page is intentionally left blank ...
Page 174: ...SP 4 This page is intentionally left blank ...
Page 182: ...ORIGINAL SETTING AP 8 New Original setting ...
Page 183: ...ORIGINAL SETTING AP 9 ...
Page 184: ...ORIGINAL SETTING AP 10 ...
Page 185: ...ORIGINAL SETTING AP 11 Color setting ...
Page 186: ...ORIGINAL SETTING AP 12 Color Response Curve setting ...

