293
Da
ta Display/Edit/Ma
nageme
n
t
Ed
it Picture
Frame
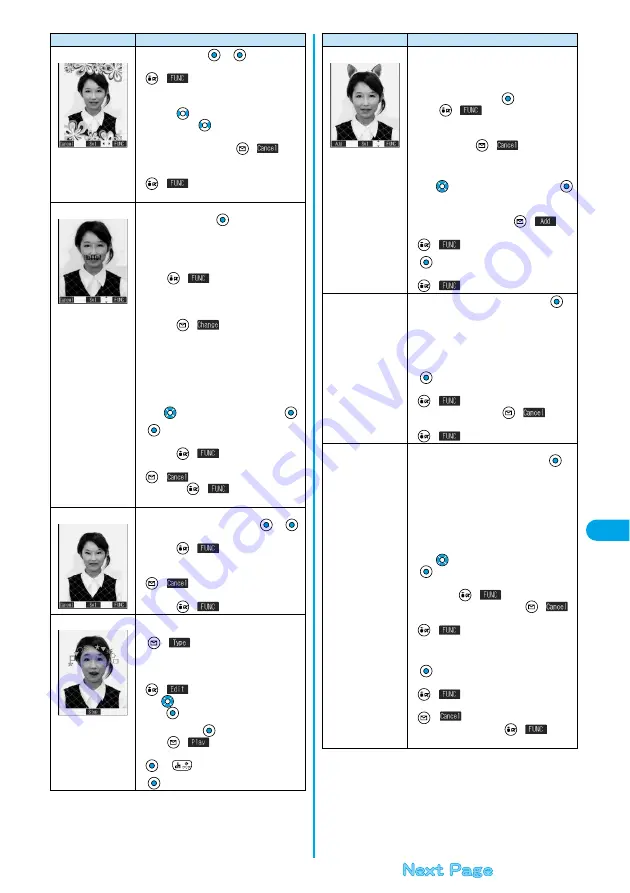
Select a frame
p
You can fix the frame also by pressing
(
) from the display on the left and
selecting “Set”.
p
You can display the previous or next frame by
pressing
from the display on the left.
Press and hold
for at least one second to
display sequentially.
p
To reselect a frame, press
(
) from
the display on the left.
You can reselect a frame also by pressing
(
) and selecting “Cancel”.
p
See page 375 for the pre-installed frames.
Character stamp
You can add text.
Enter characters
You can enter up to 15 full-pitch or 30 half-pitch
characters. However, the number of characters
you can enter decreases depending on the size
of the still image.
p
Press
(
) and select “Character
color” to select a color; then, you can change
the color of characters. You can switch
between “16 Color” and “256 Color” by
pressing
(
). Select “Font” and
“Gothic style/Pop style” to change the fonts.
Select “Character size” and “Enlargement size/
Standard size/Reduction size” to enlarge or
shrink characters.
Select “Character Input” to edit entered
characters.
Use
to position the characters
p
You can fix the character stamp also by
pressing
(
) and selecting “Set”.
p
To select another position, press
(
). You can reselect a position also
by pressing
(
) and selecting
“Cancel”.
Funny transform
You can change person’s expression.
Select an expression pattern
p
You can fix the funny transform also by
pressing
(
) from the display on the
left and selecting “Set”.
p
To reselect an expression pattern, press
(
) from the display on the left.
You can reselect an expression pattern also by
pressing
(
) and selecting “Cancel”.
Funny transform
Ⅱ
You can move the person’s expression in
accordance with the scenario.
(
)
p
The outline and each region of the face are
automatically detected.
To adjust each region of the face, press
(
).
Use
to select the region of the face, and
press .
Select a type
p
Press
(
) to play the demonstration
and to check the scenario. To cancel, press
or
.
Function menu
Operations
Cushy mark
You can compound a cushy mark in the “Stamp”
folder. The person’s facial region is automatically
recognized and the cushy mark is pasted to an
appropriate position.
Select a cushy mark
p
Press
(
) and select “Scale up/
Scale down” to enlarge or shrink the cushy
mark.
p
To cancel, press
(
).
p
See page 375 for the pre-installed cushy
marks.
Use
to position the cushy mark
p
The cushy mark that comes out of the still
image is cut off.
p
To add a cushy mark, press
(
).
You can add a cushy mark also by pressing
(
) and selecting “Add”.
p
You can fix the cushy mark also by pressing
(
) and selecting “Set”.
Change size
Select the image size changing to
p
If you select the size different in proportional
ratio from the source still image, the still image
is enlarged or shrunk to the maximum so that it
does not exceed the selected size with its
proportional ratio retained.
p
You can fix the size also by pressing
(
) and selecting “Set”.
p
To reselect a size, press
(
). You
can reselect a size also by pressing
(
) and selecting “Cancel”.
Trim away
You can trim the still image to a certain size.
Select the image size trimming to
p
You cannot select a trimming frame larger than
the still image you are editing.
p
When you select “CIF (352 x 288)”, “QVGA
(320 x 240)”, “Screen (240 x 320)” or “CIF Vert.
(288 x 352)”, the still image you are editing and
the trimming frame are halved at both
lengthwise and sidewise to be displayed.
Use
to select the part to be trimmed
p
You can fix the position of trimming frame also
by pressing
(
) and selecting “Set”.
p
To reselect a size to trim, press
(
).
You can reselect a size to trim also by pressing
(
) and selecting “Cancel”. When
you have moved the trimming frame, it returns
to the center position.
p
You can fix trimming also by pressing
(
) and selecting “Set”.
p
To reselect the part to be trimmed, press
(
). You can reselect the part to be
trimmed also by pressing
(
) and
selecting “Cancel”.
Function menu
Operations
Summary of Contents for P702i
Page 55: ...52 ...
Page 201: ...198 ...
Page 227: ...224 ...
Page 269: ...266 ...
Page 285: ...282 ...
Page 367: ...364 ...
Page 430: ...427 Index Quick Manual Index Numerics 184 50 186 50 3gp 319 64K data communication 352 ...


