$80$6)0ROAND$80($-)3ERIESs-ATRIX3OFTWARE
72
2.
Choose the communication port through which the DXP is connected to the
computer:
s
If you selected a Comm port
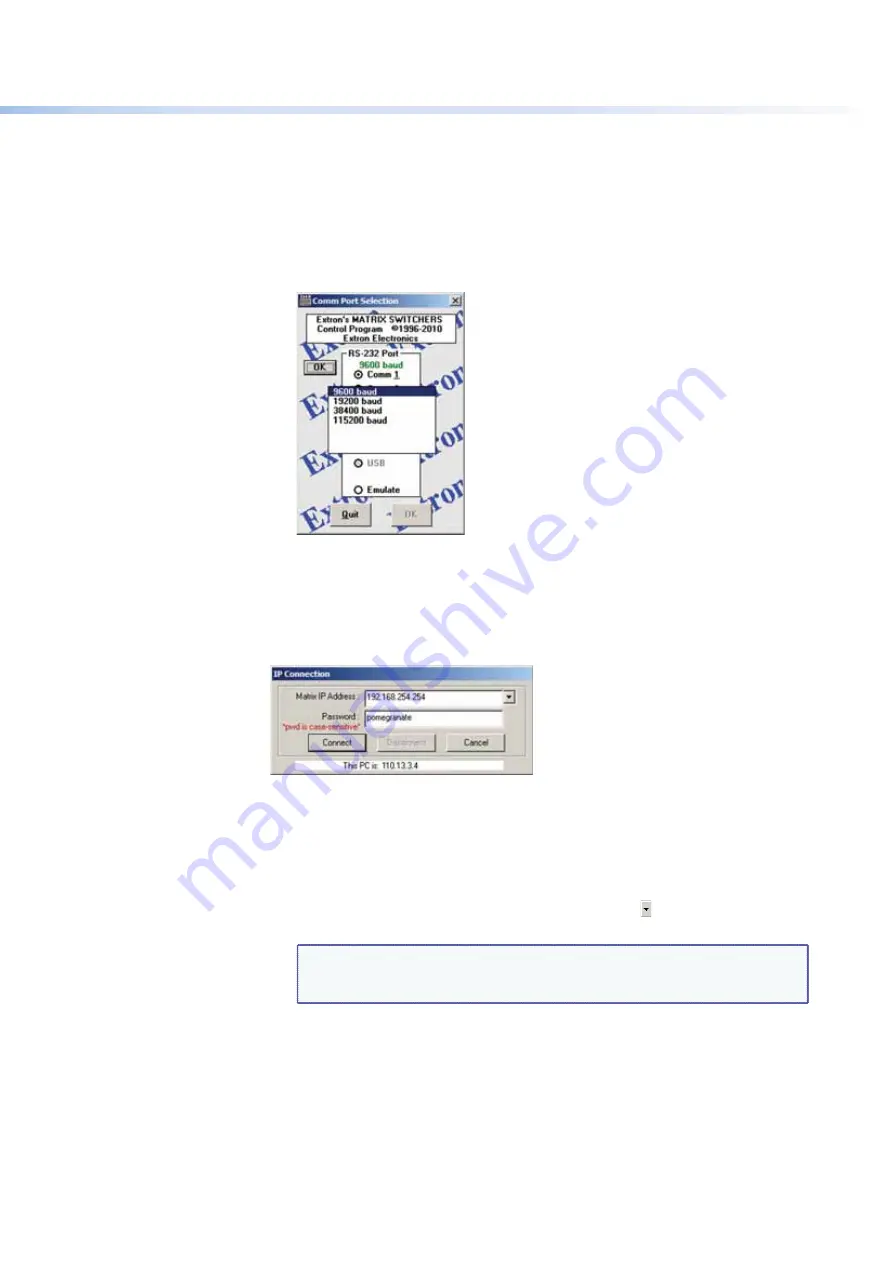
, check the baud rate displayed in the Comm Port
Selection window. To change the baud rate, click the
Baud
button to display the
baud rate pop-up list. (After you click it, this button changes to
OK
.) Double-click
on the desired baud rate (available rates are 9600, 19200, 38400, and 115200;
the default is 9600), then click
OK
and proceed to step
4
.
Figure 71.
Baud Rate Pop-up List
s
If you selected
IP
[LAN]
, click
OK
and proceed to step
3
.
s
If you selected
Emulate
, click
OK
and see “
Using Emulation Mode
” on
page 97.
3.
If you selected
IP
[LAN]
in step 2
, the IP Connection window opens.
Figure 72.
Address and Password Entry for IP Connection
a.
Check the
Extron
IP
Address
field in the IP Connection window. The field
DISPLAYSTHELAST%XTRON)0ADDRESSENTERED
If the IP address is correct
: Proceed to step
3b
.
If the address is not correct:
%ITHERCLICKINTHE
Extron
IP
Address
field and
enter the IP address or click on the scroll down button ( ) and select from among
the recently used addresses.
NOTE:
If your local system administrators have not changed the value, the
factory-specified default address,
192.168.254.254
, is the correct
value for this field.
b.
If the DXP is password protected, click in the
Password
field and enter the
appropriate administrator or user password.


