$80$6)0ROAND$80($-)3ERIESs/PERATION
29
3.
Press and release one of the control buttons to select a group:
s
0RESSTHE%NTERBUTTONTOSELECTGROUP
s
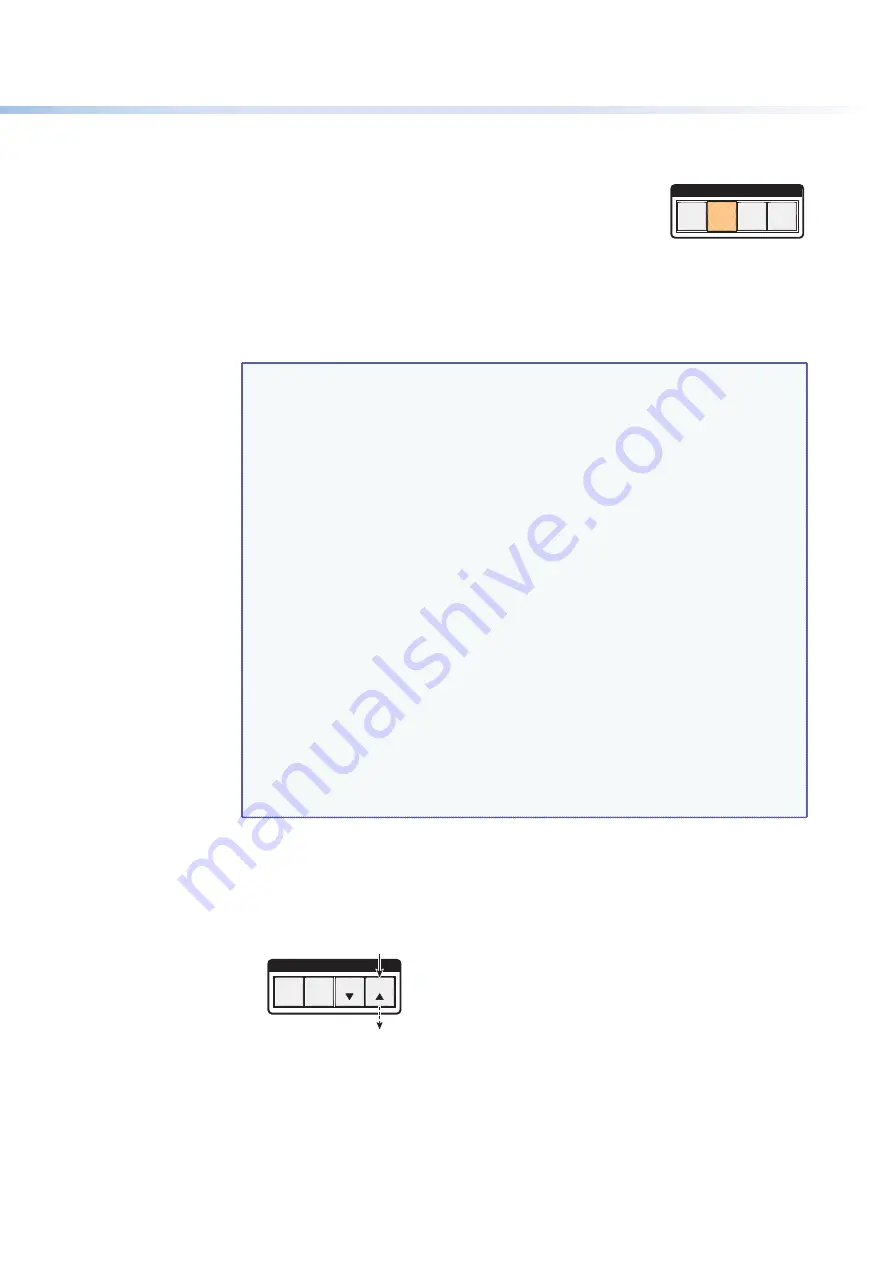
Press the Preset button to select group 2 (shown at
right).
s
0RESSTHE6IEWBUTTONTOSELECTGROUP
s
0RESSTHE%SCBUTTONTOSELECTGROUP
4.
Select the desired inputs and outputs to assign to the group by pressing their buttons.
5.
0RESSANDRELEASETHE6IDEOAND!UDIOBUTTONSTOEXIT)/GROUPMODEORALLOWTHE
mode to time out after approximately 30 seconds.
NOTES:
s
Ties between groups (for example, an input in group 1 tied to an output in
GROUP CANBECREATEDUNDER2323OR%THERNETCONTROL
s
Ties that existed before I/O groups were created to include them remain in
effect, even if they include inputs and outputs in different groups.
s
Presets that tie inputs and outputs across group boundaries can be created
UNDERSERIALOR%THERNETCONTROL4HESEPRESETSARESELECTABLEFROMTHEFRONT
panel.
s
An input or output can be assigned to only one group. If an input or output
is already assigned to a group and you assign it to a different group, the
older grouping is discarded in favor of the new grouping.
s
9OUCANBREAKAUDIOAWAYFROMTHEVIDEOFORAGIVENINPUTOROUTPUTTHAT
AREASSIGNEDTODIFFERENTGROUPSBYPRESSINGTHE6IDEOOR!UDIOBUTTONAFTER
you select I/O group mode (between steps 2 and 3, above) to isolate the
video or audio.
s
Audio breakaway across different groups can be confusing when you are
OPERATINGTHEFRONTPANEL"REAKAWAYGROUPINGISNOTDISPLAYEDBYTHE
-ATRIX3WITCHERS#ONTROL0ROGRAM(4-,PAGESOR3)3COMMANDSANDISNOT
recommended (after they are created, breakaway ties are displayed).
s
For I/O groups to function, at least two groups must be created.
s
)/GROUPSAREPROTECTEDWHENFRONTPANELLOCKMODEISSELECTED9OUCAN
view the groups in lock mode 2, but you cannot change them from the front
panel (see “
Locking and Unlocking the Front Panel (Executive Modes)
,”
on page 37).
Example 5: Grouping Inputs and Outputs
In the following example, several switcher inputs and outputs are assigned to groups. The
steps show the front panel indications that result from your action.
1.
0RESSANDRELEASETHE%SCBUTTON
C O N T R O L
PRESET
ENTER
ESC
VIEW
Press the Esc button to clear all selections
.
The button flashes once
.
Figure 37.
Clear All Selections
C O N T R O L
ENTER
ESC
VIEW
PRESET
1
3
2
4
Group #


