Wireless Network Projection
178
f
Select the basic options as necessary.
•
Projector Name
lets you enter a name up to 16 alphanumeric
characters long to identify the projector over the network.
•
PJLink Password
lets you enter a password up to 32 alphanumeric
characters long for using the PJLink protocol for projector control.
•
Remote Password
lets you enter a password up to 8 alphanumeric
characters long for accessing the projector using the Web Remote.
(User name is
EPSONREMOTE
; default password is
guest
.)
•
Web Control Password
lets you enter a password up to 8
alphanumeric characters long for accessing the projector over the
Web. (User name is
EPSONWEB
; default password is
admin
.)
•
Moderator Password
lets you enter a four-digit number password
for accessing the projector as a moderator using EasyMP Multi PC
Projection or Epson iProjection. (No password is set by default.)
•
Projector Keyword
lets you turn on a security password to prevent
access to the projector by anyone not in the room with it. You must
enter a displayed, randomized keyword from a computer using
EasyMP Multi PC Projection or Epson iProjection to access the
projector and share the current screen.
•
Display LAN Info.
lets you set the display format for the projector's
network information.
a
Use the displayed keyboard to enter the name and password.
Press the arrow buttons on the remote control to highlight
characters and press [Enter] to select them.
g
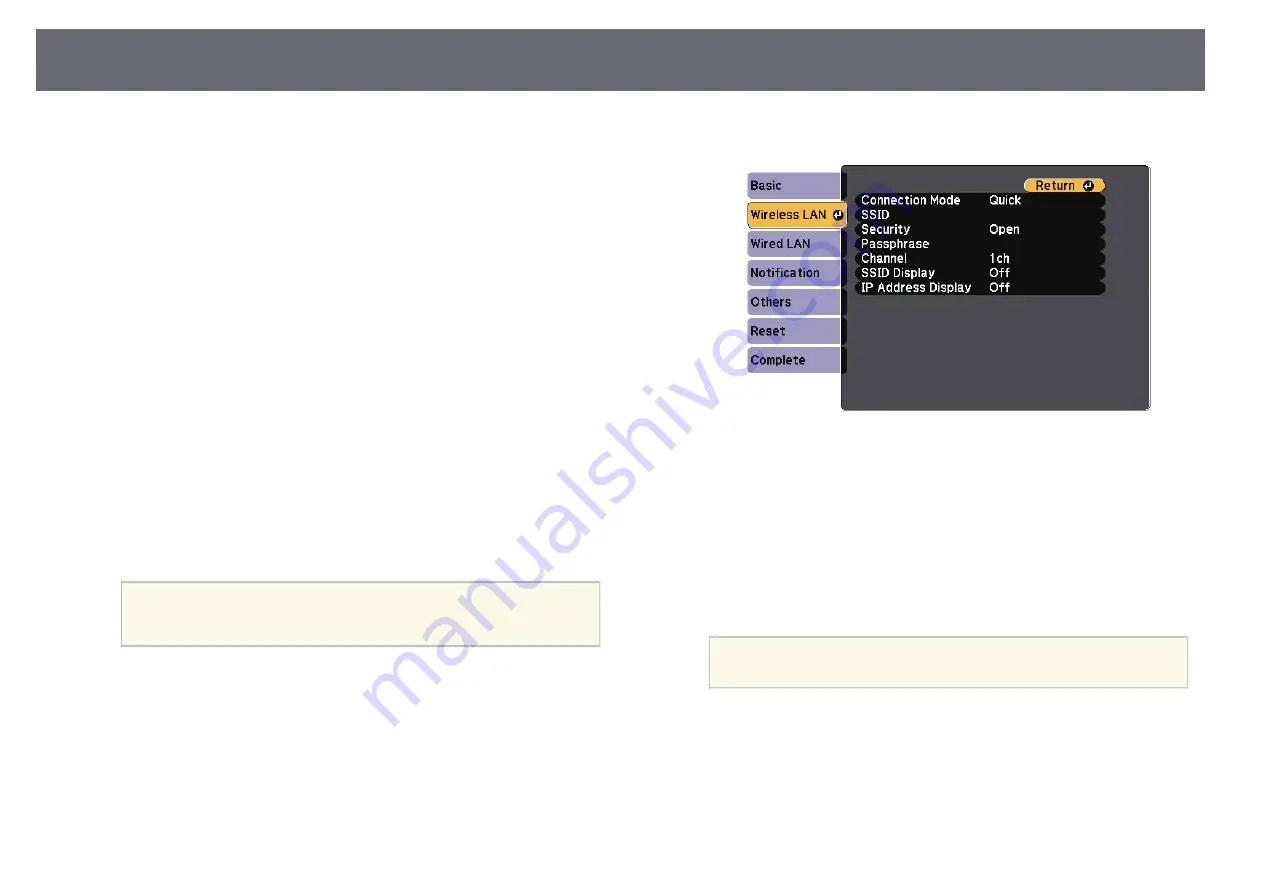
Select the
Wireless LAN
menu and press [Enter].
h
Select the
Connection Mode
setting.
•
Quick
lets you connect to multiple smartphones, tablets, or
computers directly using wireless communication.
•
Advanced
lets you connect to smartphones, tablets, or computers
over a wireless network access point.
i
If you selected the
Advanced
connection mode, select
Search Access
Point
to select the access point you want to connect to.
a
If you need to assign the SSID manually, select
SSID
to enter the
SSID.
j
For the
Advanced
connection mode, assign the IP settings for your
network as necessary.
• If your network assigns addresses automatically, select
IP Settings
to
set the
DHCP
setting to
On
.
• If you must set addresses manually, select
IP Settings
to set the
DHCP
setting to
Off
, and then enter the projector's
IP Address
,
Subnet Mask
, and
Gateway Address
as necessary.
Summary of Contents for EB-1440Ui
Page 1: ...User s Guide ...
Page 286: ...External Dimensions 286 With feet ...


