230
Using Options
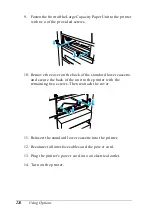
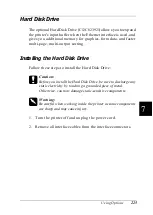
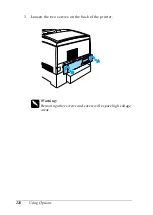
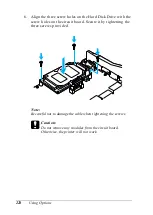
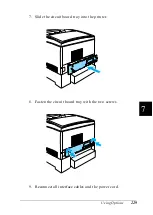
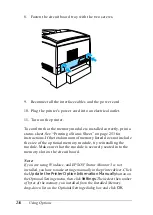
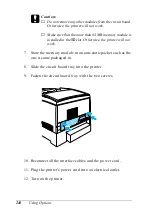
10. Plug the printer’s power cord into an electrical outlet.
11. Turn on the printer.
To confirm that the Hard Disk Drive is installed correctly, use the
printer’s control panel menus to print a status sheet. See “Printing
a Status Sheet” on page 253 for instructions. If the drive is not
listed on the status sheet, try reinstalling the drive. Make sure that
the connector on the Hard Disk Drive is securely connected to the
socket on the circuit board.
Note:
If you are using Windows, and EPSON Status Monitor 3 is not
installed, you have to make settings manually in the printer driver. Click
the
Update the Printer Option Information Manually
button on
the Optional Settings menu, then click
Settings
. Then select the
Optional HDD
Unit check box on the Optional Settings dialog box and
click
OK
.
Removing the Hard Disk Drive
Follow these steps to remove the Hard Disk Drive:
c
Caution:
Before you remove the Hard Disk Drive, be sure to discharge any
static electricity by touching a grounded piece of metal.
Otherwise, you may damage static-sensitive components.
w
Warning:
Be careful when working inside the printer as some components
are sharp and may cause injury.
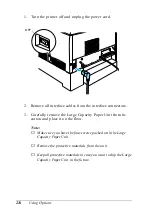
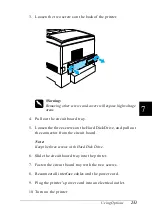
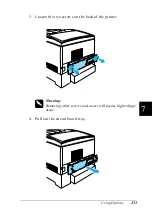
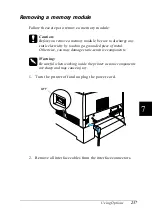
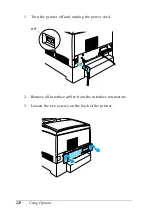
1. Turn the printer off and unplug the power cord.
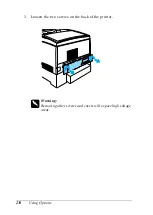
2. Remove all interface cables from the interface connectors.
Summary of Contents for AcuLaser C4000
Page 15: ...5 While the Data light is on or flashing While printing ...
Page 16: ...6 ...
Page 56: ...46 Paper Handling ...
Page 122: ...112 Using the Printer Software with Windows ...
Page 222: ...212 Functions of the Control Panel ...
Page 298: ...288 Maintenance and Transportation ...
Page 344: ...334 Troubleshooting ...
Page 370: ...360 Symbol Sets ...
Page 398: ...388 Working with Fonts ...
Page 420: ...410 Glossary ...

