Pearl Mini User Guide
Upload or remove an image using the Media page
For best results always upload images that are already the correct size needed in your layout.
Background images should match the frame size of your channel (frame size is set in the
Encoding
configuration page).
There are two ways to upload images. You can upload images using the Media page or drag and drop your
image in to a layout using the custom layout editor, see
. Uploading an image of the
same name overwrites the existing image.
Important considerations
l
Media file names should not include special characters, slashes, or spaces.
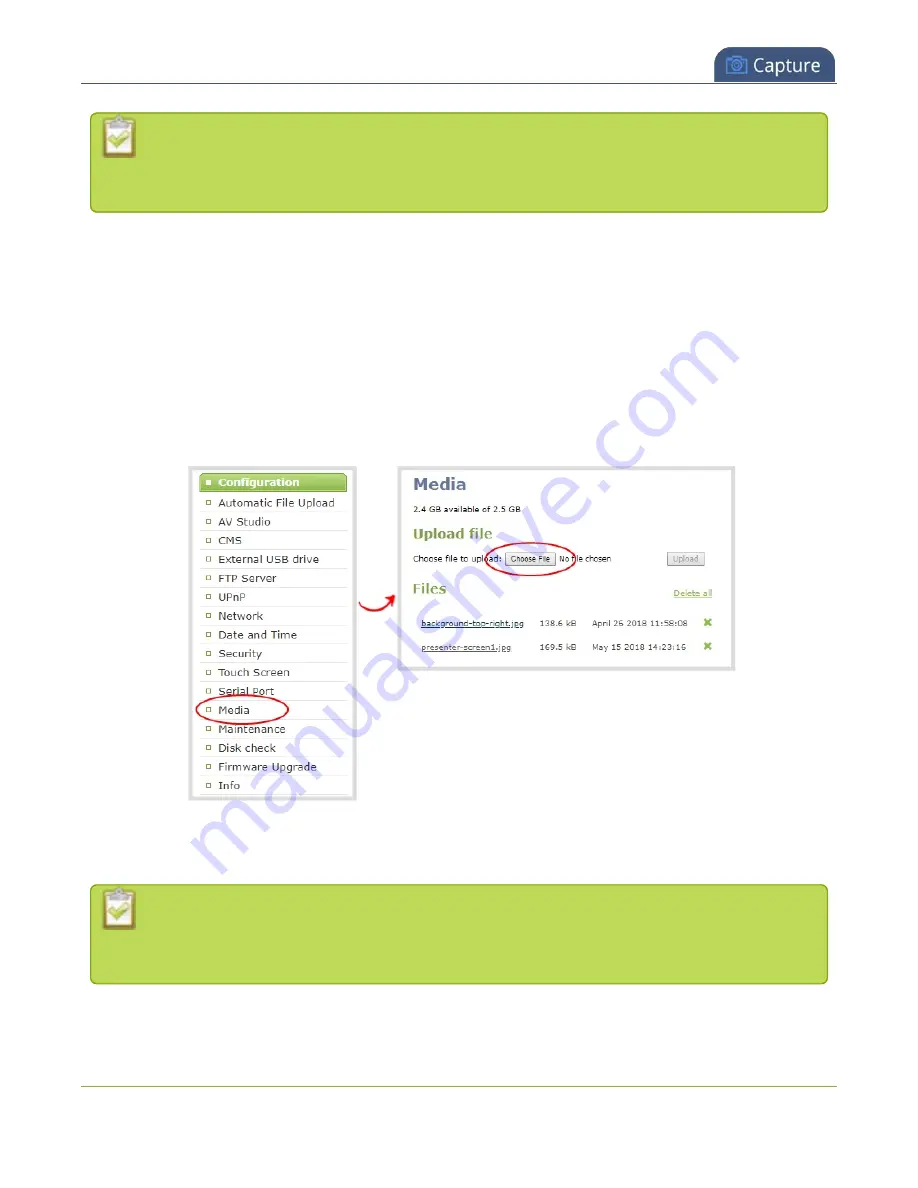
To upload or remove an image using the Media page:
1. Login to the Admin panel as
admin
2. From the Configuration menu, click
Media
. The Media page opens.
3. To upload a file, click
Choose File
and browse to select the file to upload, then click
Upload
.
4. To remove a file, click
Remove
beside the file name and click
OK
when prompted.
If you delete an image that is used as part of the layout for any channel, select a different image
or no image by using the drop-down list in the
Picture settings
box within that channel's layout
before deleting the file using the steps below.
241
Summary of Contents for Pearl Mini
Page 117: ...Pearl Mini User Guide Disable the network discovery utility 105 ...
Page 137: ...Pearl Mini User Guide Mute audio 4 Click Apply 125 ...
Page 149: ...Pearl Mini User Guide Mirror the video output port display 137 ...
Page 187: ...Pearl Mini User Guide Delete a configuration preset 175 ...
Page 309: ...Pearl Mini User Guide Use RTMPS for a Kaltura webcasting event 297 ...
Page 447: ... and 2019 Epiphan Systems Inc ...


