Pearl Mini User Guide
Quick start
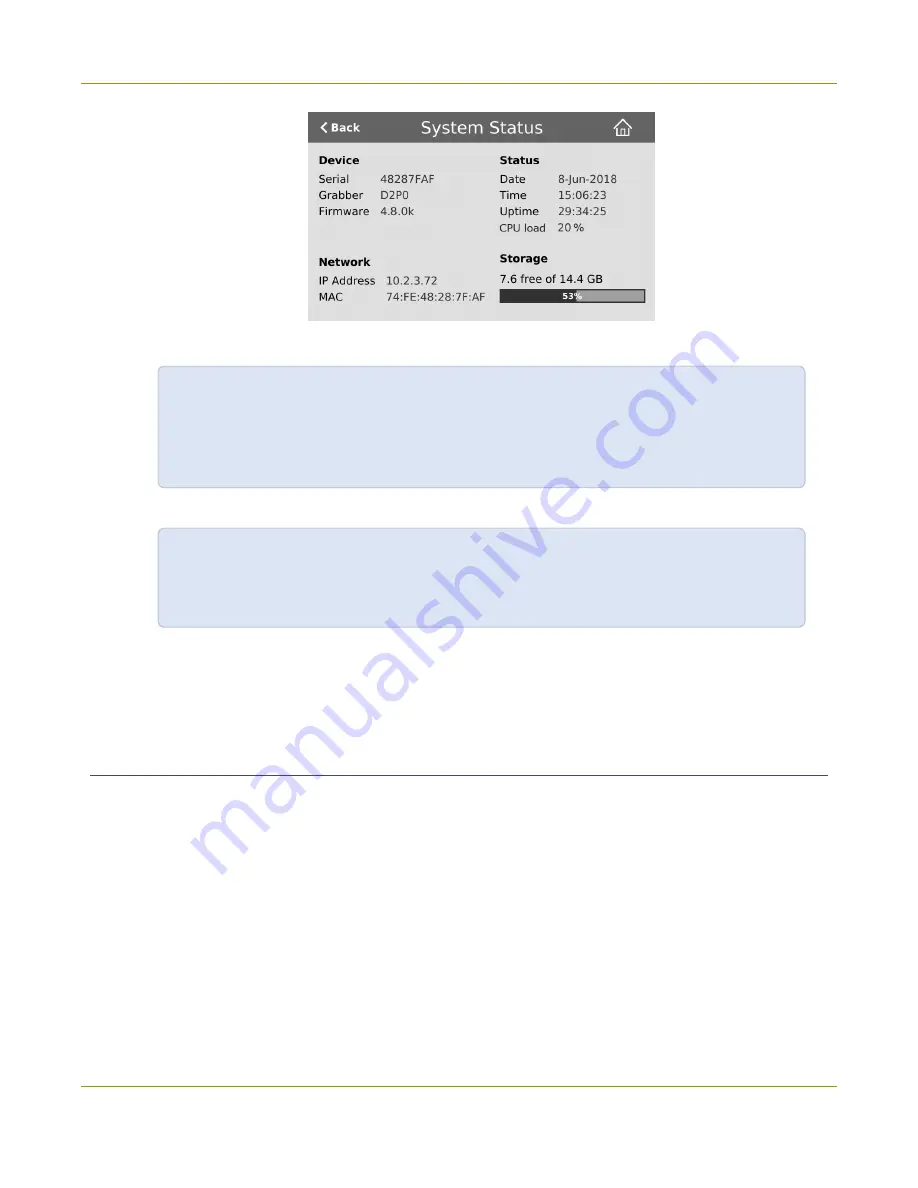
2. Using a browser on the admin computer, go to one of the following URLs to preview the channel.
For HDMI A:
http://
<IP Address for Pearl Mini>
/preview.cgi?channel=1
For HDMI B:
http://
<IP Address for Pearl Mini>
/preview.cgi?channel=2
For example:
http://192.1.10.100/preview.cgi?channel=2
3. (Optional) Open a new tab in your browser and enter the URL to login to the Admin panel.
http://
<IP Address for Pearl Mini>
/admin
For example:
http://192.1.10.100/admin
The default user name
admin
has no password set by default. If a password has been set, consult with your
system administrator for the login credentials, see
. For Admin panel login details, see
Install a formatted SD card to record a channel
An SD card must be installed and formatted before you can record video using Pearl Mini. You'll need to log in
to the Admin panel using the IP address of your Pearl Mini to format the SD card, see
.
After the SD card is installed and formatted, it's easy to start recording your channel from the Channel view
using the touch screen. Just tap the red dot that appears in the top right corner of the screen to start and stop
recording the channel. The dot flashes while recording.
10
Summary of Contents for Pearl Mini
Page 117: ...Pearl Mini User Guide Disable the network discovery utility 105 ...
Page 137: ...Pearl Mini User Guide Mute audio 4 Click Apply 125 ...
Page 149: ...Pearl Mini User Guide Mirror the video output port display 137 ...
Page 187: ...Pearl Mini User Guide Delete a configuration preset 175 ...
Page 309: ...Pearl Mini User Guide Use RTMPS for a Kaltura webcasting event 297 ...
Page 447: ... and 2019 Epiphan Systems Inc ...


