


21-28
User Guide for Cisco Security MARS Local Controller
78-17020-01
Chapter 21 Rules
Rule and Report Groups
Step 6
Click
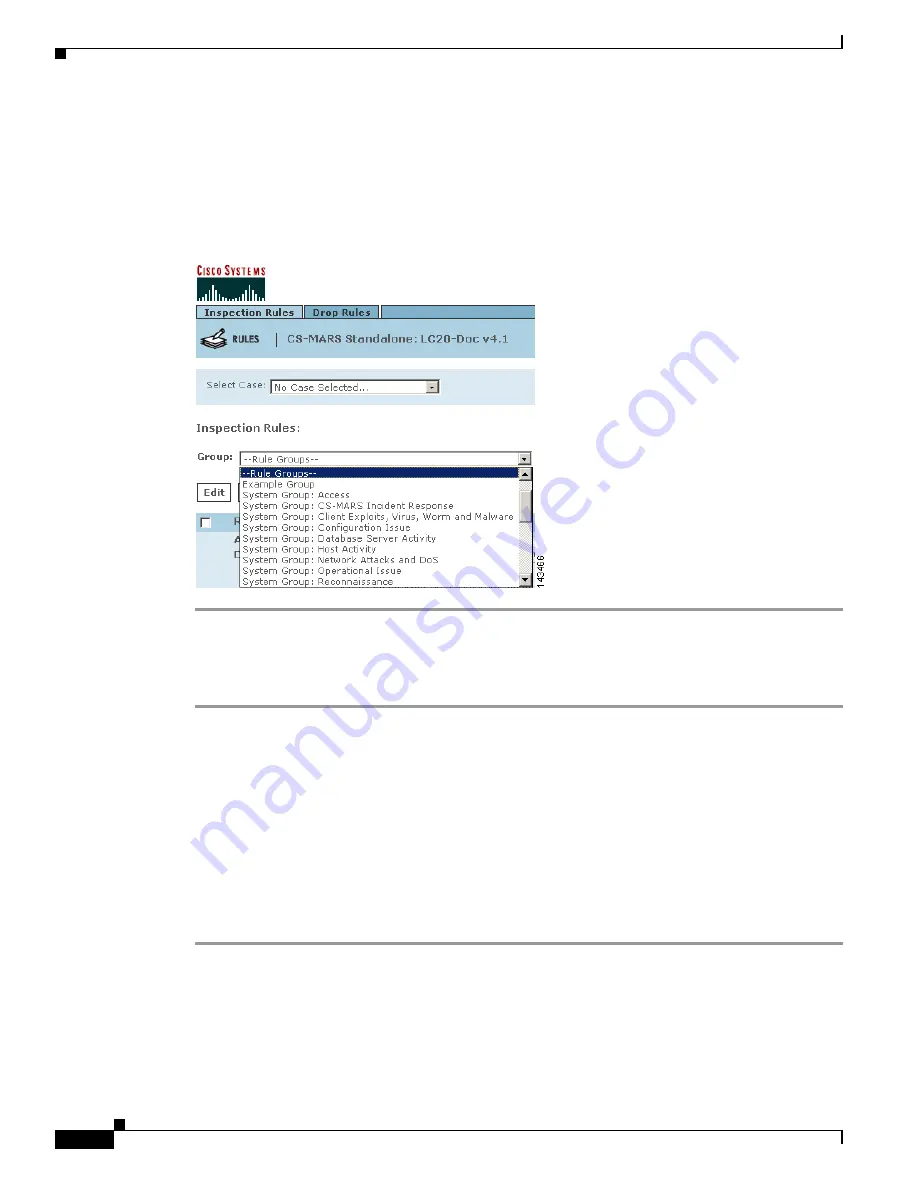
Submit.
The new rule group name appears in the
Group
dropdown filter on the Inspection Rules page, as shown
in
Figure 21-12
. In this example, the new rule group name is “Example Group.” Because it is a
user-created rule group, the rule group name appears without the prefix “System.” You can also click
Cancel
to return to the Inspection Rules page without creating a new rule group.
Figure 21-12
New Rule Group Appears on the Dropdown List of the Inspections Rules Page
Modifying a Rule Group
To edit a rule group, follow these steps:
Step 1
Navigate to the Inspection Rules page, as shown in
Figure 21-10
.
Step 2
Select the rule group to edit in the
Group
pulldown filter.
Step 3
Click
Edit Group
.
The Add Group dialog box appears, as shown in
Figure 21-11
. The rule group name appears in the
Name
field, and the included rules appear as selected rules in the lefthand pane of the dialog box.
Step 4
To add additional rules, click the checkbox of all the rules to be added to the group, then click
Add
.
To remove rules, highlight the items in the lefthand pane to remove, then click
Remove
.
Step 5
Click
Submit.
Deleting a Rule Group
Step 1
Navigate to the Inspection Rules page, as shown in
Figure 21-10
.
Step 2
Select the rule group to delete in the
Group
pulldown filter.
Step 3
Click
Delete Group
.
The Delete Group dialog box appears listing the rules in the group to be deleted. You are prompted to
confirm deletion.


