199
5
Vie
w
er
Ref
erence
■
Other Video Window Functions
Change the Video Window size
Apart from manually clicking on the corner and dragging out the Video Window to a new
size, you can also select a set size from the Video Window menu.
To change the display size of a Video Window via the menu:
●
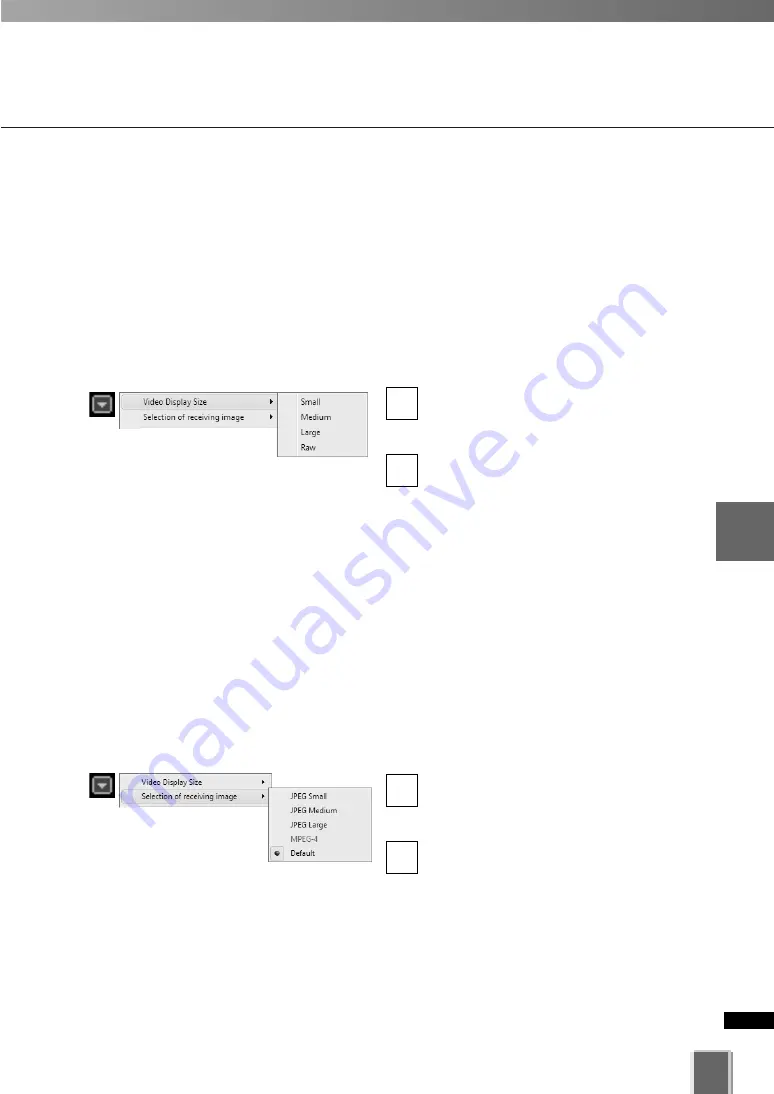
Open the Video Window menu and select Video Display Size.
Click the Video window menu icon, or
right-click in the Video Window to bring
up a context menu.
Select
Video Display Size
from the
menu, and then select
Small
,
Medium
,
Large
, or
Raw
from the sub-menu. A
Raw selection displays the Video
Window selected at the
Video Receive
Size
.
2
1
Change the Received Video size (VB-C60, VB-C50i/VB-
C50iR, VB-C50FSi, VB-C50Fi only)
You can select a video size received by the Viewer. To change the size of received video
via the menu.
●
Open the Video Window menu and select Video Receive Size.
Click the Video window menu icon, or
right-click in the Video Window to bring
up a context menu.
Select
Video Receive Size
from the
menu, and then select
Small
,
Medium
,
Large
, or
Default
from the sub-menu.
Selecting
Default
displays the Video
Window in the size received from the
Camera Server.
2
1
Arrange Video Windows
Summary of Contents for VK-16 v2.0
Page 13: ...Chapter 1 System Overview ...
Page 15: ...15 1 System Overview ...
Page 42: ...42 ...
Page 43: ...Chapter 2 Installation ...
Page 49: ...Chapter 3 Storage Server Configuration Reference ...
Page 75: ...Chapter 4 Register Camera Server and Set Recording Schedule ...
Page 152: ...152 ...
Page 153: ...Chapter 5 Viewer Reference ...
Page 155: ...155 5 Viewer Reference ...
Page 218: ...218 ...
Page 219: ...Chapter 6 Operation and Management ...
Page 227: ...Chapter 7 Backup Scheme ...
Page 243: ...Chapter 8 System Maintenance ...
Page 250: ...250 ...
Page 251: ...Chapter 9 Troubleshooting ...
Page 290: ...290 ...
Page 291: ...Appendix ...
Page 301: ...301 ...


