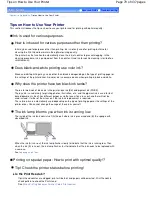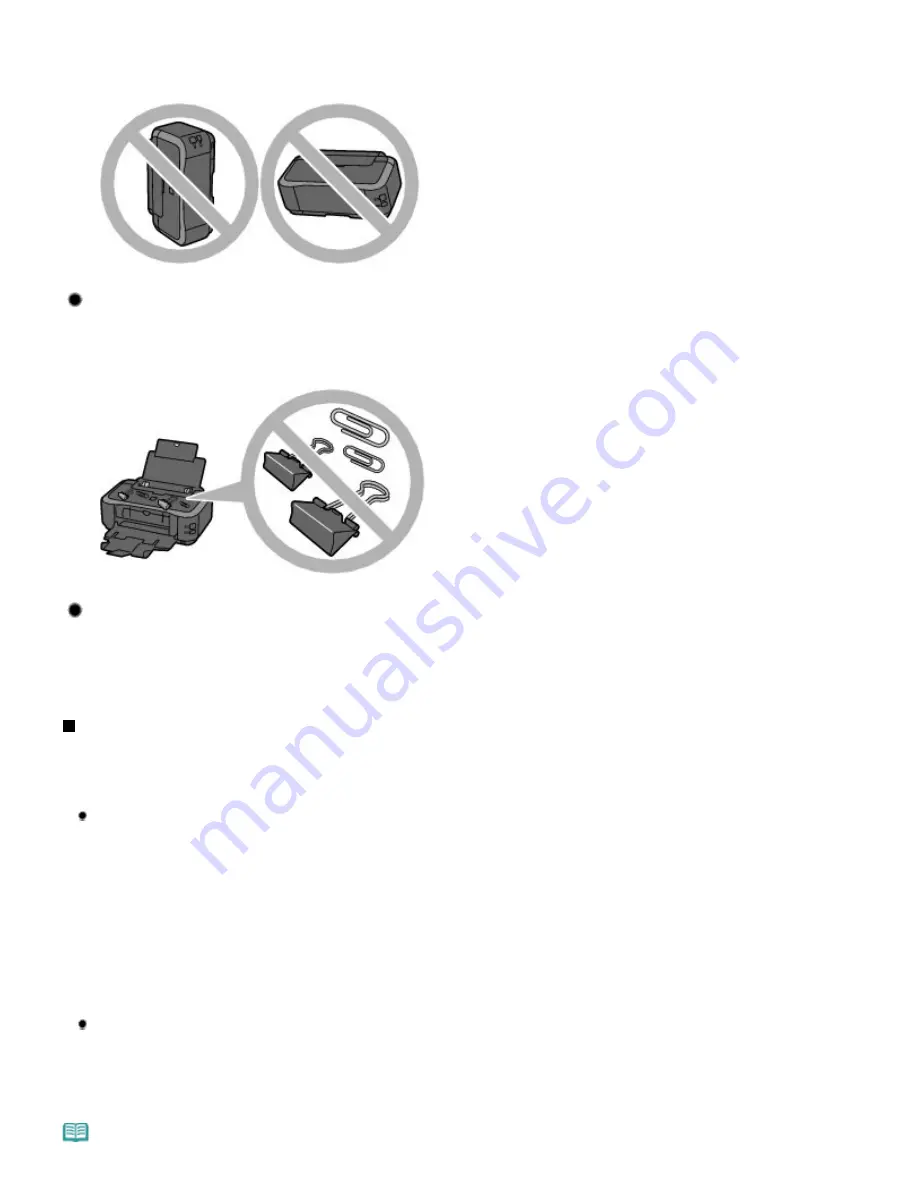
If the printer is used or transported vertically or slanted, the printer may become damaged or ink
may leak from the printer.
Be sure not to use or transport the printer vertically or slanted.
Tip!: Do not place any object on the Top Cover!
Do not place any object on the Top Cover. It will fall into the Rear Tray when the Top Cover is open
and cause the printer to malfunction.
Also, place the printer where objects will not fall on it.
Tip!: Carefully choose the area to place the printer!
Place the printer at least 5.91 inches / 15 cm away from other electrical appliances such as
fluorescent lamps. If the printer is placed closer to those, it may not be able to work properly due to
fluorescent noises.
How to maintain the optimal printing quality?
The key to printing with the optimal printing quality is to prevent the Print Head from drying or clogging.
Always follow the following steps for optimal printing quality.
Follow the procedure below to disconnect the power plug.
1. Press the
Power
button on the printer to turn it off.
2. Make sure that the
Power
lamp is not lit.
3. Disconnect the power plug from the wall outlet, or turn off the extender cable connector.
If you press the
Power
button to turn off the power, the printer caps the Print Head (nozzles)
automatically to prevent from drying. If you disconnect the power plug from the wall outlet or turn
off the extender cable connector before the
Power
lamp is turned off, the Print Head will not be
capped properly and this will cause drying or clogging.
To unplug the power cord, be sure to follow this procedure.
Print periodically!
Just as the tip of a felt pen becomes dry and unusable if it has not been used for a long time,
even if it is capped, the Print Head too, may become dried or clogged if the printer has not been
used for a long time.
We recommend the printer to be used at least once a month.
Note
Page 81 of 437 pages
Tips on How to Use Your Printer
Summary of Contents for iP4700 - PIXMA Color Inkjet Printer
Page 29: ...Page top Page 29 of 437 pages Loading Paper ...
Page 33: ...Page top Page 33 of 437 pages Loading Paper in the Cassette ...
Page 47: ...Page top Page 47 of 437 pages Replacing an Ink Tank ...
Page 50: ...Page top Page 50 of 437 pages Checking the Ink Status ...
Page 52: ...Page top Page 52 of 437 pages When Printing Becomes Faint or Colors Are Incorrect ...
Page 105: ...Page top Page 105 of 437 pages What Is Easy PhotoPrint EX ...
Page 107: ...How Do I Print with Even Margins Page top Page 107 of 437 pages Printing Photos ...
Page 133: ...See Help for details on the Edit screen Page top Page 133 of 437 pages Editing ...
Page 142: ...Page top Page 142 of 437 pages Printing ...
Page 151: ...Adjusting Images Page top Page 151 of 437 pages Correcting and Enhancing Photos ...
Page 190: ...Page top Page 190 of 437 pages Printing an Index ...
Page 192: ...Page top Page 192 of 437 pages Printing ID Photos ID Photo Print ...
Page 211: ...Page top Page 211 of 437 pages Printing Dates on Photos ...
Page 232: ...Page top Page 232 of 437 pages Borderless Printing ...
Page 291: ...Page top Page 291 of 437 pages Smoothing Jagged Outlines ...
Page 324: ...Page top Page 324 of 437 pages About PictBridge Print Settings ...
Page 356: ...Page top Page 356 of 437 pages If an Error Occurs ...
Page 421: ...Page top Page 421 of 437 pages Installing the Printer Driver ...
Page 435: ...Page top Page 435 of 437 pages Using Easy PhotoPrint EX ...

