Advanced Guide
>
Troubleshooting
> Alarm Lamp Flashes Orange
Alarm Lamp Flashes Orange
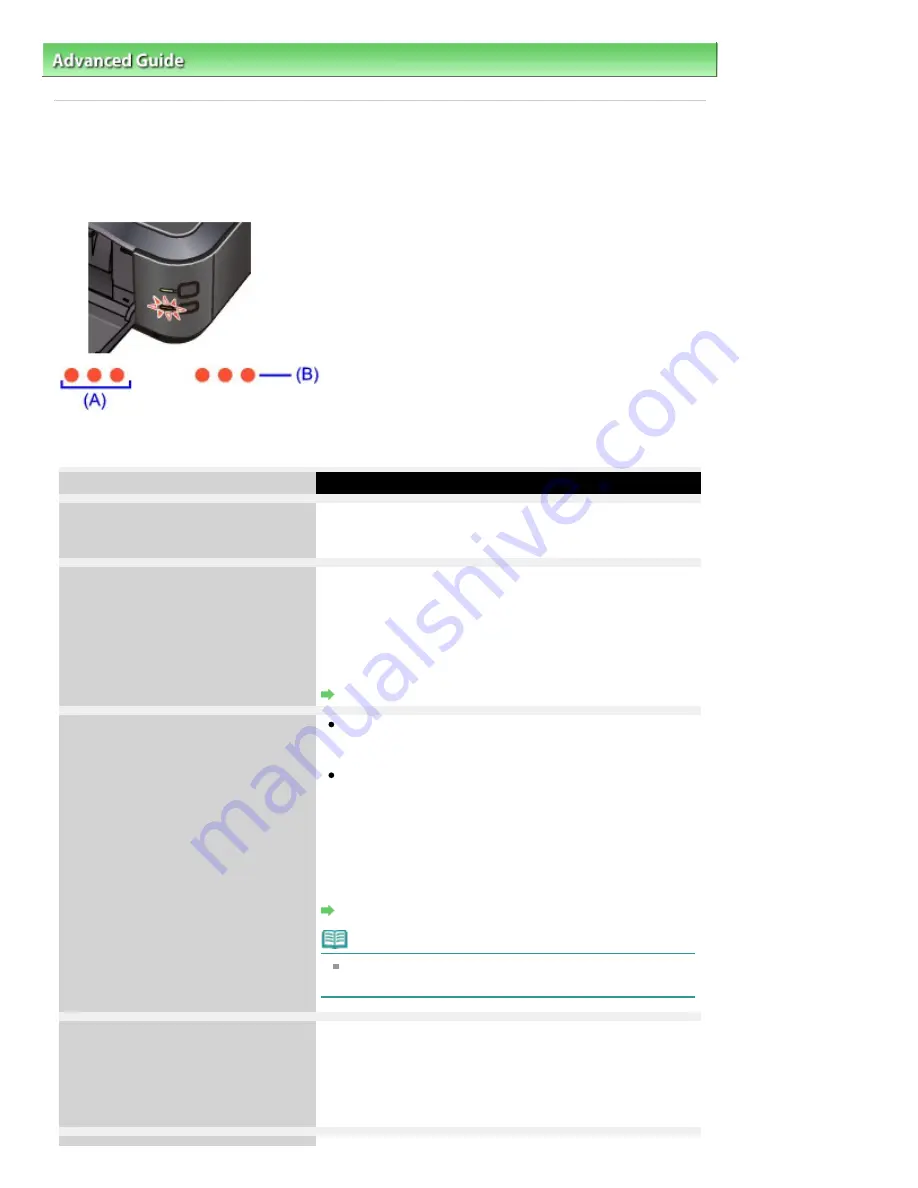
When a printer error occurs, the
Alarm
lamp flashes orange as shown below. The number of flashes
indicates the type of error that has occurred. Count the flashes and take the appropriate action to correct
the error.
(A) Note the number of flashes
(B) Flashes repeatedly
Number of flashes/Cause
Action
Two flashes:
Printer is out of paper./Paper does not
feed.
Reload paper in the Rear Tray or Cassette and press the
RESUME/CANCEL
button on the printer.
Three flashes:
Paper Output Tray is closed./Paper
jams.
If the Paper Output Tray is closed, open it. The printer
resumes printing.
If opening the Paper Output Tray does not resolve the
problem, or if the tray was open to begin with, the paper may
be jammed. Remove the jammed paper, reload paper
properly in the printer, then press the
RESUME/CANCEL
button on the printer.
Paper Jams
Four flashes:
Ink tank is not installed properly./Ink
may have run out.
If the lamp on the ink tank is not lit, the ink tank may not
be installed properly.
Install an appropriate ink tank.
If the lamp on the ink tank is flashing, ink may have run
out.
Replacing the ink tank is recommended.
If printing is in progress and you want to continue printing,
press the printer's
RESUME/CANCEL
button with the ink tank
installed. Then printing can continue. Replacing the ink tank
is recommended after the printing. The printer may be
damaged if printing is continued under the ink out condition.
Routine Maintenance
Note
If multiple ink lamps are flashing, refer to
Routine
Maintenance
and confirm the status of each ink tank.
Five flashes:
Print Head is not installed./Print Head is
defective.
Follow the directions given in your setup manual to install the
Print Head.
If the Print Head is already installed, remove the Print Head
once and then reinstall it.
If the error is still not resolved, the Print Head may be
damaged. Contact the service center.
Page 358 of 437 pages
Alarm Lamp Flashes Orange
Summary of Contents for iP4700 - PIXMA Color Inkjet Printer
Page 29: ...Page top Page 29 of 437 pages Loading Paper ...
Page 33: ...Page top Page 33 of 437 pages Loading Paper in the Cassette ...
Page 47: ...Page top Page 47 of 437 pages Replacing an Ink Tank ...
Page 50: ...Page top Page 50 of 437 pages Checking the Ink Status ...
Page 52: ...Page top Page 52 of 437 pages When Printing Becomes Faint or Colors Are Incorrect ...
Page 105: ...Page top Page 105 of 437 pages What Is Easy PhotoPrint EX ...
Page 107: ...How Do I Print with Even Margins Page top Page 107 of 437 pages Printing Photos ...
Page 133: ...See Help for details on the Edit screen Page top Page 133 of 437 pages Editing ...
Page 142: ...Page top Page 142 of 437 pages Printing ...
Page 151: ...Adjusting Images Page top Page 151 of 437 pages Correcting and Enhancing Photos ...
Page 190: ...Page top Page 190 of 437 pages Printing an Index ...
Page 192: ...Page top Page 192 of 437 pages Printing ID Photos ID Photo Print ...
Page 211: ...Page top Page 211 of 437 pages Printing Dates on Photos ...
Page 232: ...Page top Page 232 of 437 pages Borderless Printing ...
Page 291: ...Page top Page 291 of 437 pages Smoothing Jagged Outlines ...
Page 324: ...Page top Page 324 of 437 pages About PictBridge Print Settings ...
Page 356: ...Page top Page 356 of 437 pages If an Error Occurs ...
Page 421: ...Page top Page 421 of 437 pages Installing the Printer Driver ...
Page 435: ...Page top Page 435 of 437 pages Using Easy PhotoPrint EX ...


