Loading P
aper and Adding
The T
oner
5–7
Loading Paper
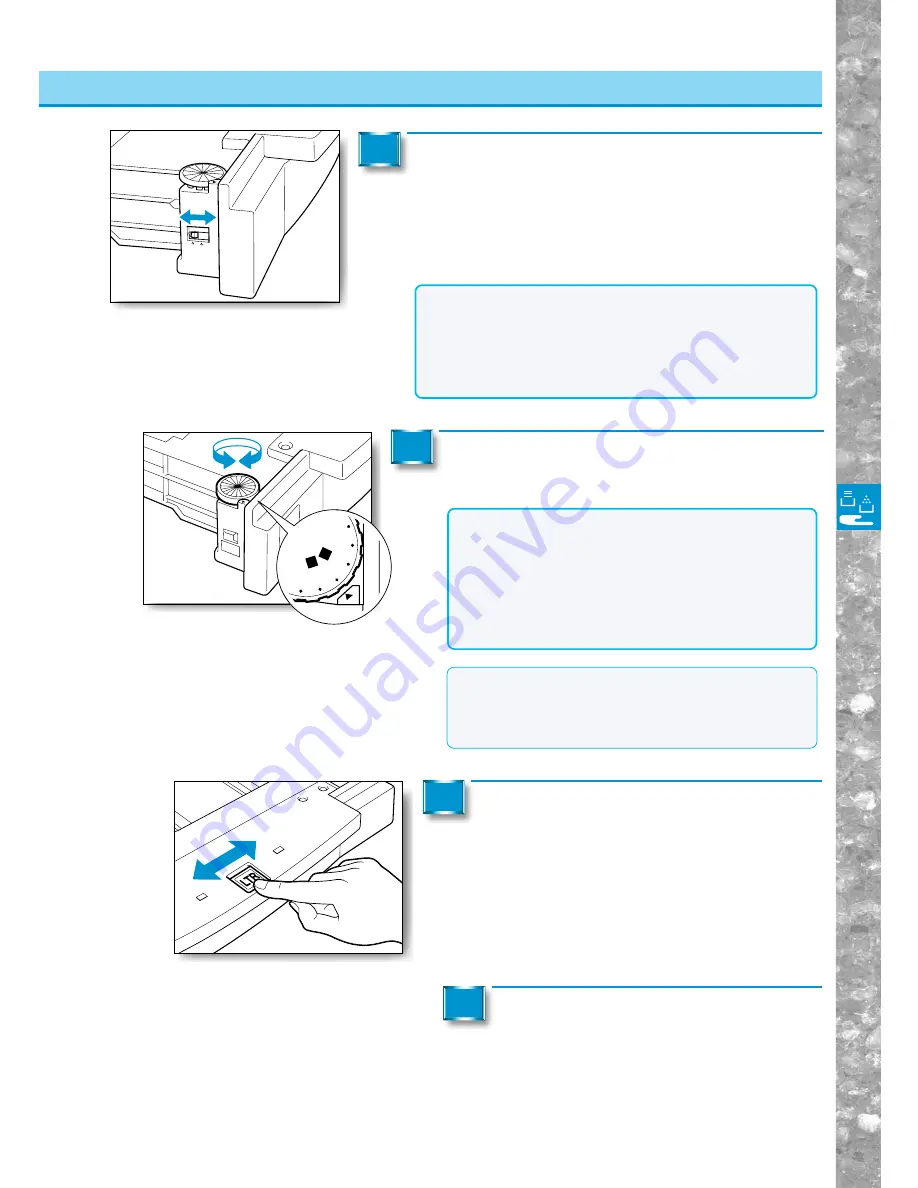
Turn the paper size dial on the left side of the
drawer to the paper size loaded in the drawer.
5
Slide the size plate to the left or right while
pushing down with the tip of your finger, to
indicate the new paper size.
6
B4
P-1
SP
-3
STMT
R
LT
R
LTR
R
LG
L
11X
17
U4
SP
-4
STMT
NOTICE
●
If the paper size dial is not correctly adjusted for the
paper size loaded in the paper drawer, the correct paper
sizes might not appear in the touch panel display. This
might also cause paper jams, dirty copies or make the
inside of the machine dirty. To prevent these problems
from occurring, make certain that the paper size dial is
set correctly for the loaded paper size.
Set the size switch so that it matches the size of
the new copy paper that you loaded.
■
If you are using inch-series paper
Set the switch to the "INCH" position.
■
If you are using A/B-series paper
Set the switch to the "A/B" position.
4
A/B
INCH
NOTICE
●
If you do not set the size switch to the correct setting, the
selected paper size will not be correctly displayed in the touch
panel display. This might also cause paper jams, dirty copies
or make the inside of the machine dirty. To prevent these
problems from occurring, make certain that the size switch is
set correctly for the loaded paper size.
Load the copy paper.
(See "Loading Paper," on p. 5-2.)
7
MEMO
●
When using drawers as special cassettes, special
cassettes must first be set in the Custom Common
Settings screen. (See "Identifying the type of paper in a
cassette using the touch panel display," on p. 4-11.)
Adjusting a Paper Drawer to Hold a Different Paper Size


