


Canon
FAX-L800 User’s Guide
ENGLISH
3-13
Chapter 3
Getting Started
Registering the Sender Information
Follow this procedure to set the current date and time, register the number of
your own fax unit, and register your name or company name.
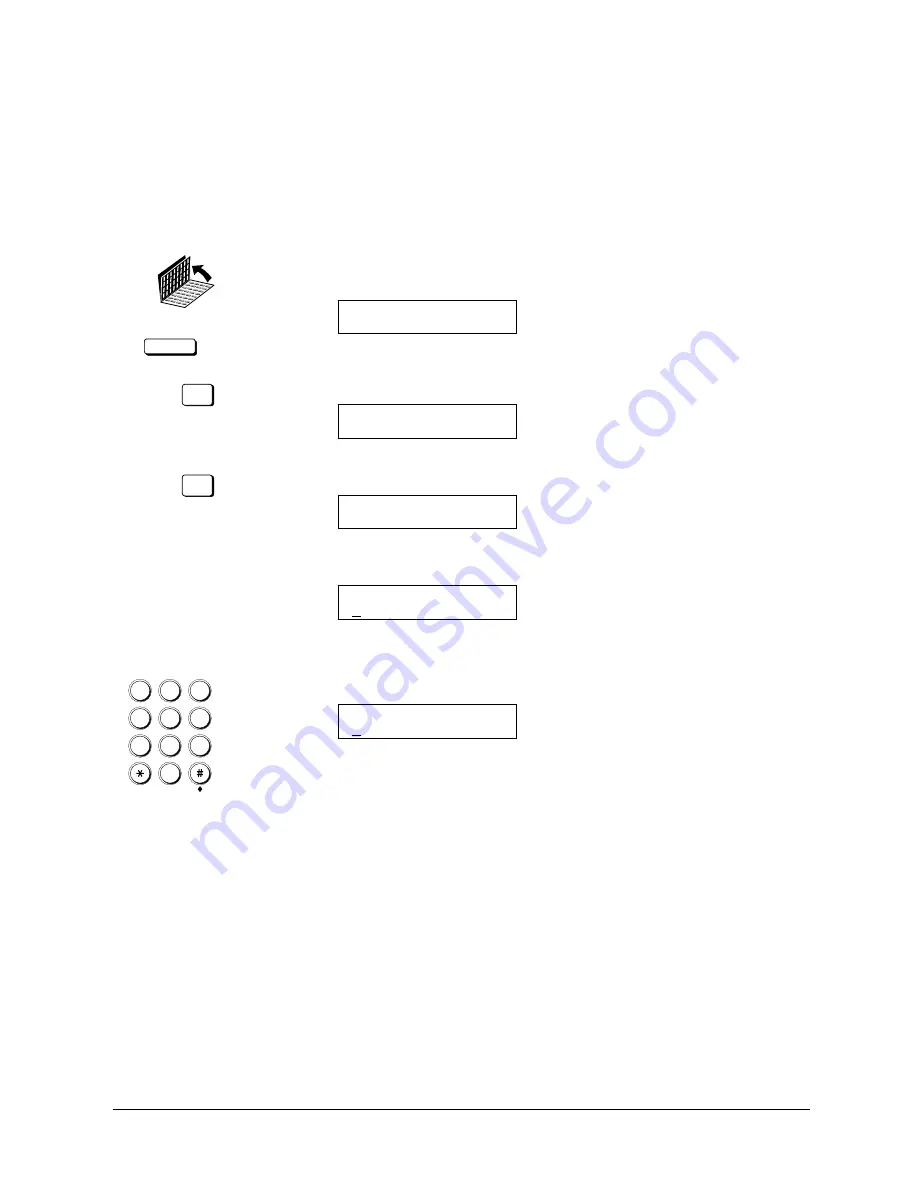
1. Open the USER SETTINGS menu.
DATA REGISTRATION
Open both One-touch Speed Dialling panels. Then press DATA
REGISTRATION.
REGISTRATION
1.DATA REGISTRATION
SET
Press SET.
DATA REGISTRATION
1.USER SETTINGS
SET
Press SET.
USER SETTINGS
1.DATE & TIME
2. Open the DATE & TIME menu. Press SET.
DATE & TIME
25/10 ’97
11:30
3. Register the date and time.
1
4
7
2
5
8
0
3
6
9
ABC
GHI
PQRS
JKL
TUV
M NO
WXYZ
DEF
Use the buttons on the numeric keypad to enter the day, month, and year.
DATE & TIME
26/12 ’97
11:30
Use the buttons on the numeric keypad to enter the current time.
J
Use the 24-hour format to enter the time (e.g. 1:00 p.m. as 13:00).
J
Just enter the new number over the old number.
J
You can also use the cursor buttons to move the cursor without changing
a number entry.
J
To restore the previous entry, press CLEAR.
Summary of Contents for FAX-L800
Page 1: ...fcv FAX L800 User s Guide ...
Page 130: ...6 28 Chapter 6 Sending Documents ...
Page 148: ...7 18 Chapter 7 Receiving Documents ...
Page 174: ...8 26 Chapter 8 Using the Memory Features ...
Page 186: ...9 12 Chapter 9 Using a Relay Network ...
Page 198: ...10 12 Chapter 10 Using Confidential Mailboxes ...
Page 232: ...12 14 Chapter 12 Other Special Features ...
Page 252: ...13 20 Chapter 13 Restricting Use of the Fax ...
Page 270: ...14 18 Chapter 14 Printing Reports and Lists ...
Page 336: ...16 28 Chapter 16 Summary of Important Settings ...
Page 342: ...A 6 Appendix A Specifications ...
Page 346: ...B 4 Appendix B Documents You Can Scan ...
Page 360: ...G 14 Glossary ...
Page 370: ...I 10 Index ...


