Accessing the Avaya G250/G350 Media Gateway
46 Administration for the Avaya G250 and Avaya G350 Media Gateways
Note:
Note:
Do not lock the account or set the password to be disabled.
15. Enter the password in the
Enter password or key
field and the
Re-enter password or
key
field.
16. In the section
Force password/key change on next login
select
no
.
17. Click
Submit
.
The system informs you the login is added successfully.
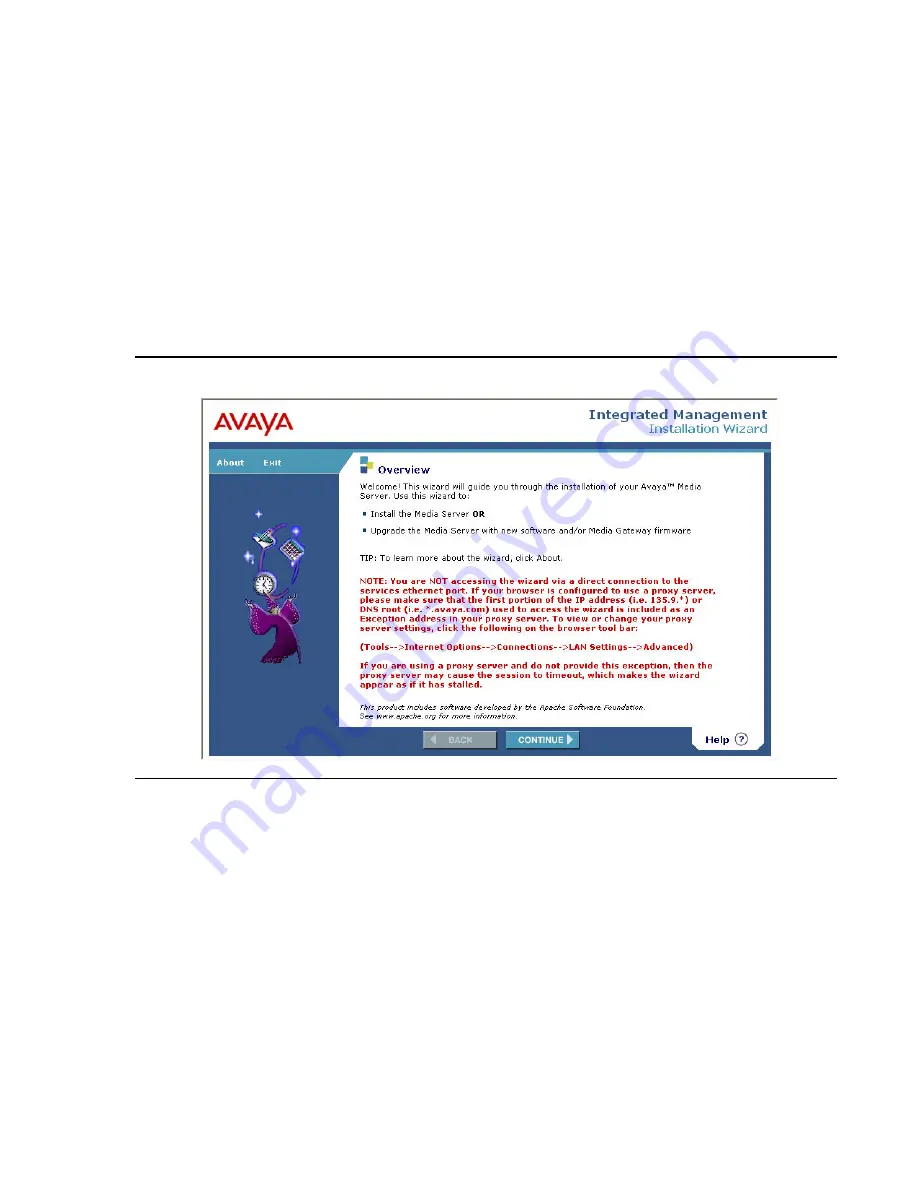
18. Click the
Launch Installation Wizard
link on the home page. The
Avaya IW Overview
screen appears.
Figure 1: Avaya IW Overview screen
For step-by-step instructions on how to configure the G250/G350 using the Avaya IW, see
Installing and Upgrading the Avaya G250 Media Gateway
, 03-300434 or
Installing and
Upgrading the Avaya G350 Media Gateway,
03-300394.
Summary of Contents for Media Gateway G250
Page 1: ...Administration for the Avaya G250 and Avaya G350 Media Gateways 03 300436 Issue 5 June 2008 ...
Page 24: ...Contents 24 Administration for the Avaya G250 and Avaya G350 Media Gateways ...
Page 32: ...Introduction 32 Administration for the Avaya G250 and Avaya G350 Media Gateways ...
Page 38: ...Configuration overview 38 Administration for the Avaya G250 and Avaya G350 Media Gateways ...
Page 244: ...Configuring logging 244 Administration for the Avaya G250 and Avaya G350 Media Gateways ...
Page 258: ...Configuring VoIP QoS 258 Administration for the Avaya G250 and Avaya G350 Media Gateways ...
Page 370: ...Configuring SNMP 370 Administration for the Avaya G250 and Avaya G350 Media Gateways ...
Page 548: ...Configuring the router 548 Administration for the Avaya G250 and Avaya G350 Media Gateways ...
Page 664: ...Configuring policy 664 Administration for the Avaya G250 and Avaya G350 Media Gateways ...
Page 686: ...Setting synchronization 686 Administration for the Avaya G250 and Avaya G350 Media Gateways ...


