Programming a Sound to
Light Memory
Select an unprogrammed memory,
move to the
Type
field and select
S/L.
Programming the Memory
Information and Trigger
Move to the
Information
field. Enter a
textual description of the memory.
Move to the
Trigger
field - select Go,
Auto or At Time as required.
If the trigger is
At Time
, enter the start
time under the trigger.
Programming the Delay, Fade
Transition and Dwell Times
Set up the delay, fade, transition and
dwell times for the memory by moving
to the appropriate fields and entering
the required times, using the numeric
keypad or control wheel.
Programming the Modifiers
Move to the
Attack
field - select snap,
slow attack, slow decay or crossfade
as required.
Move to the
Speed
field - adjust the
speed as required.
Programming the ‘Steps’
Press the EDIT LIVE or EDIT BLIND
button on the front panel, or right click
and select
Edit Live
or
Edit Blind
from
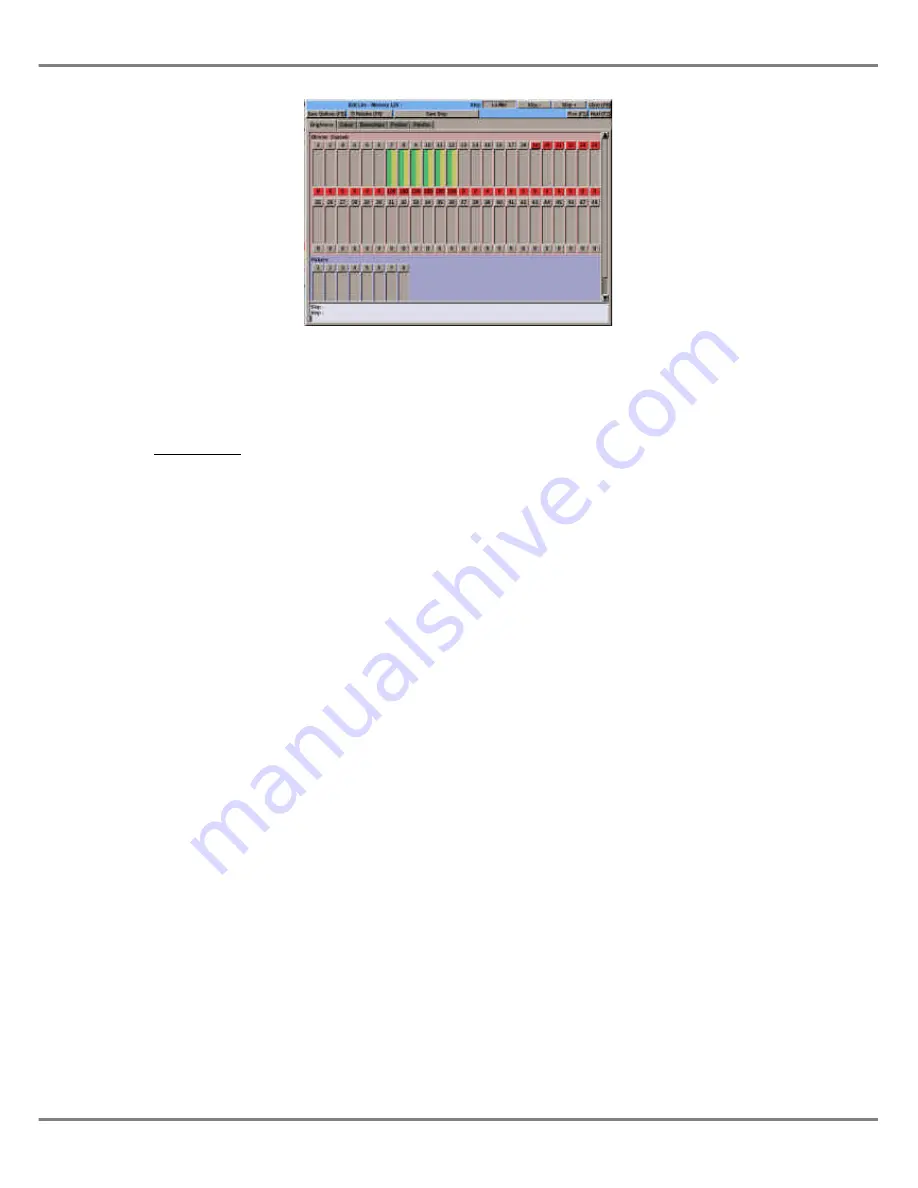
the menu. The Program Window is
opened showing the Lo Step.
Set the dimmer channel and fixture
parameter levels to the required
values.
Select the
Save Step
button in the PW
or press the SAVE STEP button on the
front panel to save the ‘step’ into the
memory.
To program the remaining steps
(Lo-Mid, Hi-Mid, and Hi) use the
STEP+ and STEP- buttons to select
the required step.
Set the dimmer channel and fixture
parameter levels to the required
values.
Select Save Step, to save the step into
the memory.
To save the complete memory data
into the currently selected memory,
press the SAVE button on the front
panel, or right click in the PW and
select the
Save
option from the menu.
Programming a Ripplesound
Memory
Programming a Ripplesound memory
is exactly the same as programming a
Sound to Light memory, except that
the four ‘steps’ are Band 1, Band 2,
Band 3 and Band 4 respectively.
Adjusting Modifiers
To see the effects of adjusting the
modifiers while previewing a sound to
light or ripplesound memory:
1.
Ensure that a sound input is
connected to the desk.
2.
Select a programmed sound to
light or ripplesound memory.
3.
Press the PREVIEW button on
the front panel to open the
Program Window.
4.
The changing channel levels can
be seen in the PW. The Modifiers
section of the PW is displayed
showing the modifier values.
5.
Adjust the Attack and Speed
modifiers using the front panel
buttons and wheel or by clicking
on the screen buttons in the PW
with the mouse.
6.
To save the new values into the
memory press the SAVE button or
click on the
Save
button.
7.
Press the PREVIEW button to
close the PW.
NOTE
Fixture LTP Parameters
Sound to Light and Ripplesound memories are
only designed for use with HTP parameters.
Therefore if colour, beamshape or position
parameters are programmed, they will have
the same value in all four steps.
5 - 10
Illusion 500 Manual 73-741-00 Issue 2
Memories
Figure 5 - 9 : Program Window - Editing a Sound to Light Memory
Содержание ILLUSION 500
Страница 1: ...ILLUSION 500 OPERATING MANUAL ...
Страница 2: ......
Страница 6: ...iv Illusion 500 Manual 73 741 00 Issue 2 Contents ...
Страница 40: ...3 20 Illusion 500 Manual 73 741 00 Issue 2 Setup ...
Страница 121: ......


