Programming Fixtures
This section describes how to select
and program fixture parameters.
Fixture data is normally programmed
by selecting the fixture(s), selecting the
attribute and then adjusting the fixture
parameters using the control wheels.
It is also possible to select and adjust
fixture parameters using the numeric
keypad and associated keys via
commands, or by using the mouse.
Fixture Selection
Soft fixture selection buttons are
displayed in the main sections of the
PW to allow fixtures to be selected and
deselected using the mouse.
It is also possible to select fixtures
using the FIXTURE button, numeric
keypad and associated keys.
Any combination of fixtures may be
selected at the same time regardless
of their fixture type.
Selected fixtures are indicated in red,
unselected fixtures are displayed in
grey.
The first fixture, numerically, in the
selection is designated as the
Primary
Fixture
- see later for details.
Previous and Next Buttons
Previous (F1)
and
Next (F2)
soft
buttons are provided to allow quick
selection of the previous or next fixture.
Associated Fixtures
The ASSOCIATED button on the front
panel is used to deselect a selected
fixture and select the next fixture in the
association.
Selecting Single Fixtures
Individual fixtures can be selected and
deselected as required using the
mouse or FIXTURE button and
numeric keypad.
Selecting Multiple Fixtures
Multiple fixtures can be selected in a
single command using the FIXTURE
key, numeric keypad and associated
keys, for example:
FIXTURE 2 AND 3
FIXTURE 5 THRU 10
FIXTURE 11 THRU 20 EXCEPT 14
The “Primary Fixture”
The “Primary Fixture” is indicated in
the fixture selection area by having a
thicker border round the fixture
selection button.
The fixture parameters displayed in the
PW relate to the “Primary Fixture”.
Fixture Tagging
When the desk is in
Partial Mode
,
various methods are provided for
tagging and untagging the fixture
parameters.
When a fixture parameter is untagged,
the background of the parameter
number, name and value fields are
grey, when the parameter is tagged,
the background fields change to red.
Automatic Tagging
When a fixture parameter level is
adjusted using a command, the control
wheel or the mouse, the parameter is
automatically tagged.
Manual Tagging
To toggle the tag status of a single
fixture parameter, left click on the
parameter value field (brightness), the
parameter number field (colour,
beamshape, position) or enter the
following command:
FIXTURE X <attribute> N ENTER
The tag status of all the fixture
parameters of a particular attribute can
be toggled by holding down the
attribute button on the front panel for
one second.
4 - 10
Illusion 500 Manual 73-741-00 Issue 2
Program Window
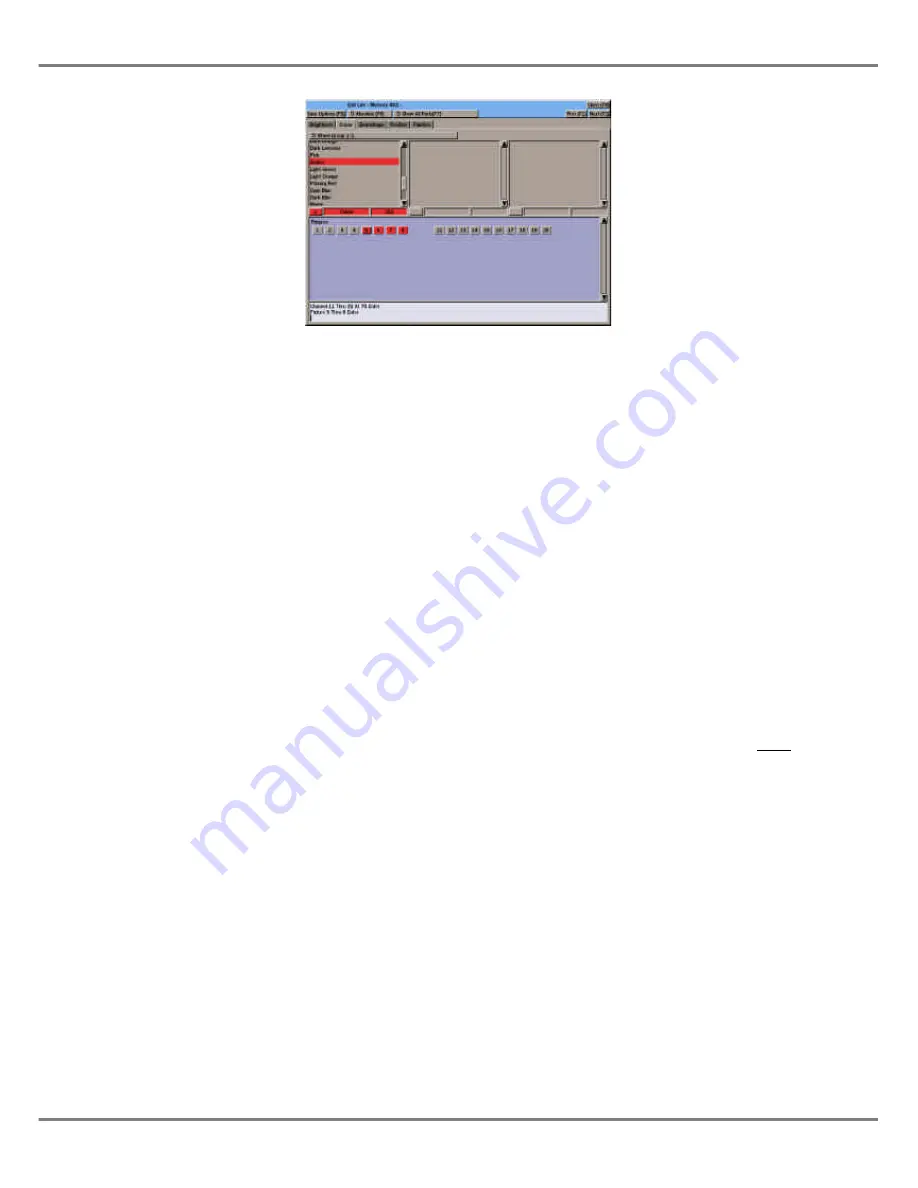
Figure 4 - 9 : Program Window - Colour Section
Содержание ILLUSION 500
Страница 1: ...ILLUSION 500 OPERATING MANUAL ...
Страница 2: ......
Страница 6: ...iv Illusion 500 Manual 73 741 00 Issue 2 Contents ...
Страница 40: ...3 20 Illusion 500 Manual 73 741 00 Issue 2 Setup ...
Страница 121: ......


