Programming Memories
The following sections deal with
programming the different memory
types described earlier in this chapter.
Any differences in options, display
formats etc. between Real Time and
SMPTE/MIDI Time formats are
described at the end of this chapter.
Selecting a Memory
1.
If the Memories screen is not on
display, press the SCREEN
FUNCTION button F2.
2.
Use the SCREEN FUNCTION
BUTTON F7 to select all
memories or programmed
memories, as required.
3.
Select the required memory using
any of the following methods:
Use the up and down arrow keys
on the front panel.
Press the MEMORY button on the
front panel, followed by the
required memory number and
then ENTER.
Position the mouse pointer over
the required memory and press
the left mouse button.
4.
In each case the yellow highlight
bar moves to the selected
memory number.
Programming a Scene
1.
Select an unprogrammed
memory.
2.
Move to the
Trigger
field - select
Go, Automatic
or
At Time
as
required.
3.
Move to the
Type
field and select
Scene (if not already selected).
4.
Move to the
Information
field.
Enter a textual description of the
memory (optional).
5.
Set up the delay, fade, transition
and dwell times by moving to the
corresponding fields and entering
the required times.
6.
To program the channel data for
the memory, press the EDIT LIVE
or EDIT BLIND button on the front
panel, or right click and select the
Edit Live
or
Edit Blind
option from
the menu. This opens the
Program Window (PW).
7.
Set the dimmer channel and
fixture parameter levels to the
required values (see chapter 4).
8.
Press the SAVE button on the
front panel, or right click in the
PW and select the
Save
option
from the menu.
9.
Press the ENTER button or click
on the
OK
button in the popup
window.
NOTES
Selecting a Memory
When using the up/down cursor keys to scroll
through the memory list, moving down from
the last memory takes you back to the first,
moving up from the first takes you through
memory zero to the last memory in the list.
When selecting a memory number directly, if
the EDIT LIVE or EDIT BLIND button is
pressed instead of the ENTER button, the
highlight bar moves to the selected memory
and the Program Window is opened.
Editing Live or Blind
If the memory is edited live, the DMX
outputs change as the dimmer channel and
fixture parameter levels are adjusted. If the
memory is being edited blind, the DMX
outputs are not affected.
Timed Triggers
The time appears underneath the trigger,
and is displayed in hours, minutes and
seconds (eg 21:30:00 represents 9:30 pm).
Abandoning Channel Edits
Press the EDIT LIVE or EDIT BLIND button
on the front panel, or right click in the PW
and select the Cancel option.
Partial Mode
In Partial Mode the Save Window also
contains Tracking Options and a Save All
button - see later in chapter for details.
5 - 6
Illusion 500 Manual 73-741-00 Issue 2
Memories
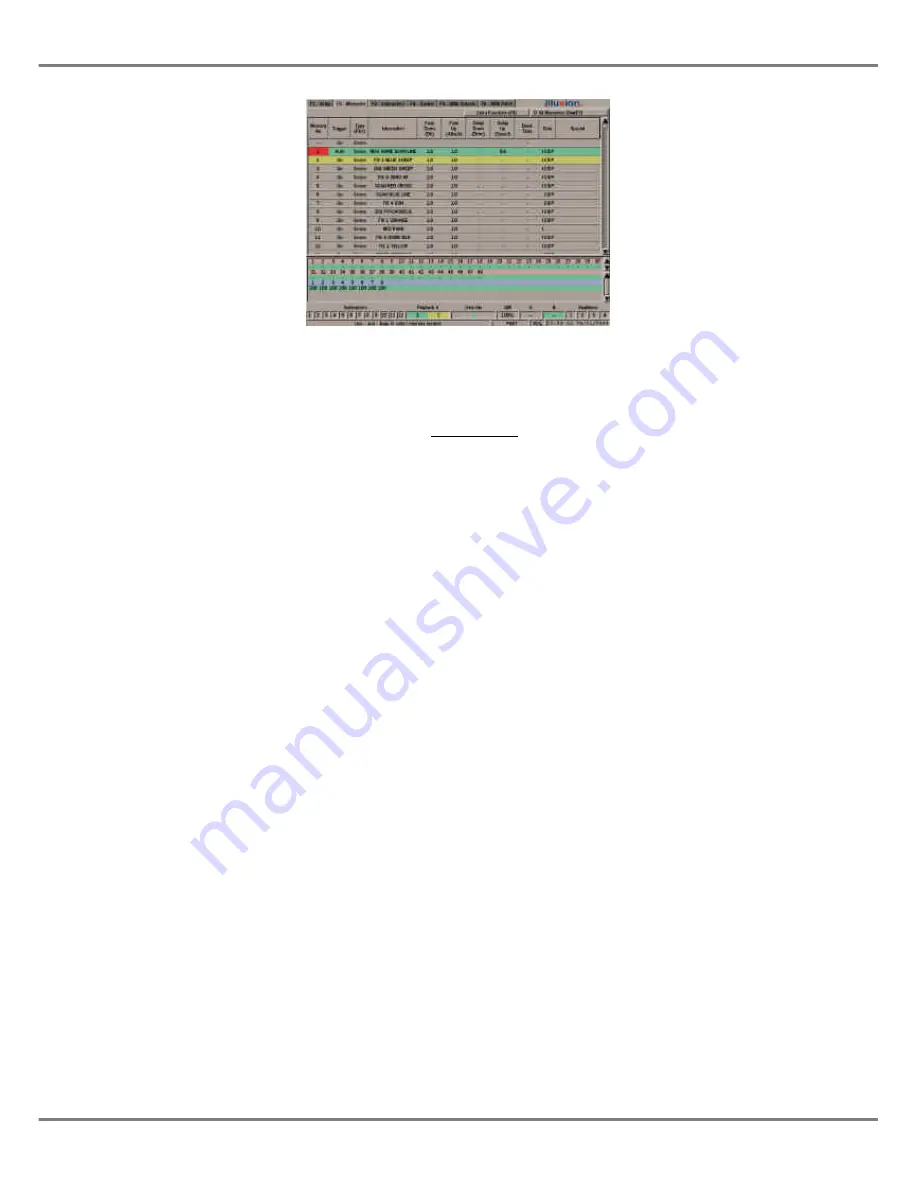
Figure 5 - 5: Memories Screen
Содержание ILLUSION 500
Страница 1: ...ILLUSION 500 OPERATING MANUAL ...
Страница 2: ......
Страница 6: ...iv Illusion 500 Manual 73 741 00 Issue 2 Contents ...
Страница 40: ...3 20 Illusion 500 Manual 73 741 00 Issue 2 Setup ...
Страница 121: ......


