W H E A T N E T - I P
N A V I G A T O R G U I
page 4 – 16
WheatNet-IP
/ Apr 2009
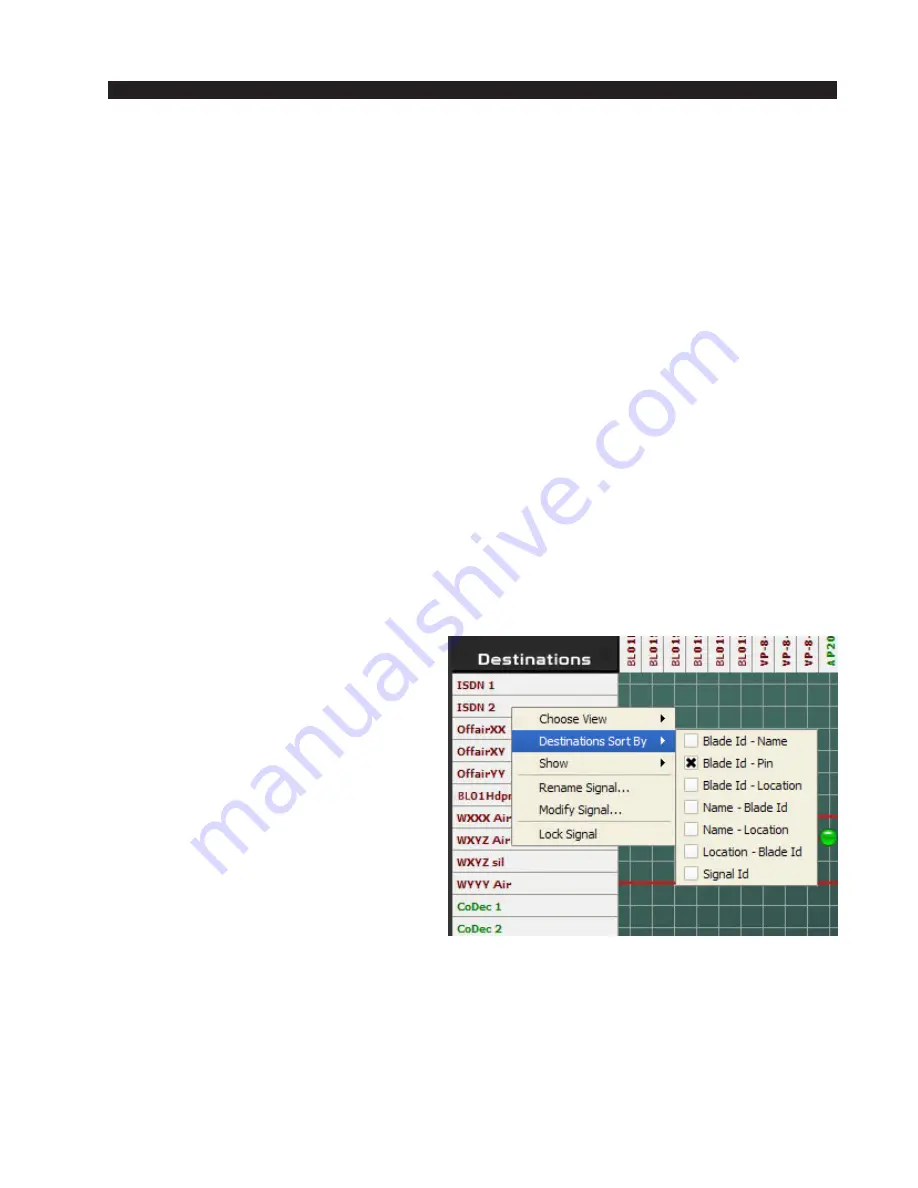
BLADE Id - Pin - The sources show in order of BLADE ID first, then connector
number.
BLADE Id - Location - The sources show in order of BLADE ID, then alphabetically
by location name.
Name - BLADE ID - The sources show alphabetically by name first, then by
BLADE ID. Useful for when you use a name like “CD 1” over and over.
Name - Location - The sources show alphabetically by name first, then by location
name.
Location - BLADE ID - The sources show alphabetically by location name, then by
BLADE ID.
Signal ID - The sources show in order of their system assigned signal ID.
Show
This menu allows you to change the information showing in the grid labels for each
signal. The choices are:
Name - This is the default. Only the eight character name is shown on the grid label.
Name - Location - Both the eight character name and eight character destination are
shown on the grid label.
Signal Id - Name - Both the system assigned signal ID and the eight character name are
shown on the grid label.
DESTINATION DETAILS MENU
You have already learned how to make
and break crosspoint connections from the
grid. Here are some more things you can
do. By right clicking directly over the
name of a destination, you can bring up the
destination details menu.
This menu allows you to access some
very common functions:
Choose View
This is same function as mentioned
previously. Various filters can be defined
to restrict the crosspoint view of the sys-
tem. This is useful when you have a large
system with hundreds of signals and want
to work on a small section of it. The filter
manager tool of the GUI allows you to define filters based on BLADE ID, signal type
(mono, stereo, logic only), location, sources, or destinations and assemble them into Views.
The Choose View menu allows you to specify any of the views you have defined, and the
crosspoint grid will immediately shrink, removing those signals not part of your selected
view.
Hint: if you know you have a signal in your system but it is not appearing in the
crosspoint grid, right click on the WheatNet-IP logo and select Choose View / No View.
Chances are your signal will now appear in the grid - your filter setting was excluding it.
Содержание WheatNet-IP Blade3s
Страница 2: ...TECHNICAL MANUAL Wheatstone Corporation April 2009 AUDIO OVER IP NETWORK WheatNet IP ...
Страница 13: ...Quick Start 7 WheatNet IP Apr 2009 Figure 4 ...
Страница 224: ...A P P E N D I C E S page A 34 WheatNet IP Apr 2009 Appendix 5 Contents External Controllers A 35 ...
Страница 238: ...page A 48 WheatNet IP Mar 2014 A P P E N D I C E S Click Next Click Install ...


